
And it’s in. Time for the ever after…
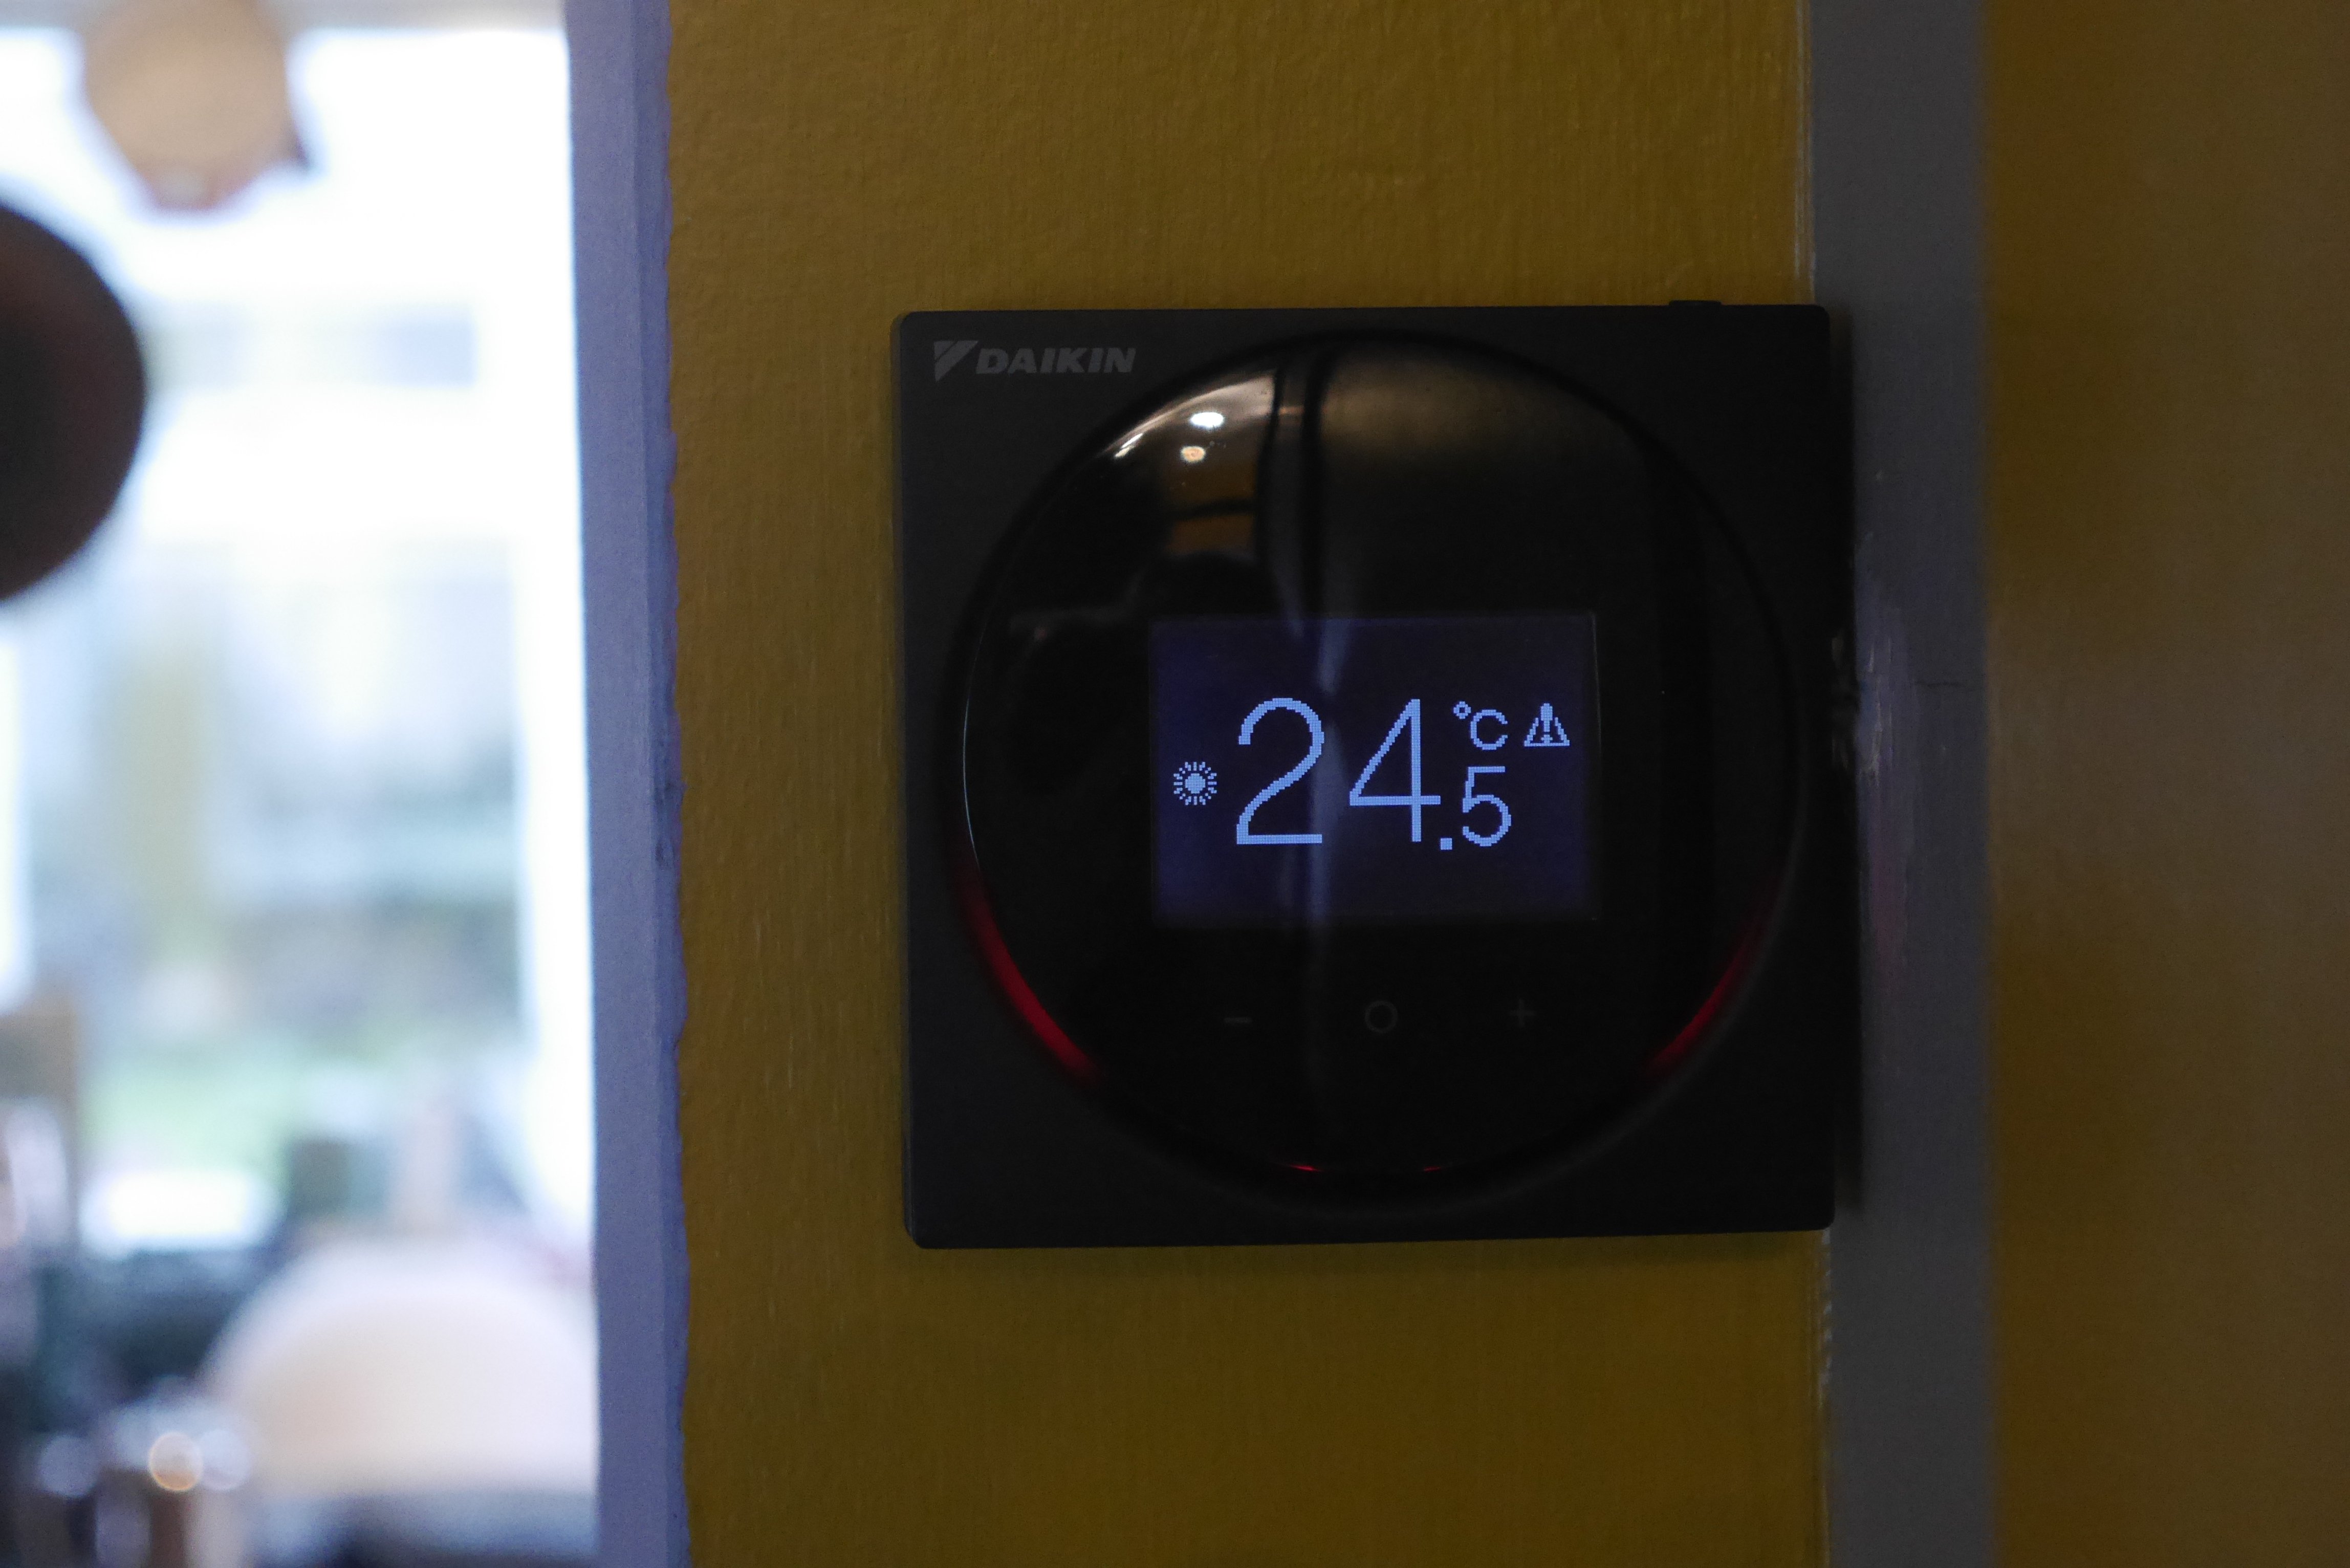
We’ve had our Daikin Altherma air source heat pump in for about a week now, and so far it seems to be functional. We haven’t had much of a chance to test it given that we are in the middle of summer and the room temperature barely drops below 22 degrees Celcius without the heating on.

I’ll admit that the heat pump isn’t the prettiest appliance out there. The Vaillant one that British Gas was planning on installing was nicer looking, but as long as it works that’s the main point.
Part of the preparation included clearing out the workshop completely including removal of shelves. The workshop also contains a lot of stuff. Chaos followed. I managed to secrete most of the stuff into the cupboards but that meant getting hold of tools was a bit of a nightmare. I had to cut one of the cupboards in half which meant the interior shelf had to be removed, so the next step is refitting a half-sized shelf to help with organisation.
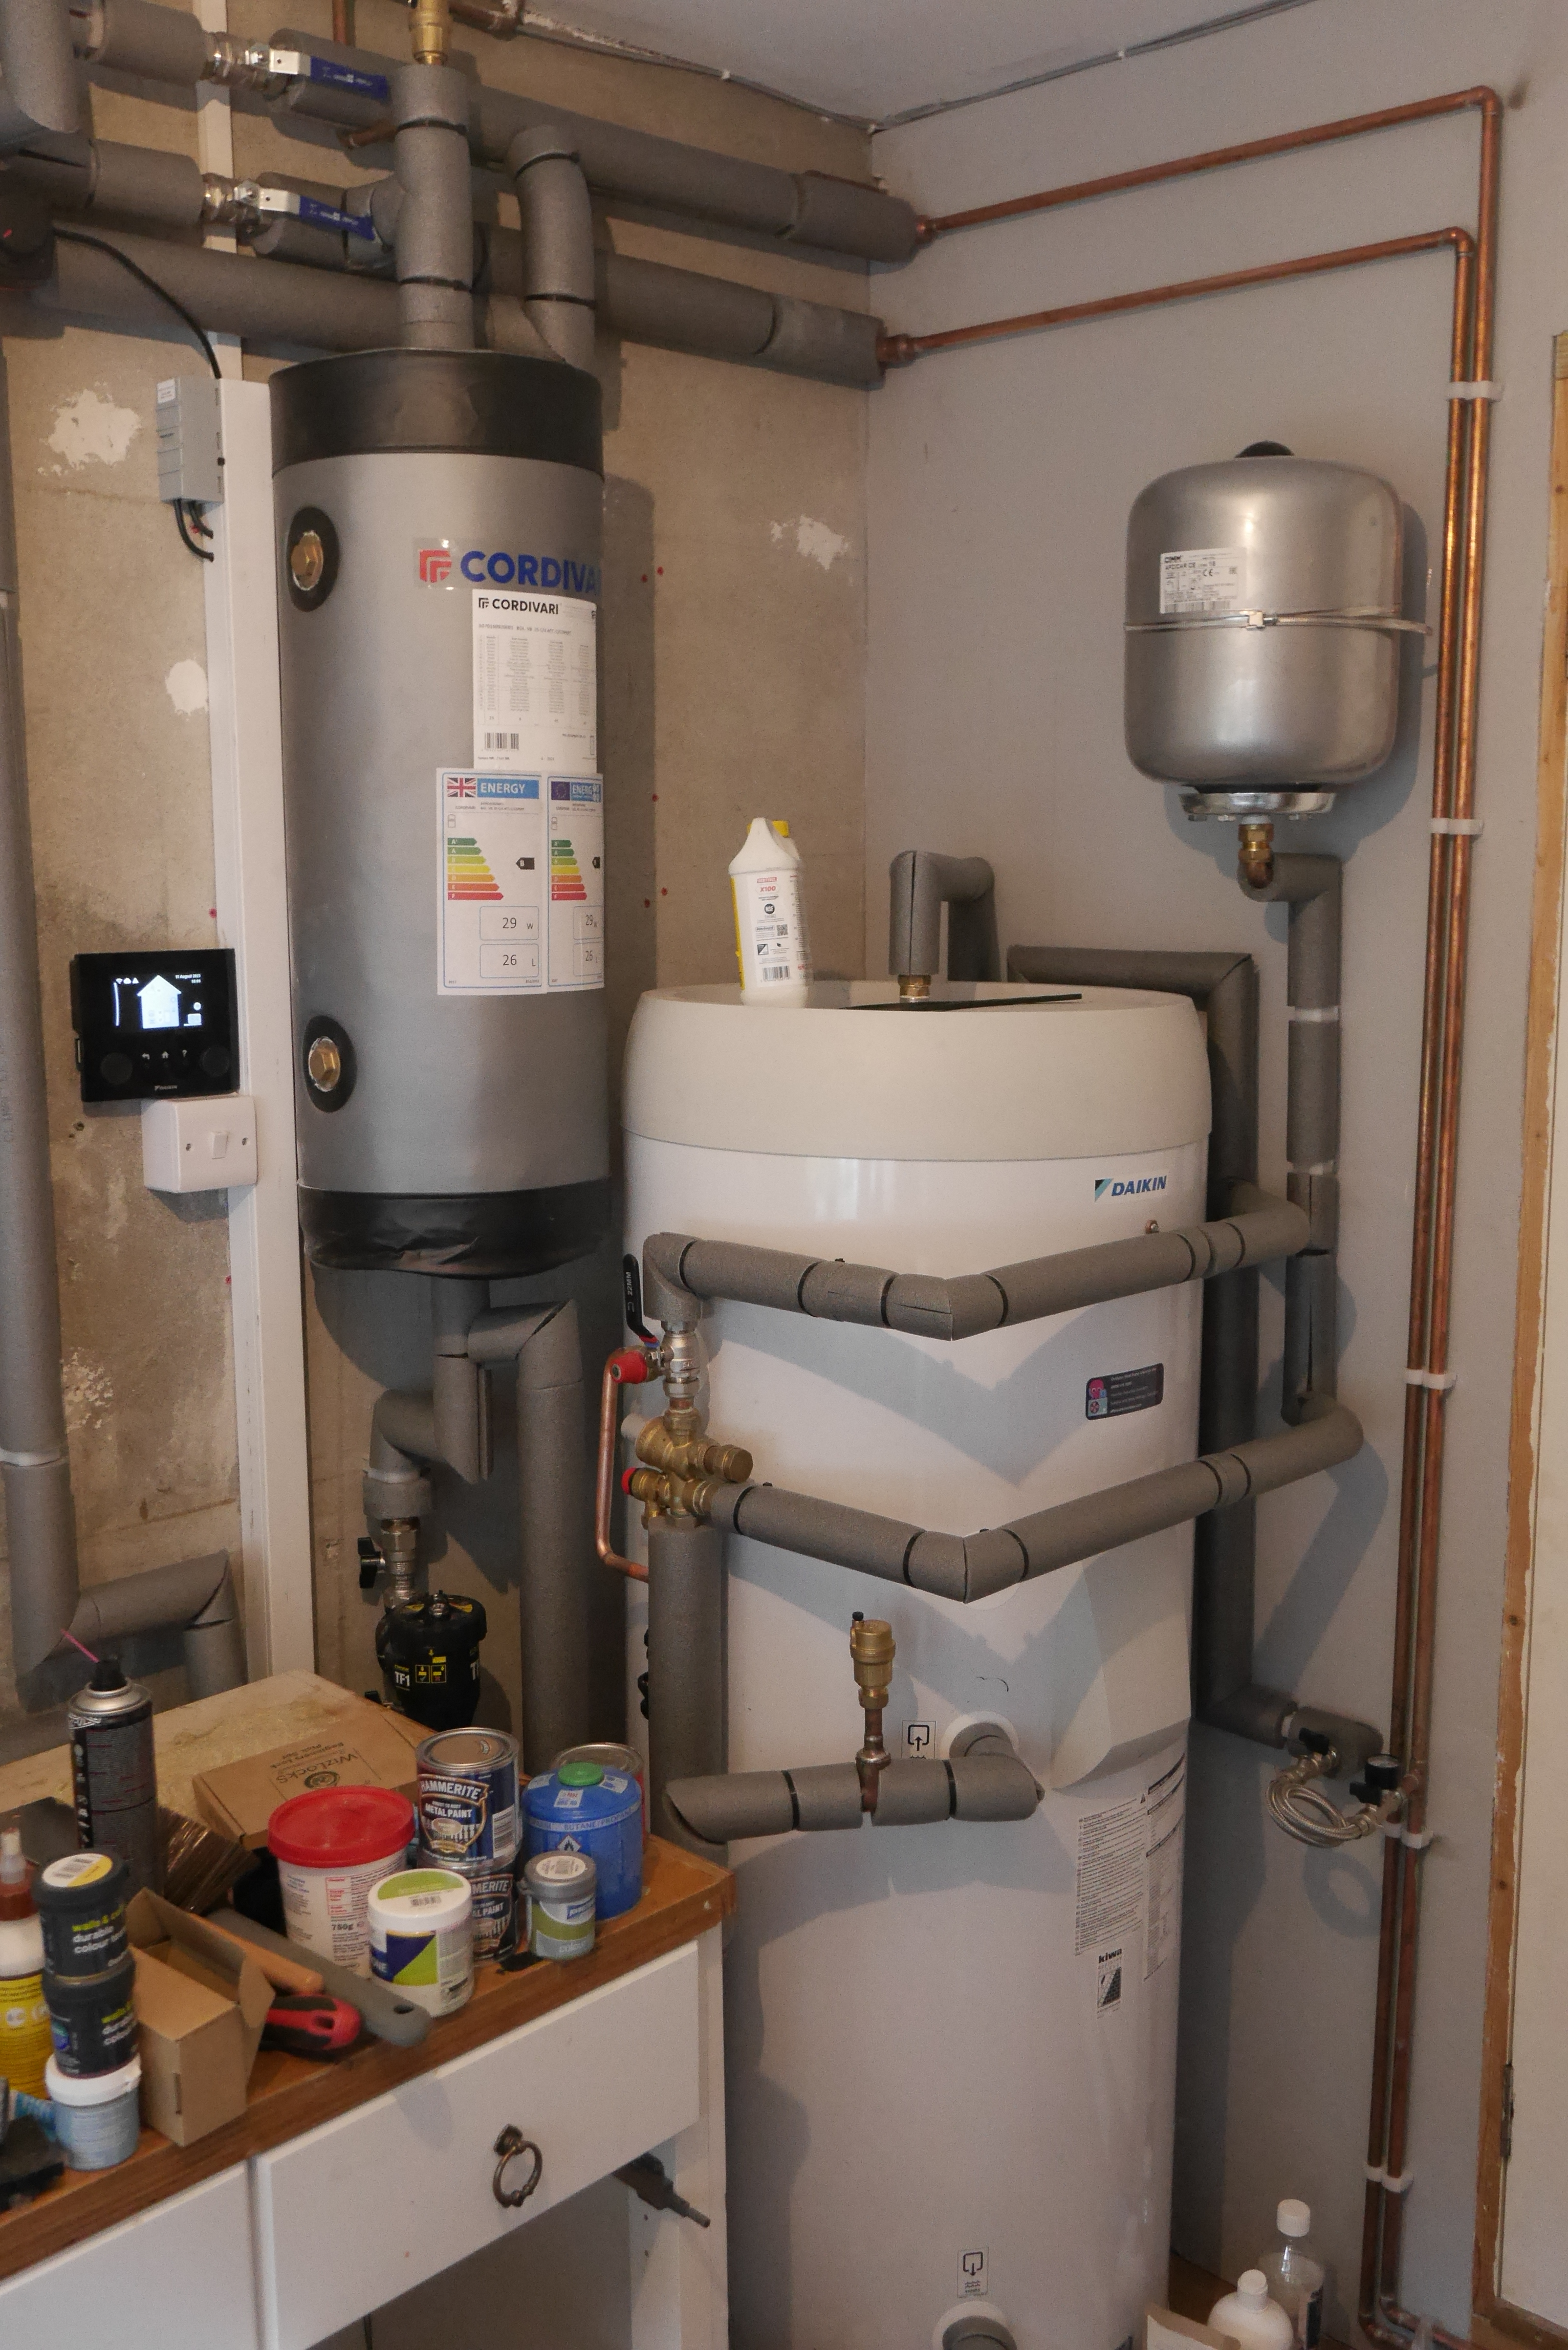
The new water tank, buffer tank, and expansion vessel fitted quite neatly into the corner, but that just so happened to be a corner packed with a lot of storage previously. The space where the boiler and flue were situated is now free and that’s where I will build the new tool wall.

Conservatory Piping
Due to the lack of pipework in the back bedroom, pipes had to be taken out into the conservatory and back into the bedroom utilising the plastic pipes which were connected to the conservatory radiators. The radiators were removed during the installation and hence the pipework was up for grabs. I had to remove a lot of boxing and pipe clips which caused a moderate amount of destruction and uncovered several old bricks which had been blocked up.


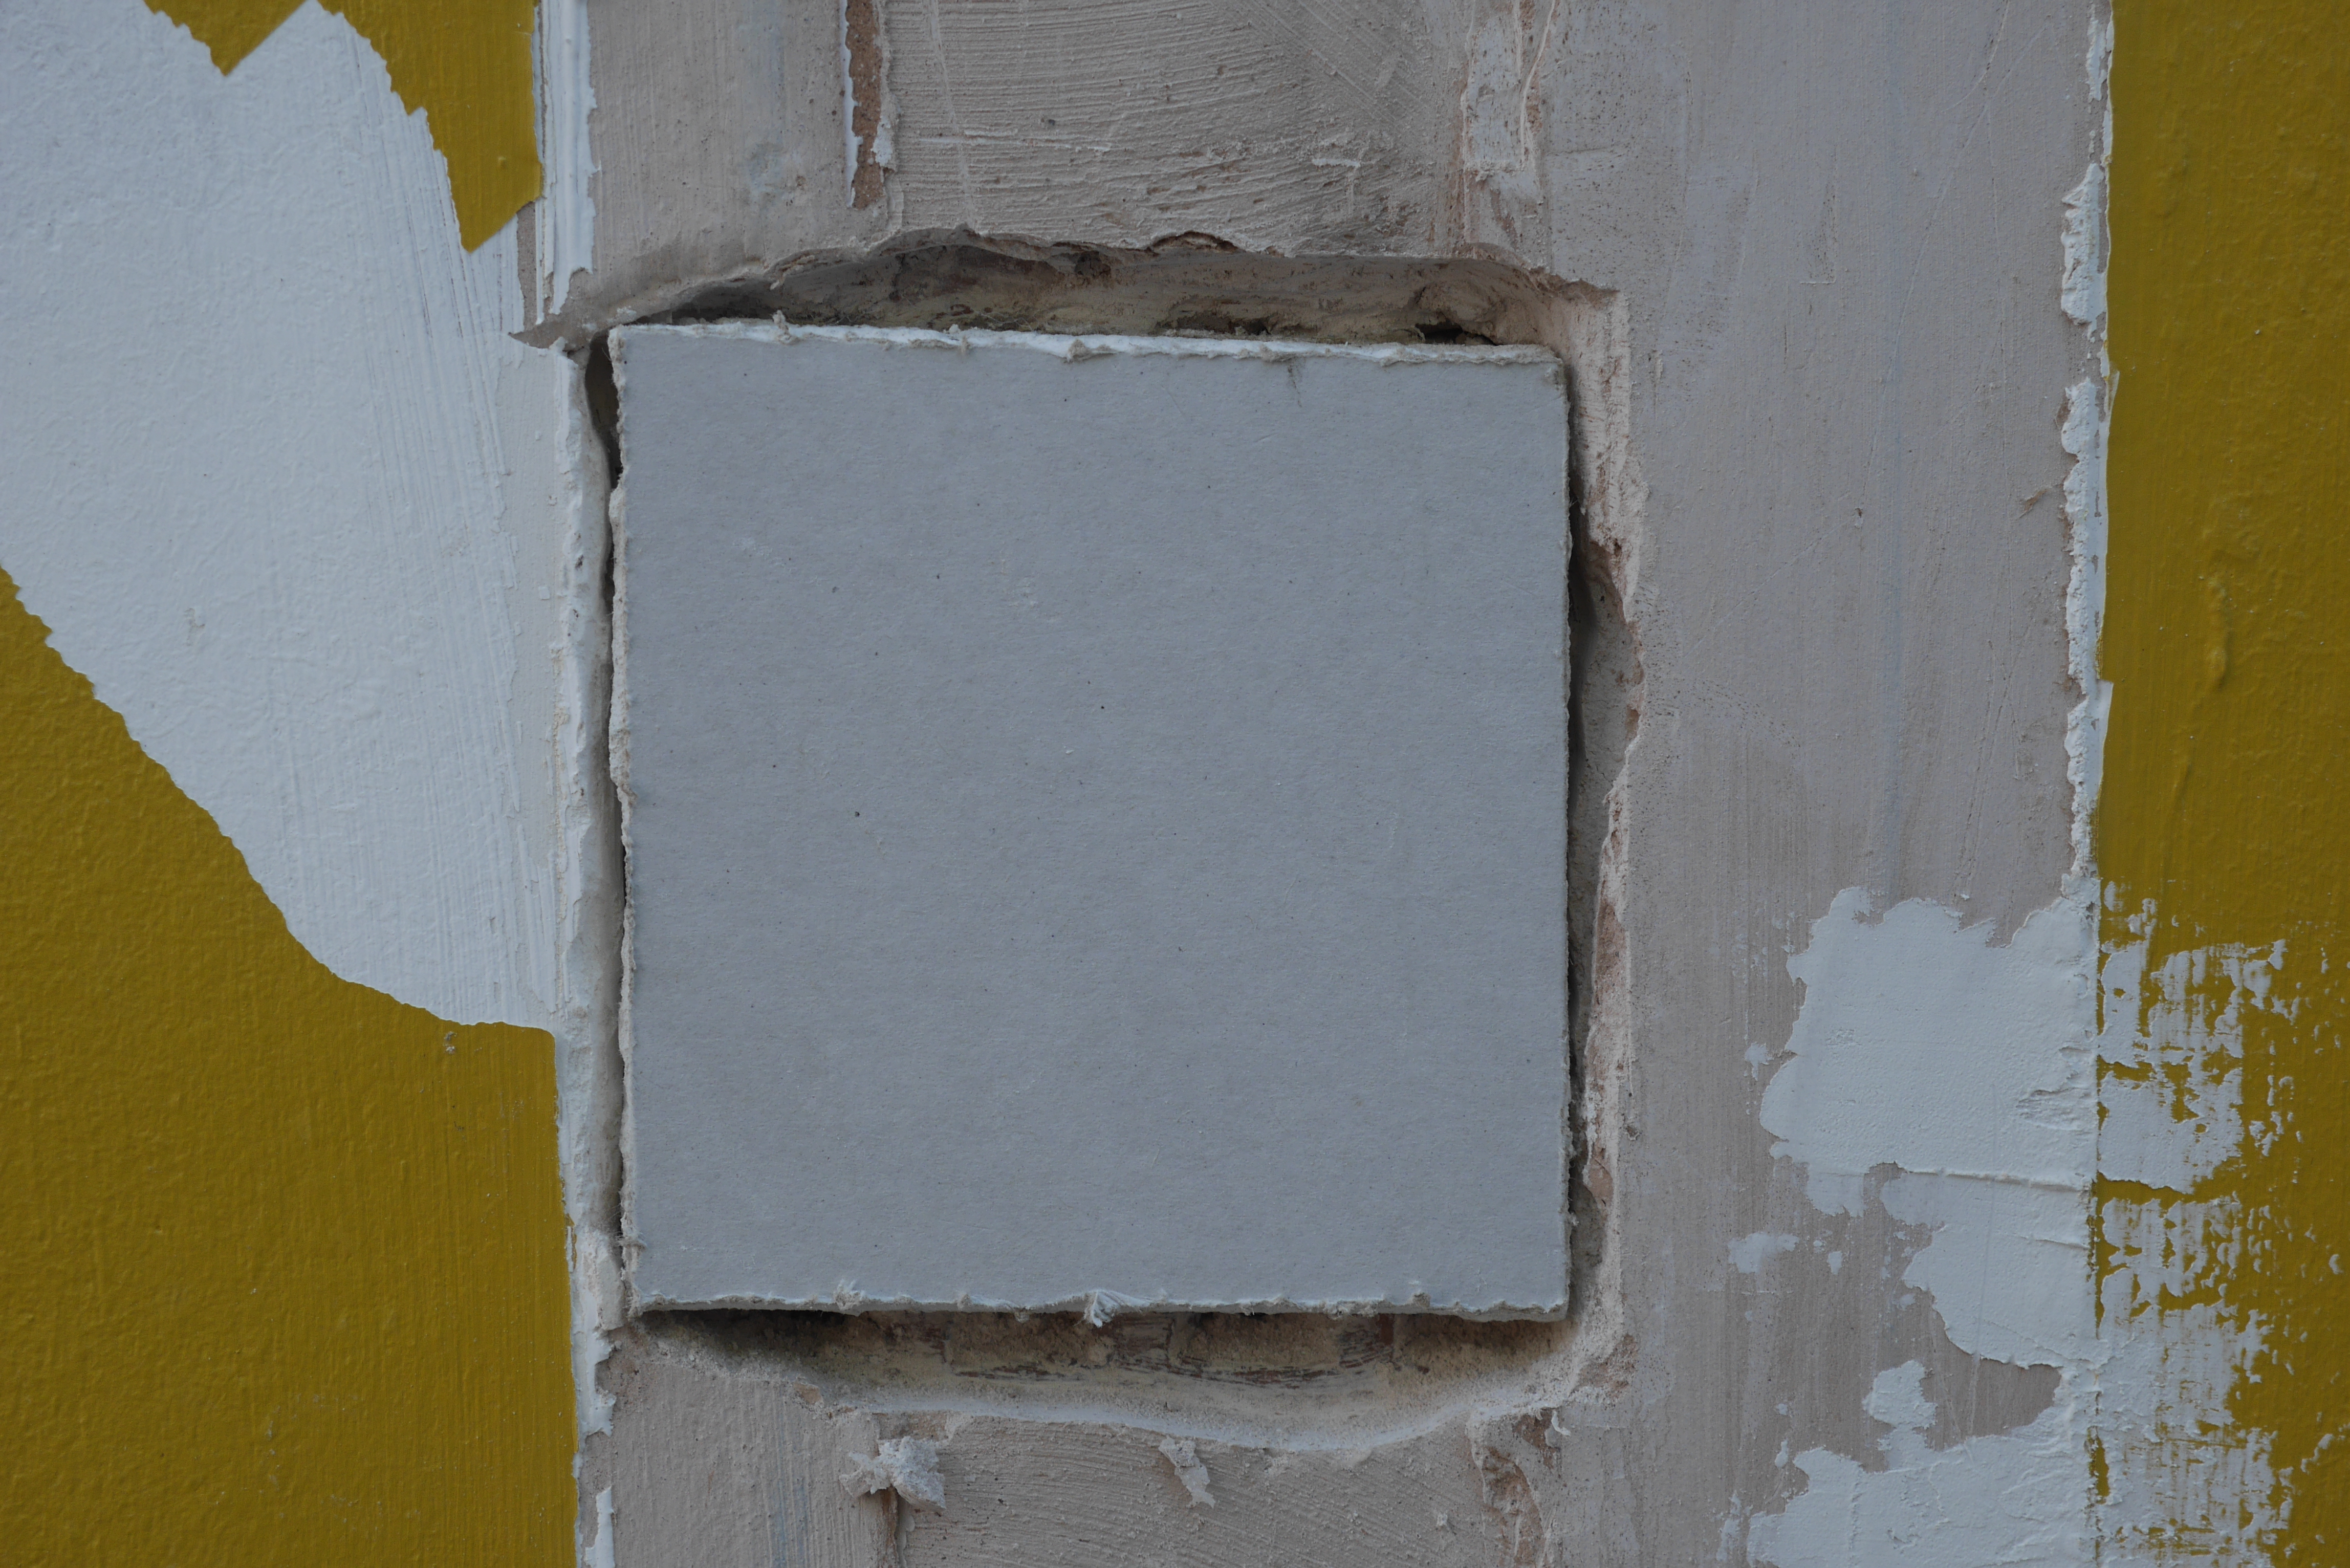

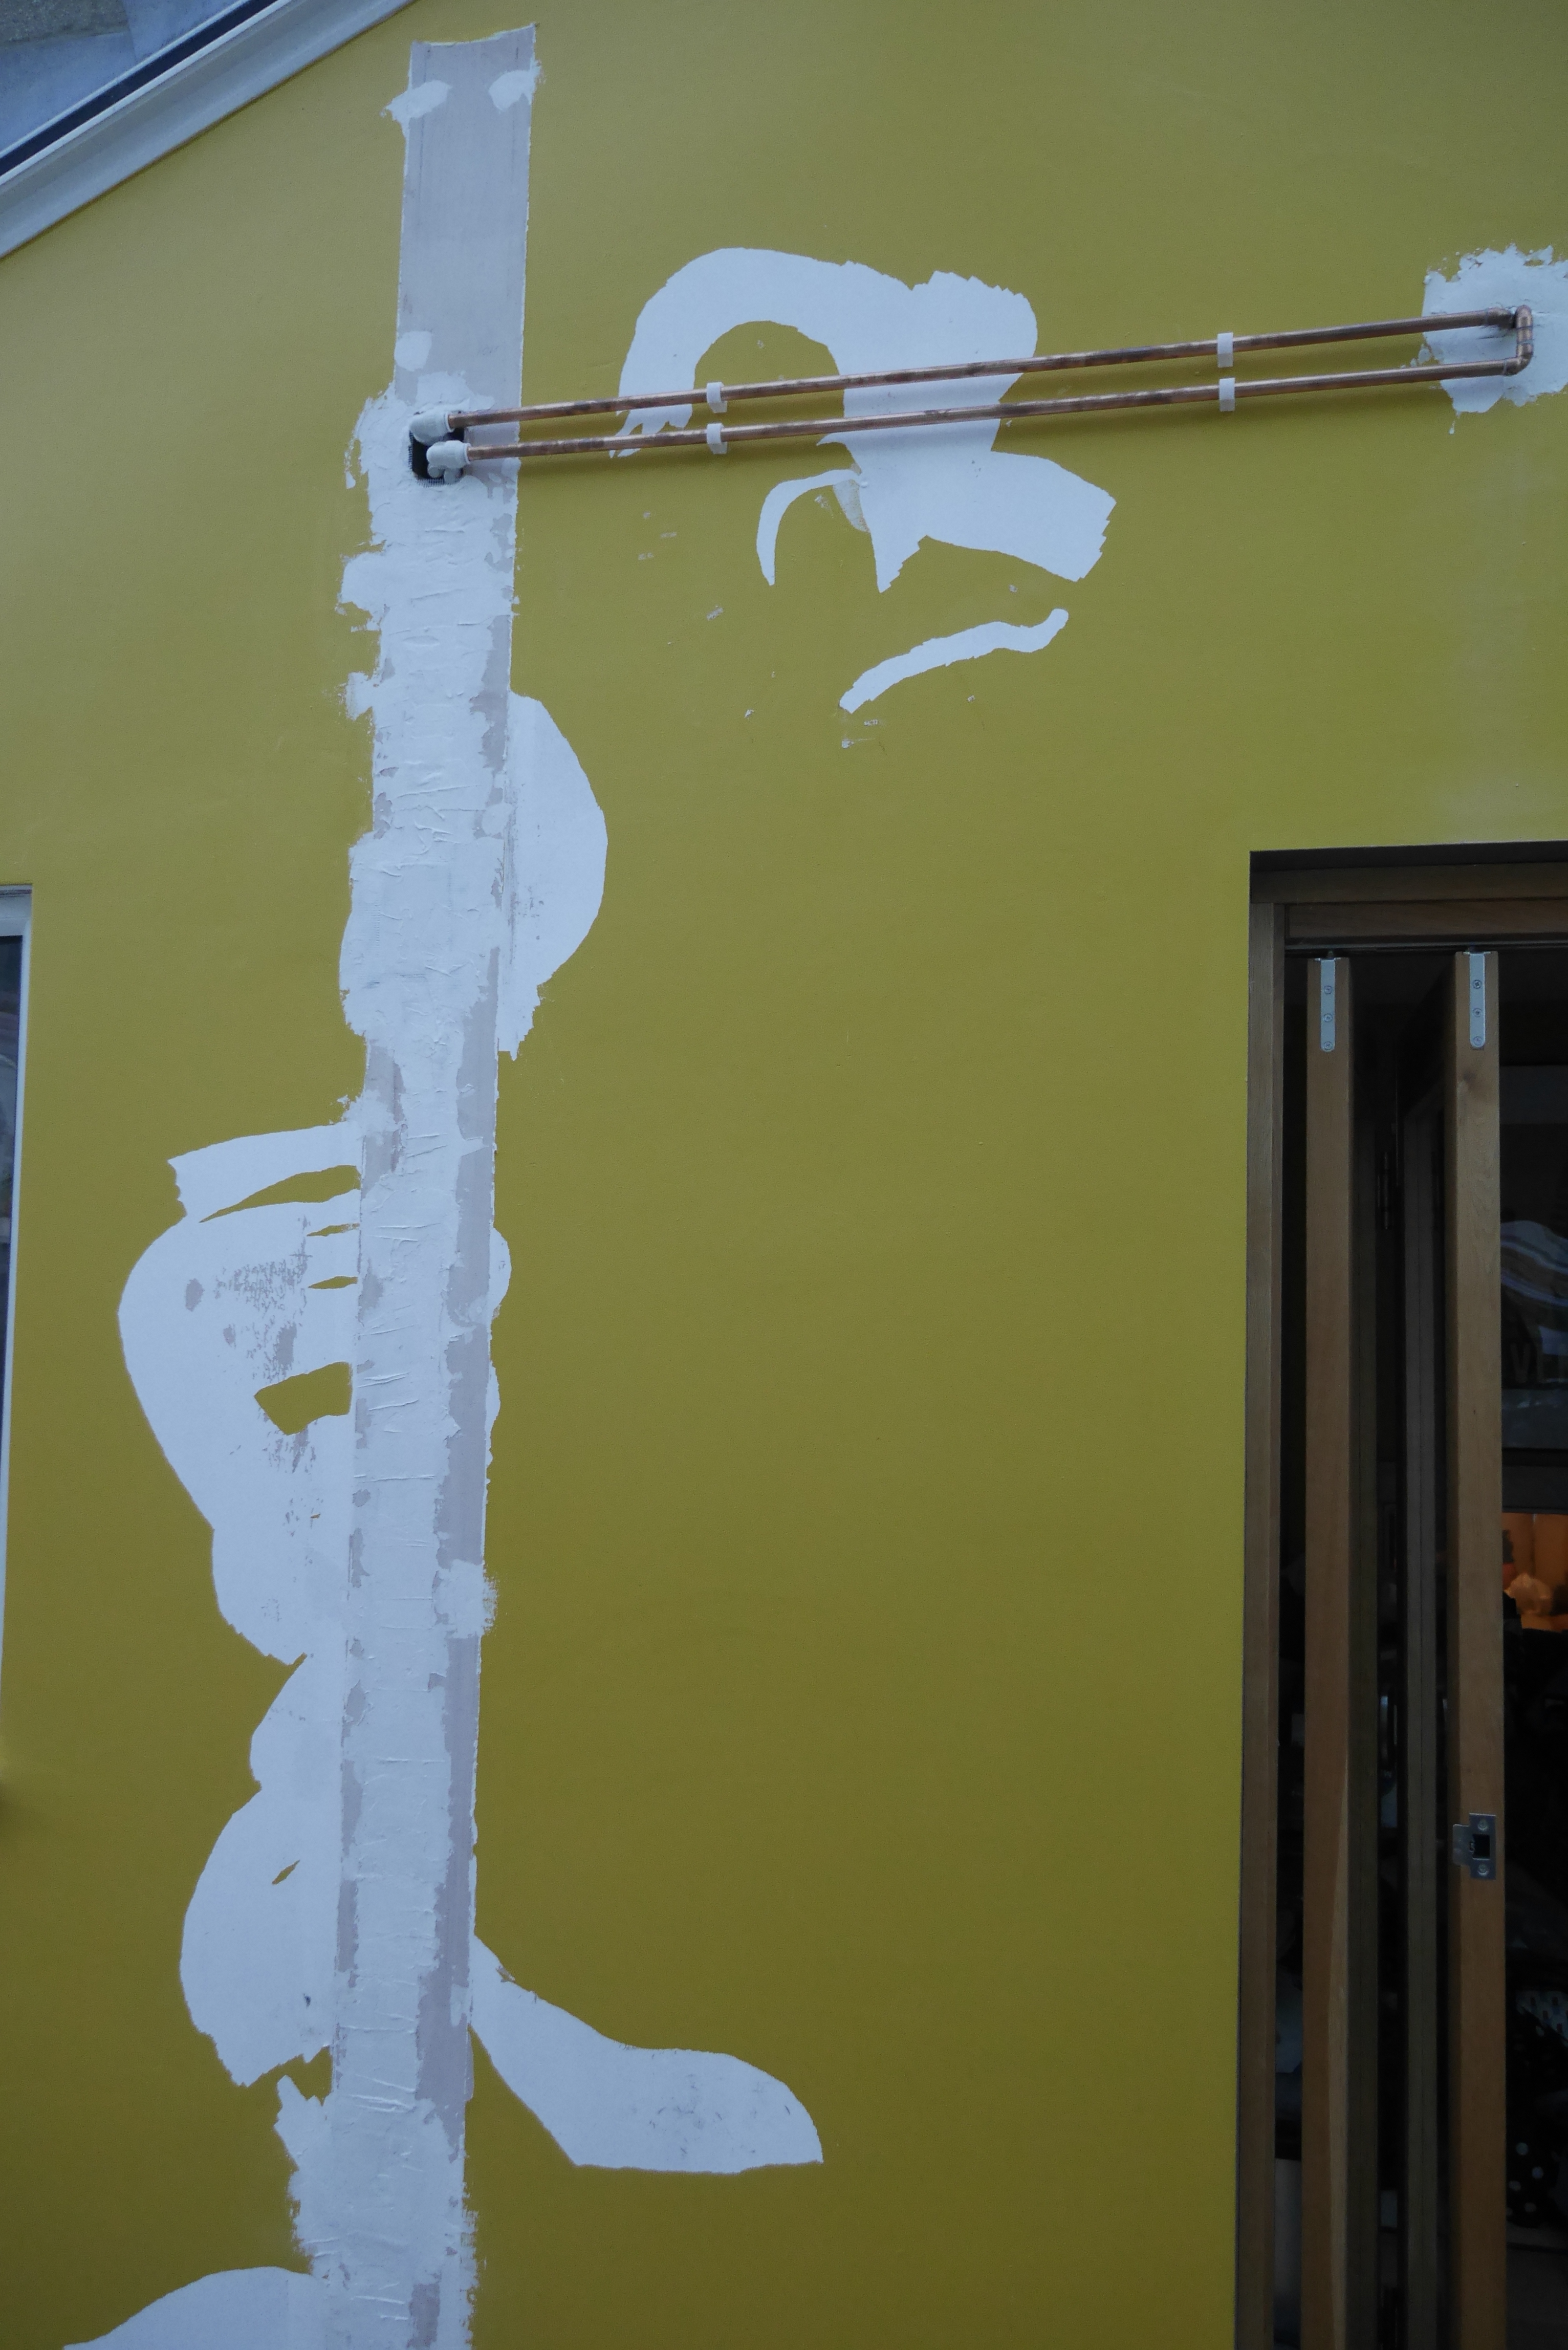
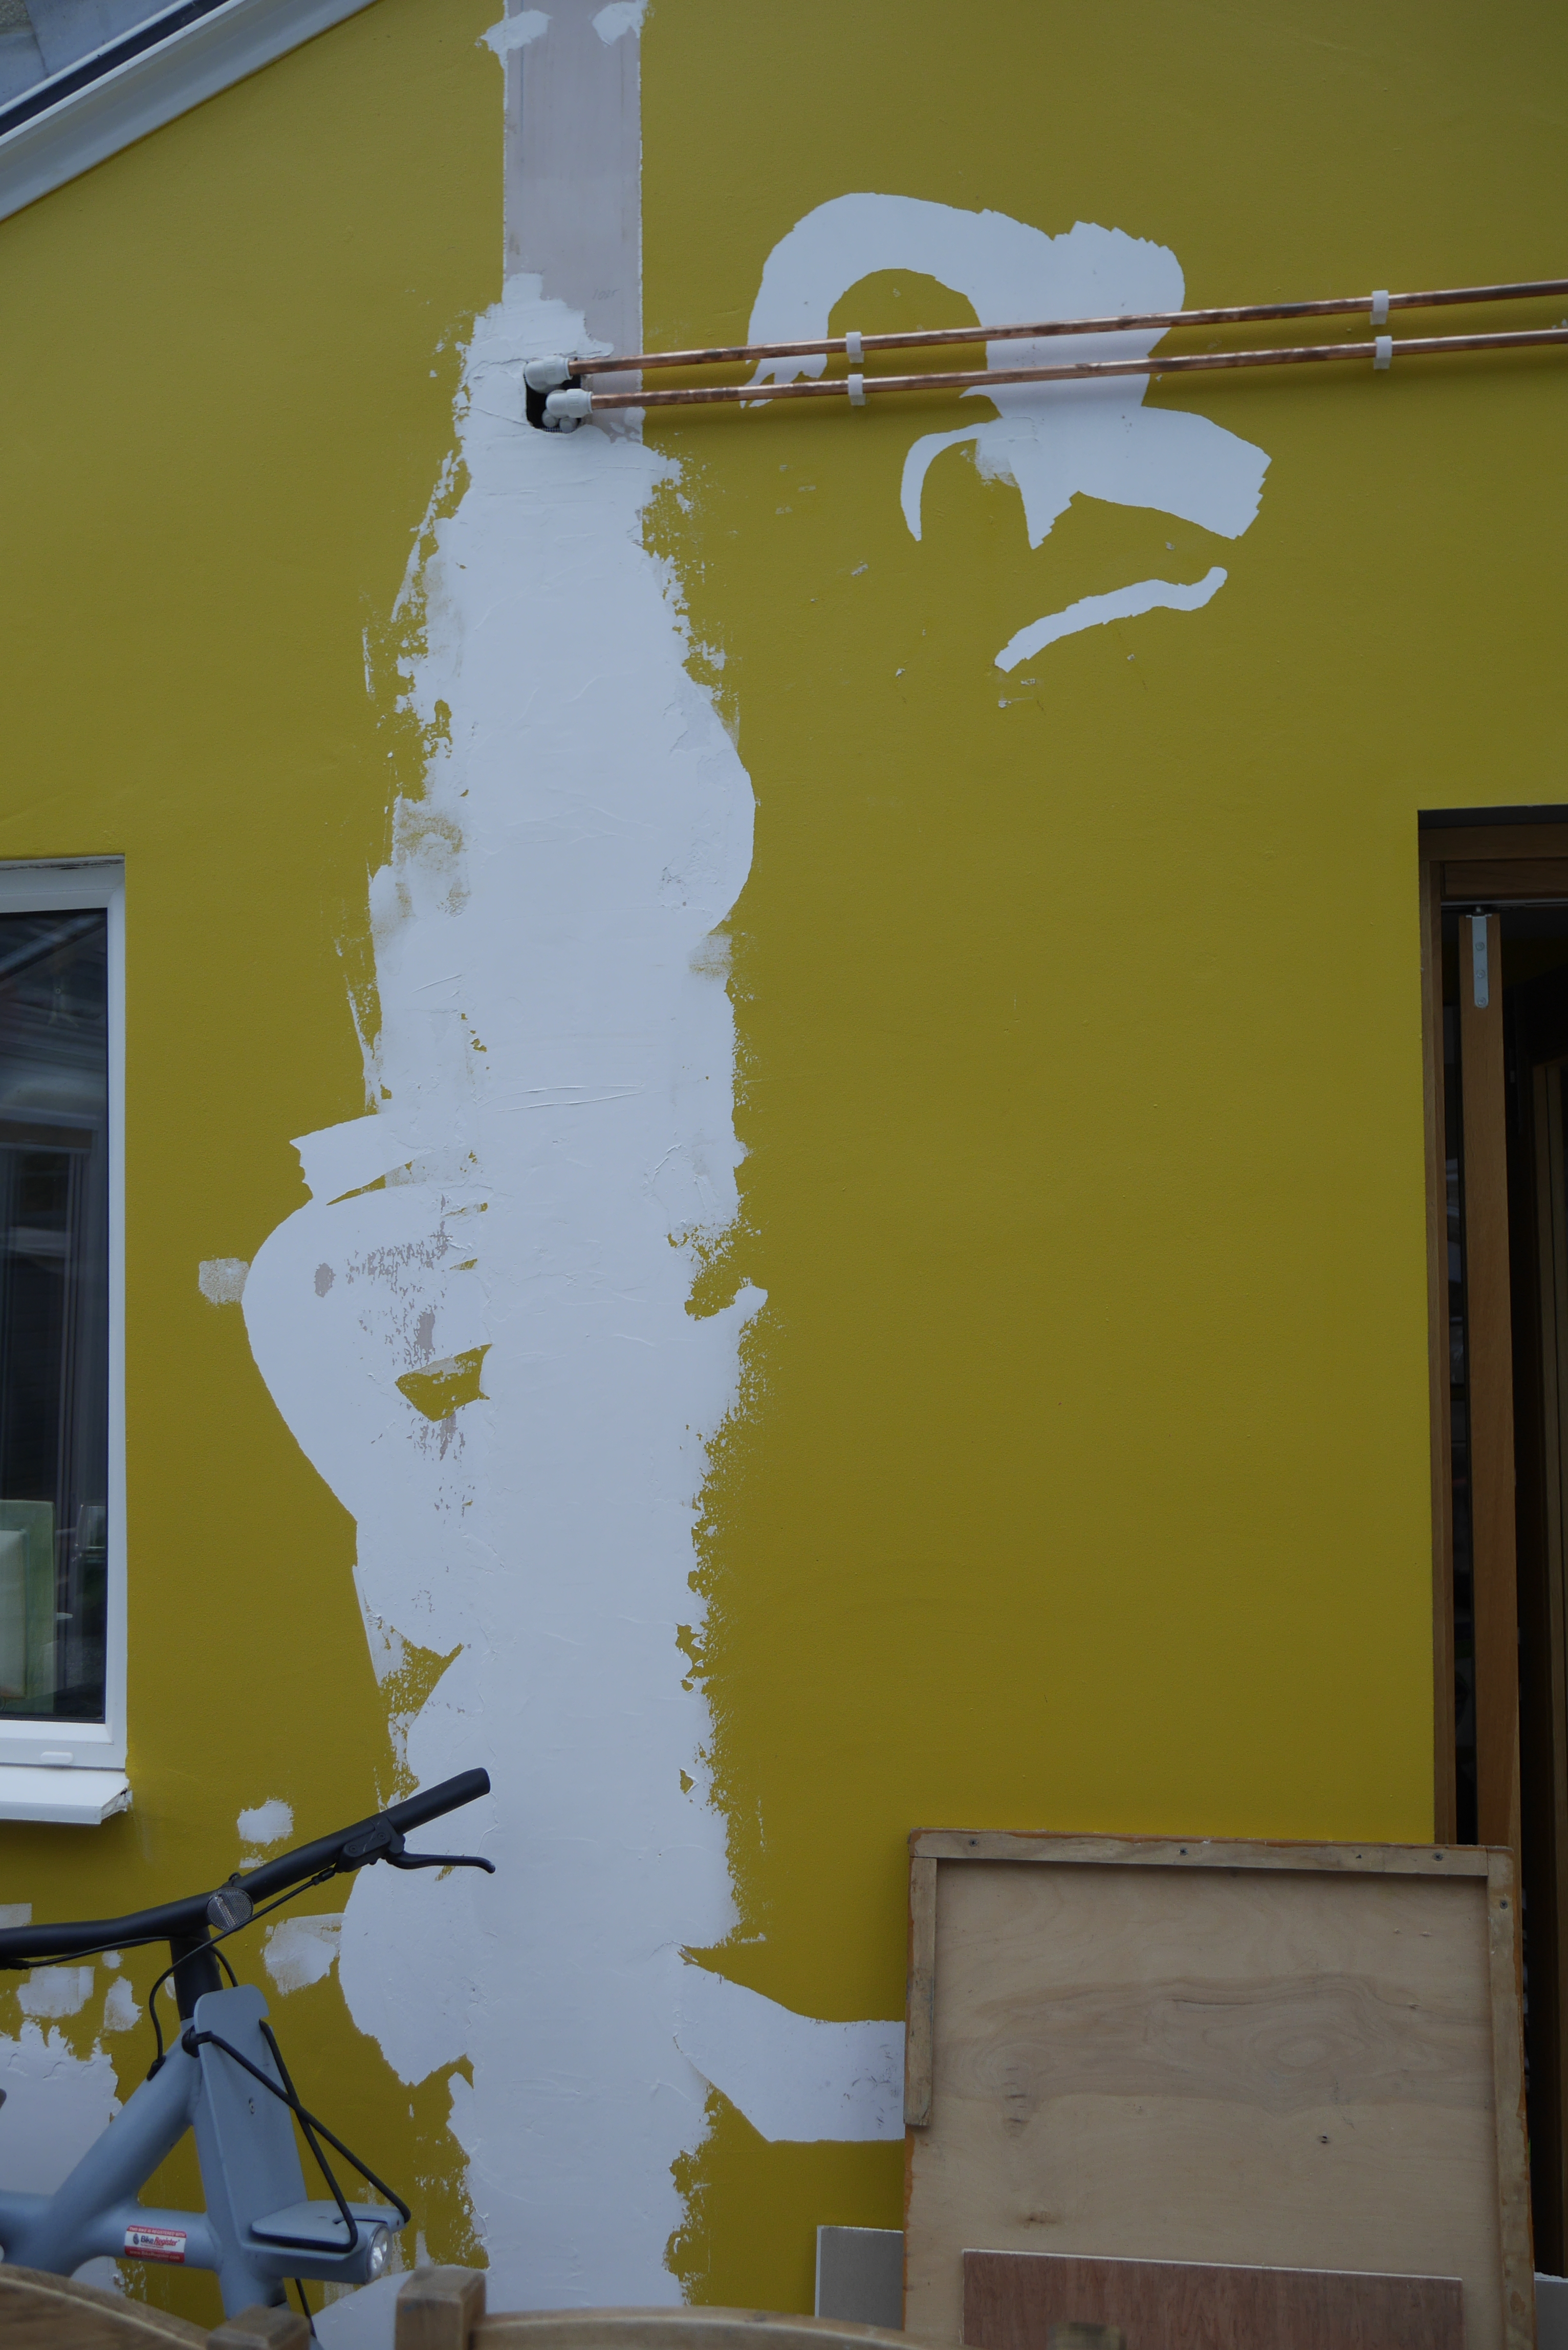
I cut sections of plasterboard the size of the air bricks then filled in the edges with filler. It’s not perfect but once I level it off it will be ready for painting. The plan is to fit a shelf to conceal the pipes and improve the appearance of the wall.
Cupboard Progress
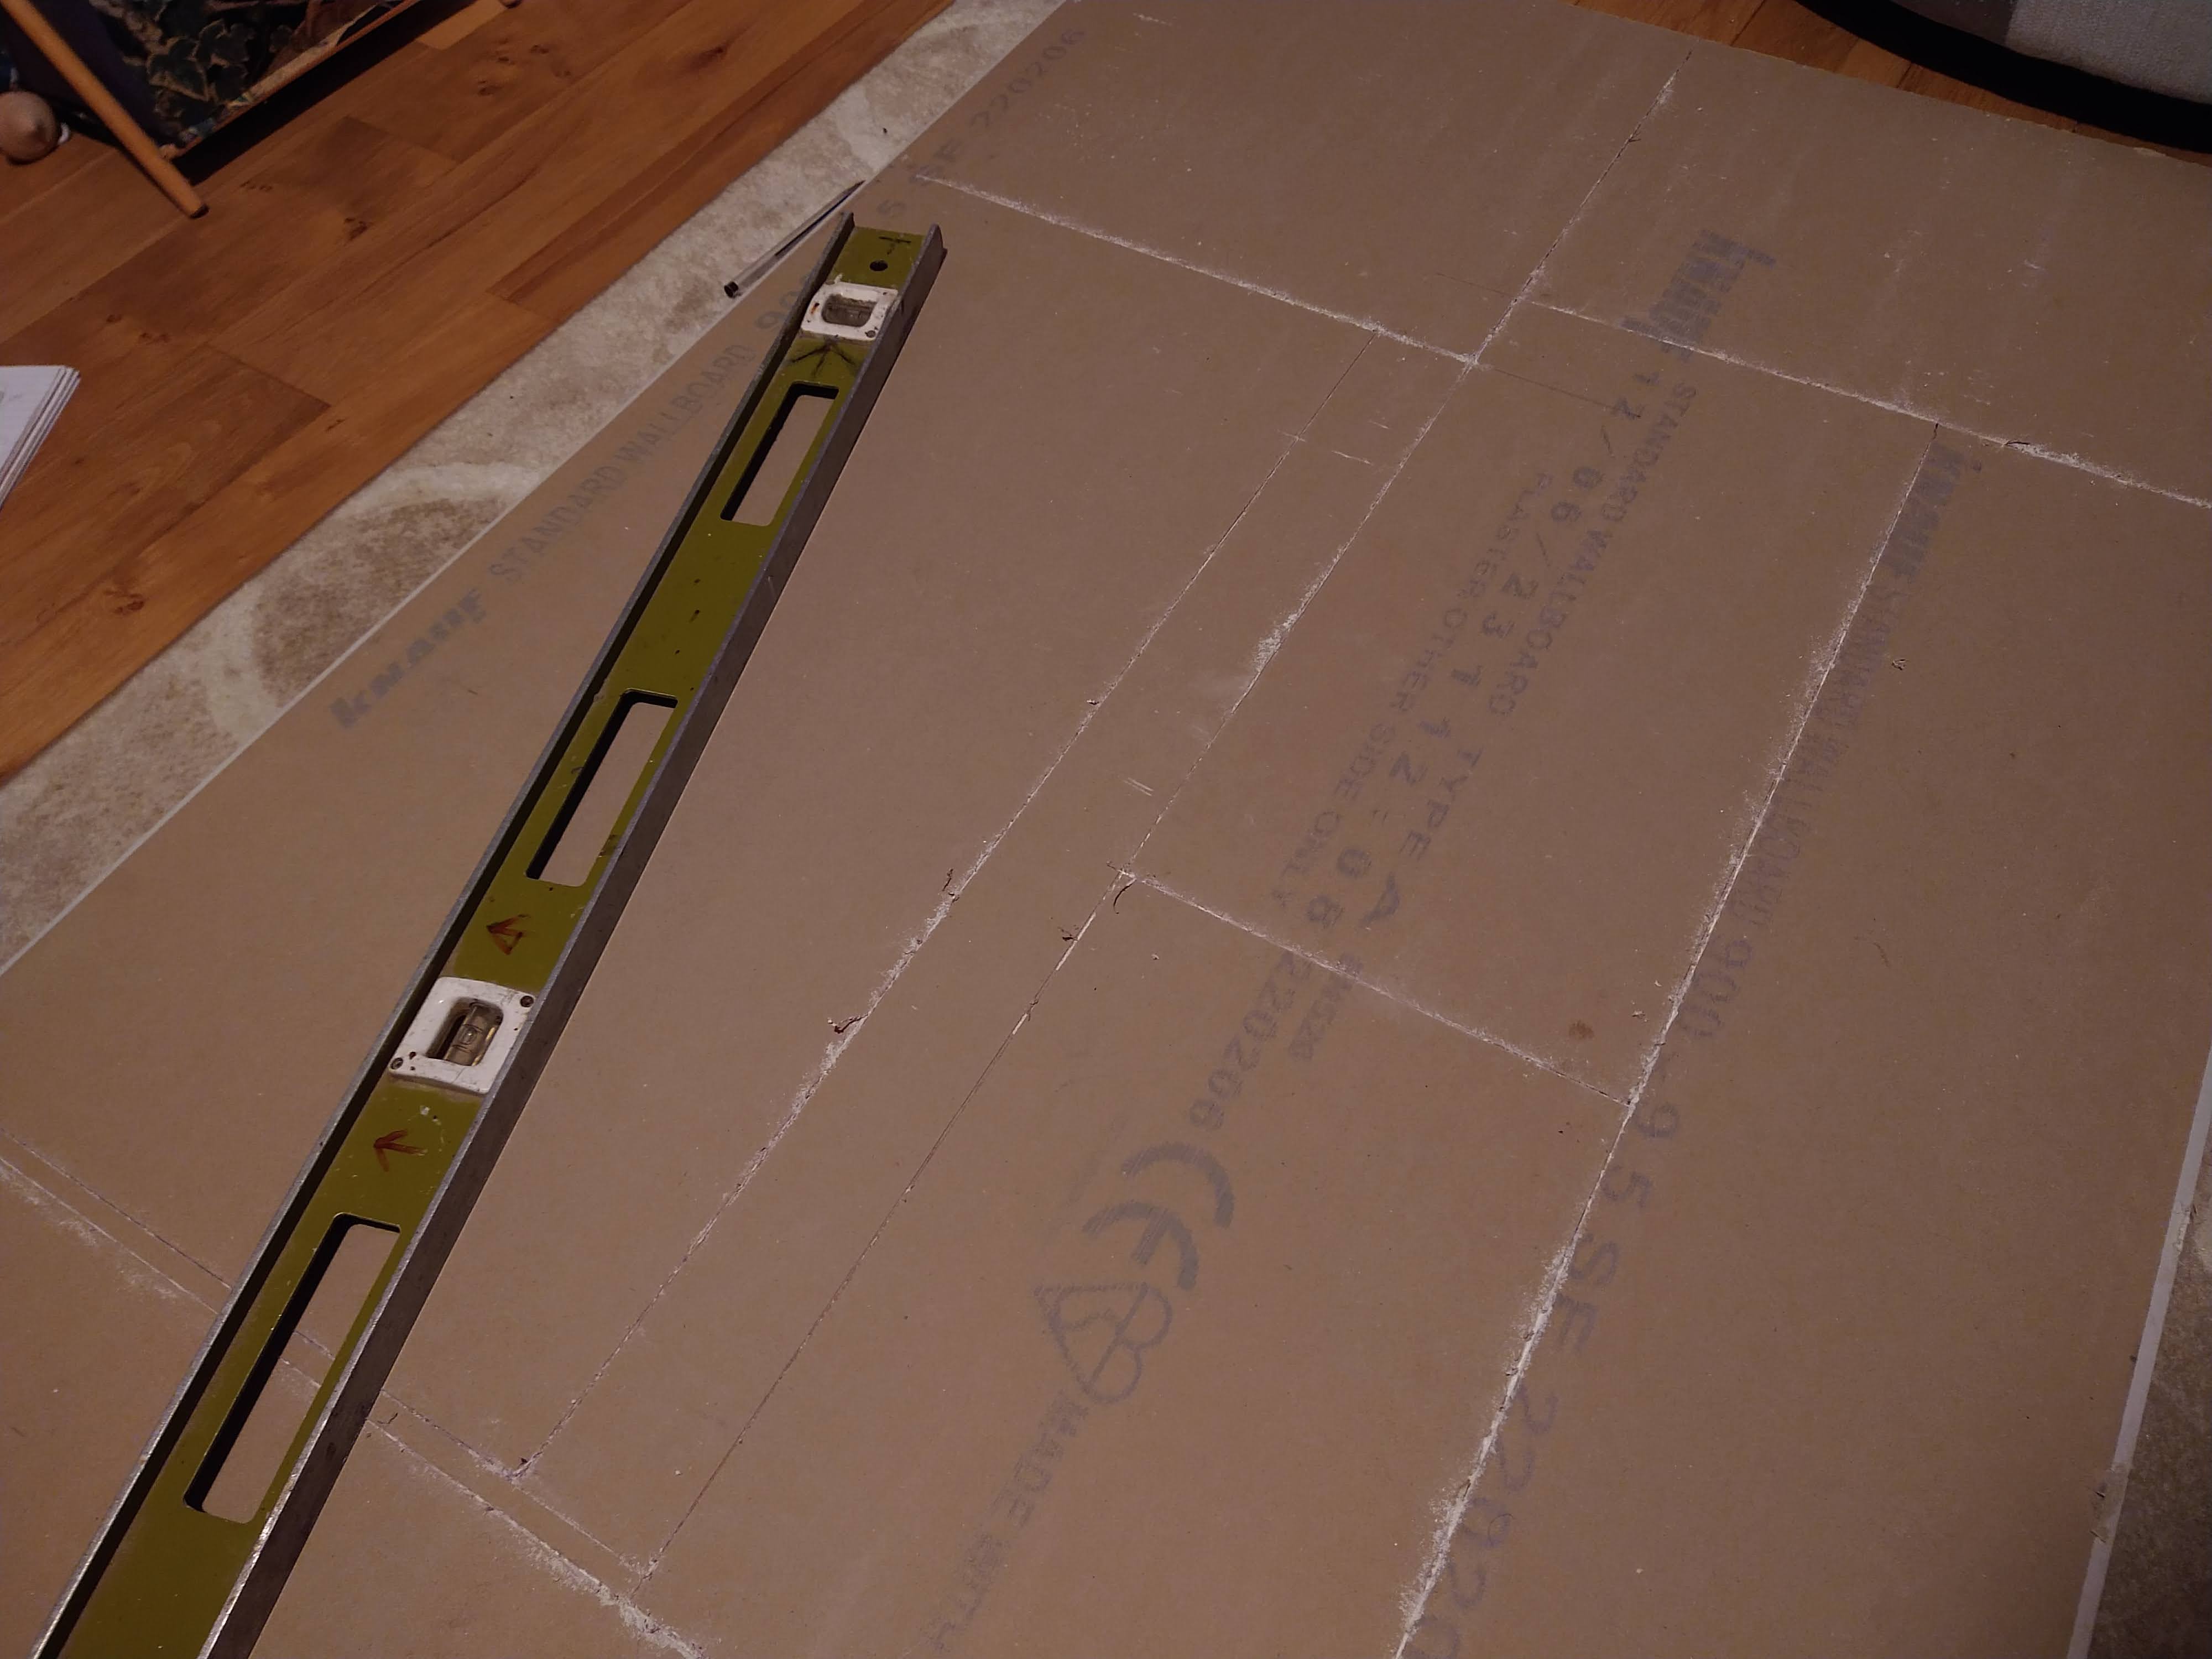
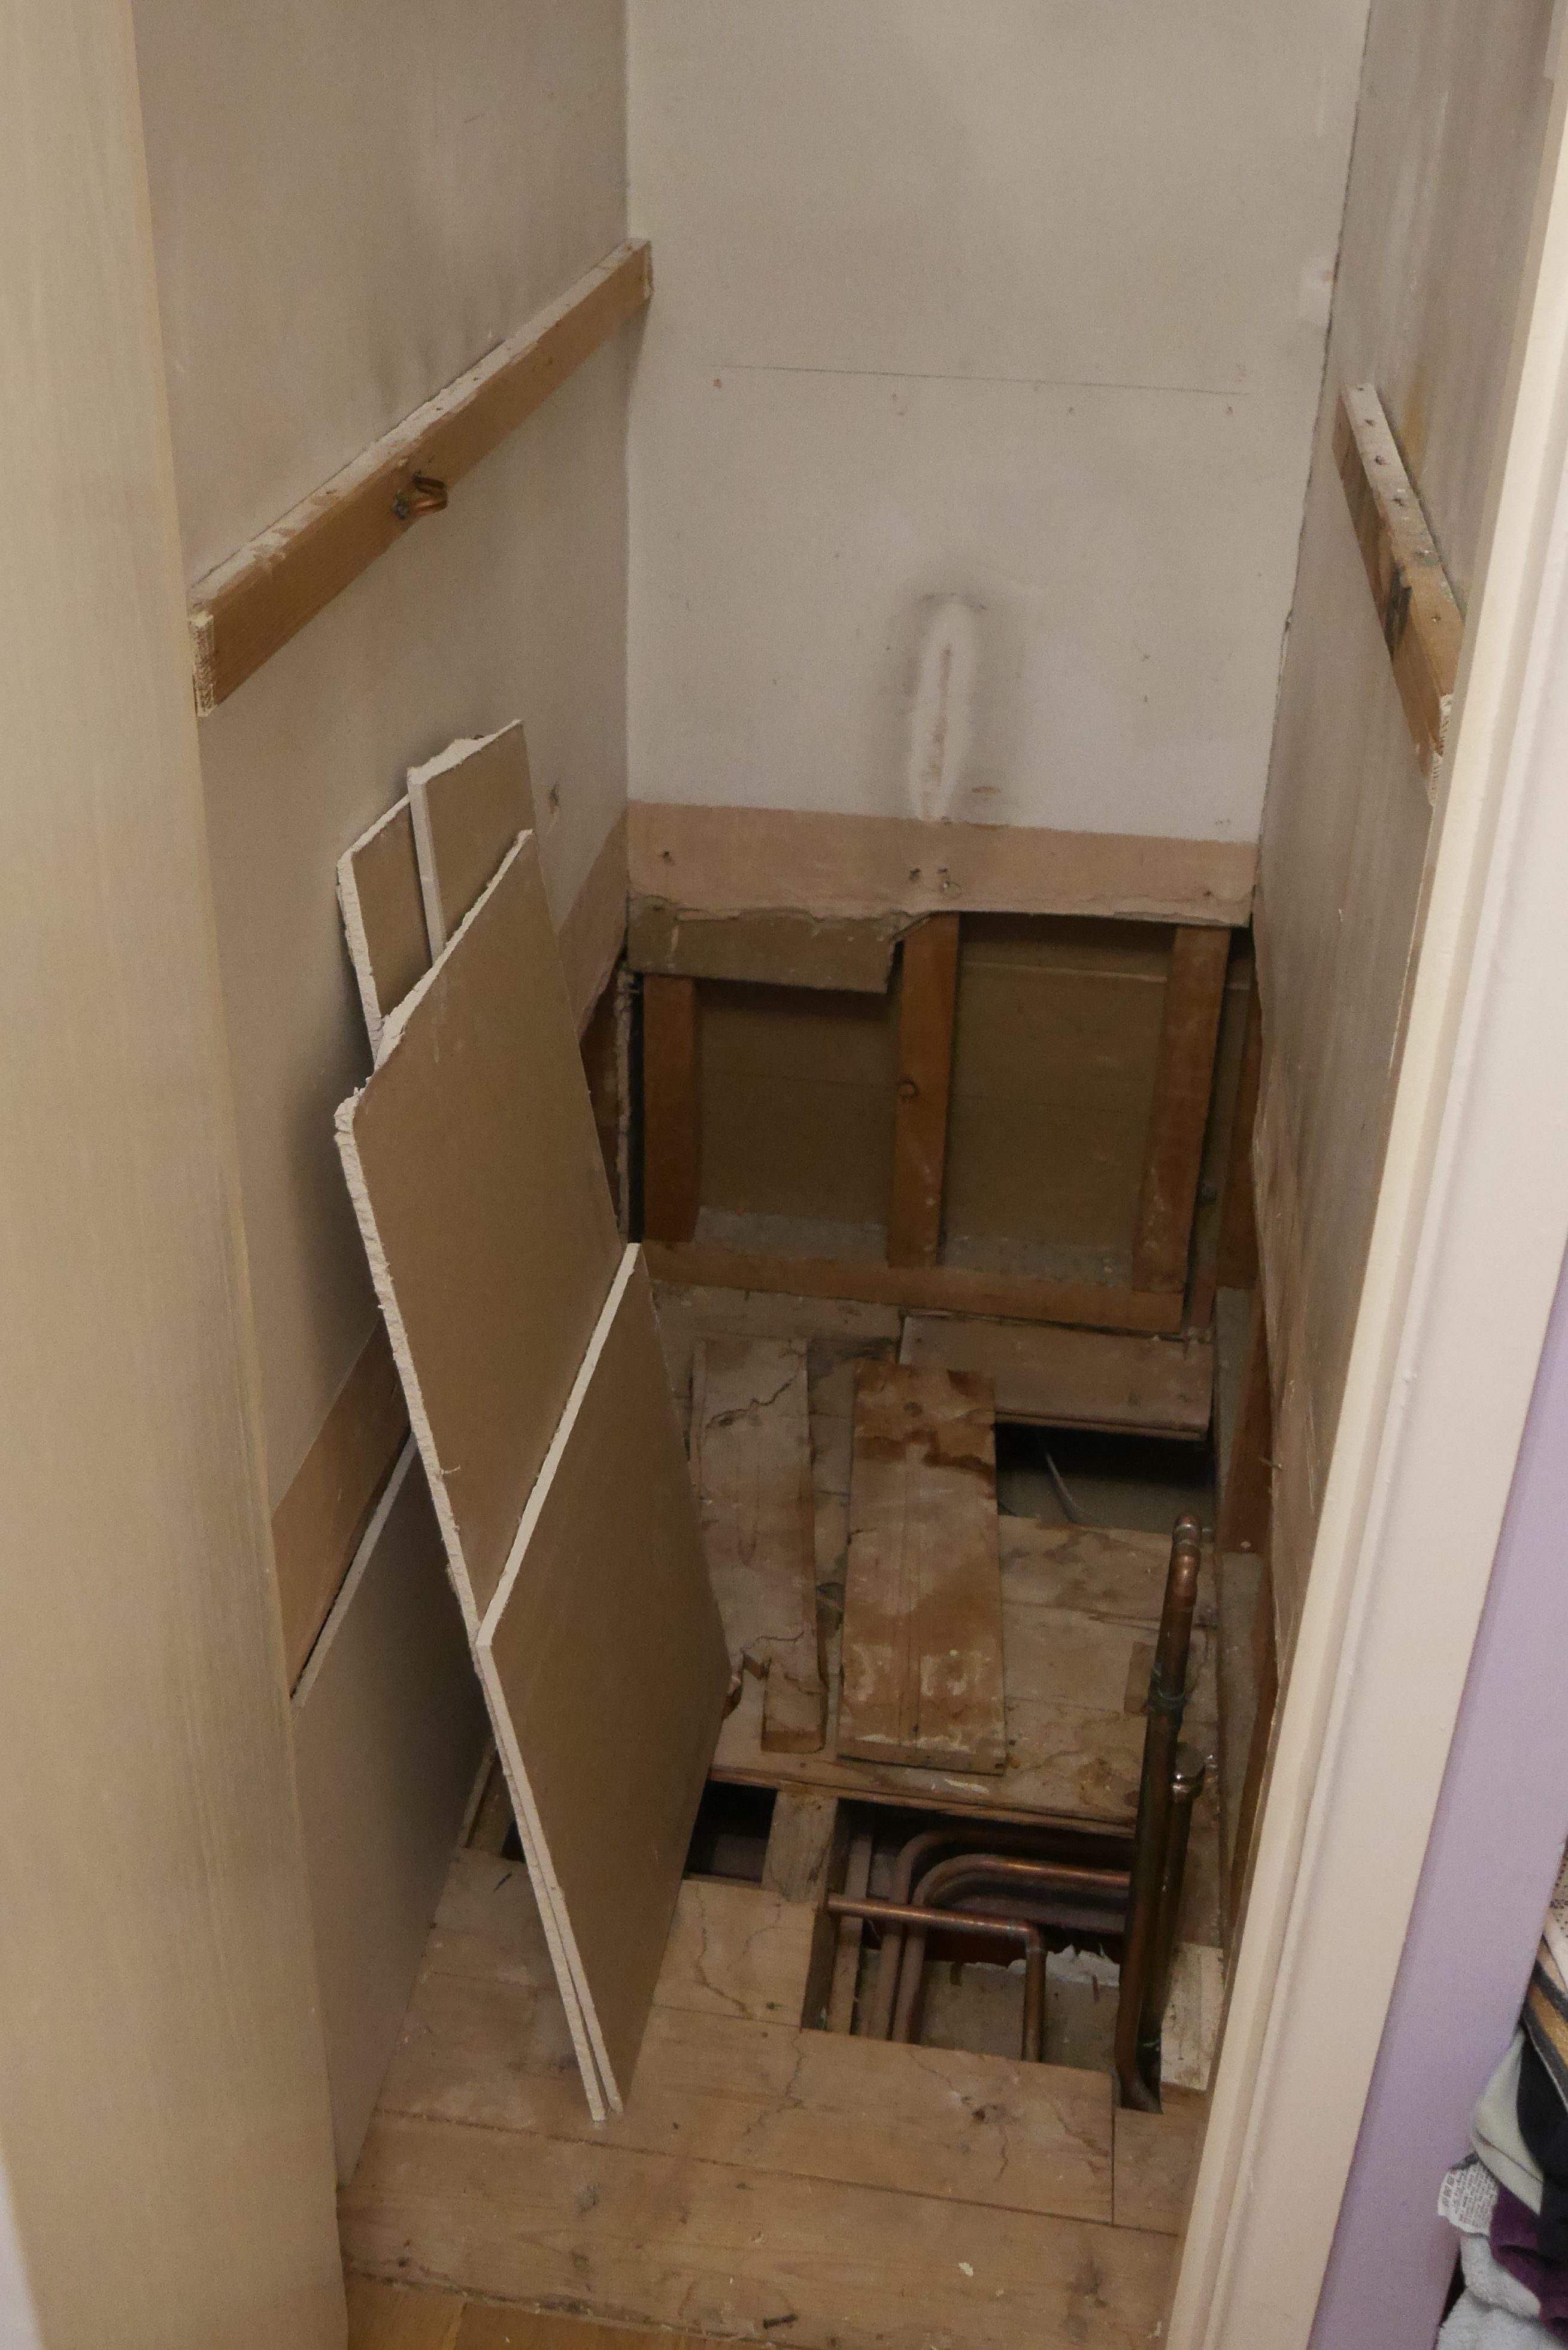
A few floorboards had to come up to allow removal of the remaining copper from the cupboard (barring a couple of ones which had to stay). I bought a sheet of plasterboard from Totem Timber and cut (well, broke) pieces to size to replace the unboarded sections. Once the plasterboard is secured then the joints will need skimming and the floor will need recovering with something which is yet to be determined. There will be loads of space to keep the hoover, dehumidifier, and all the towels in the world.
Under the stairs is still very much in progress but the other jobs have taken precedence.
Attic Attack
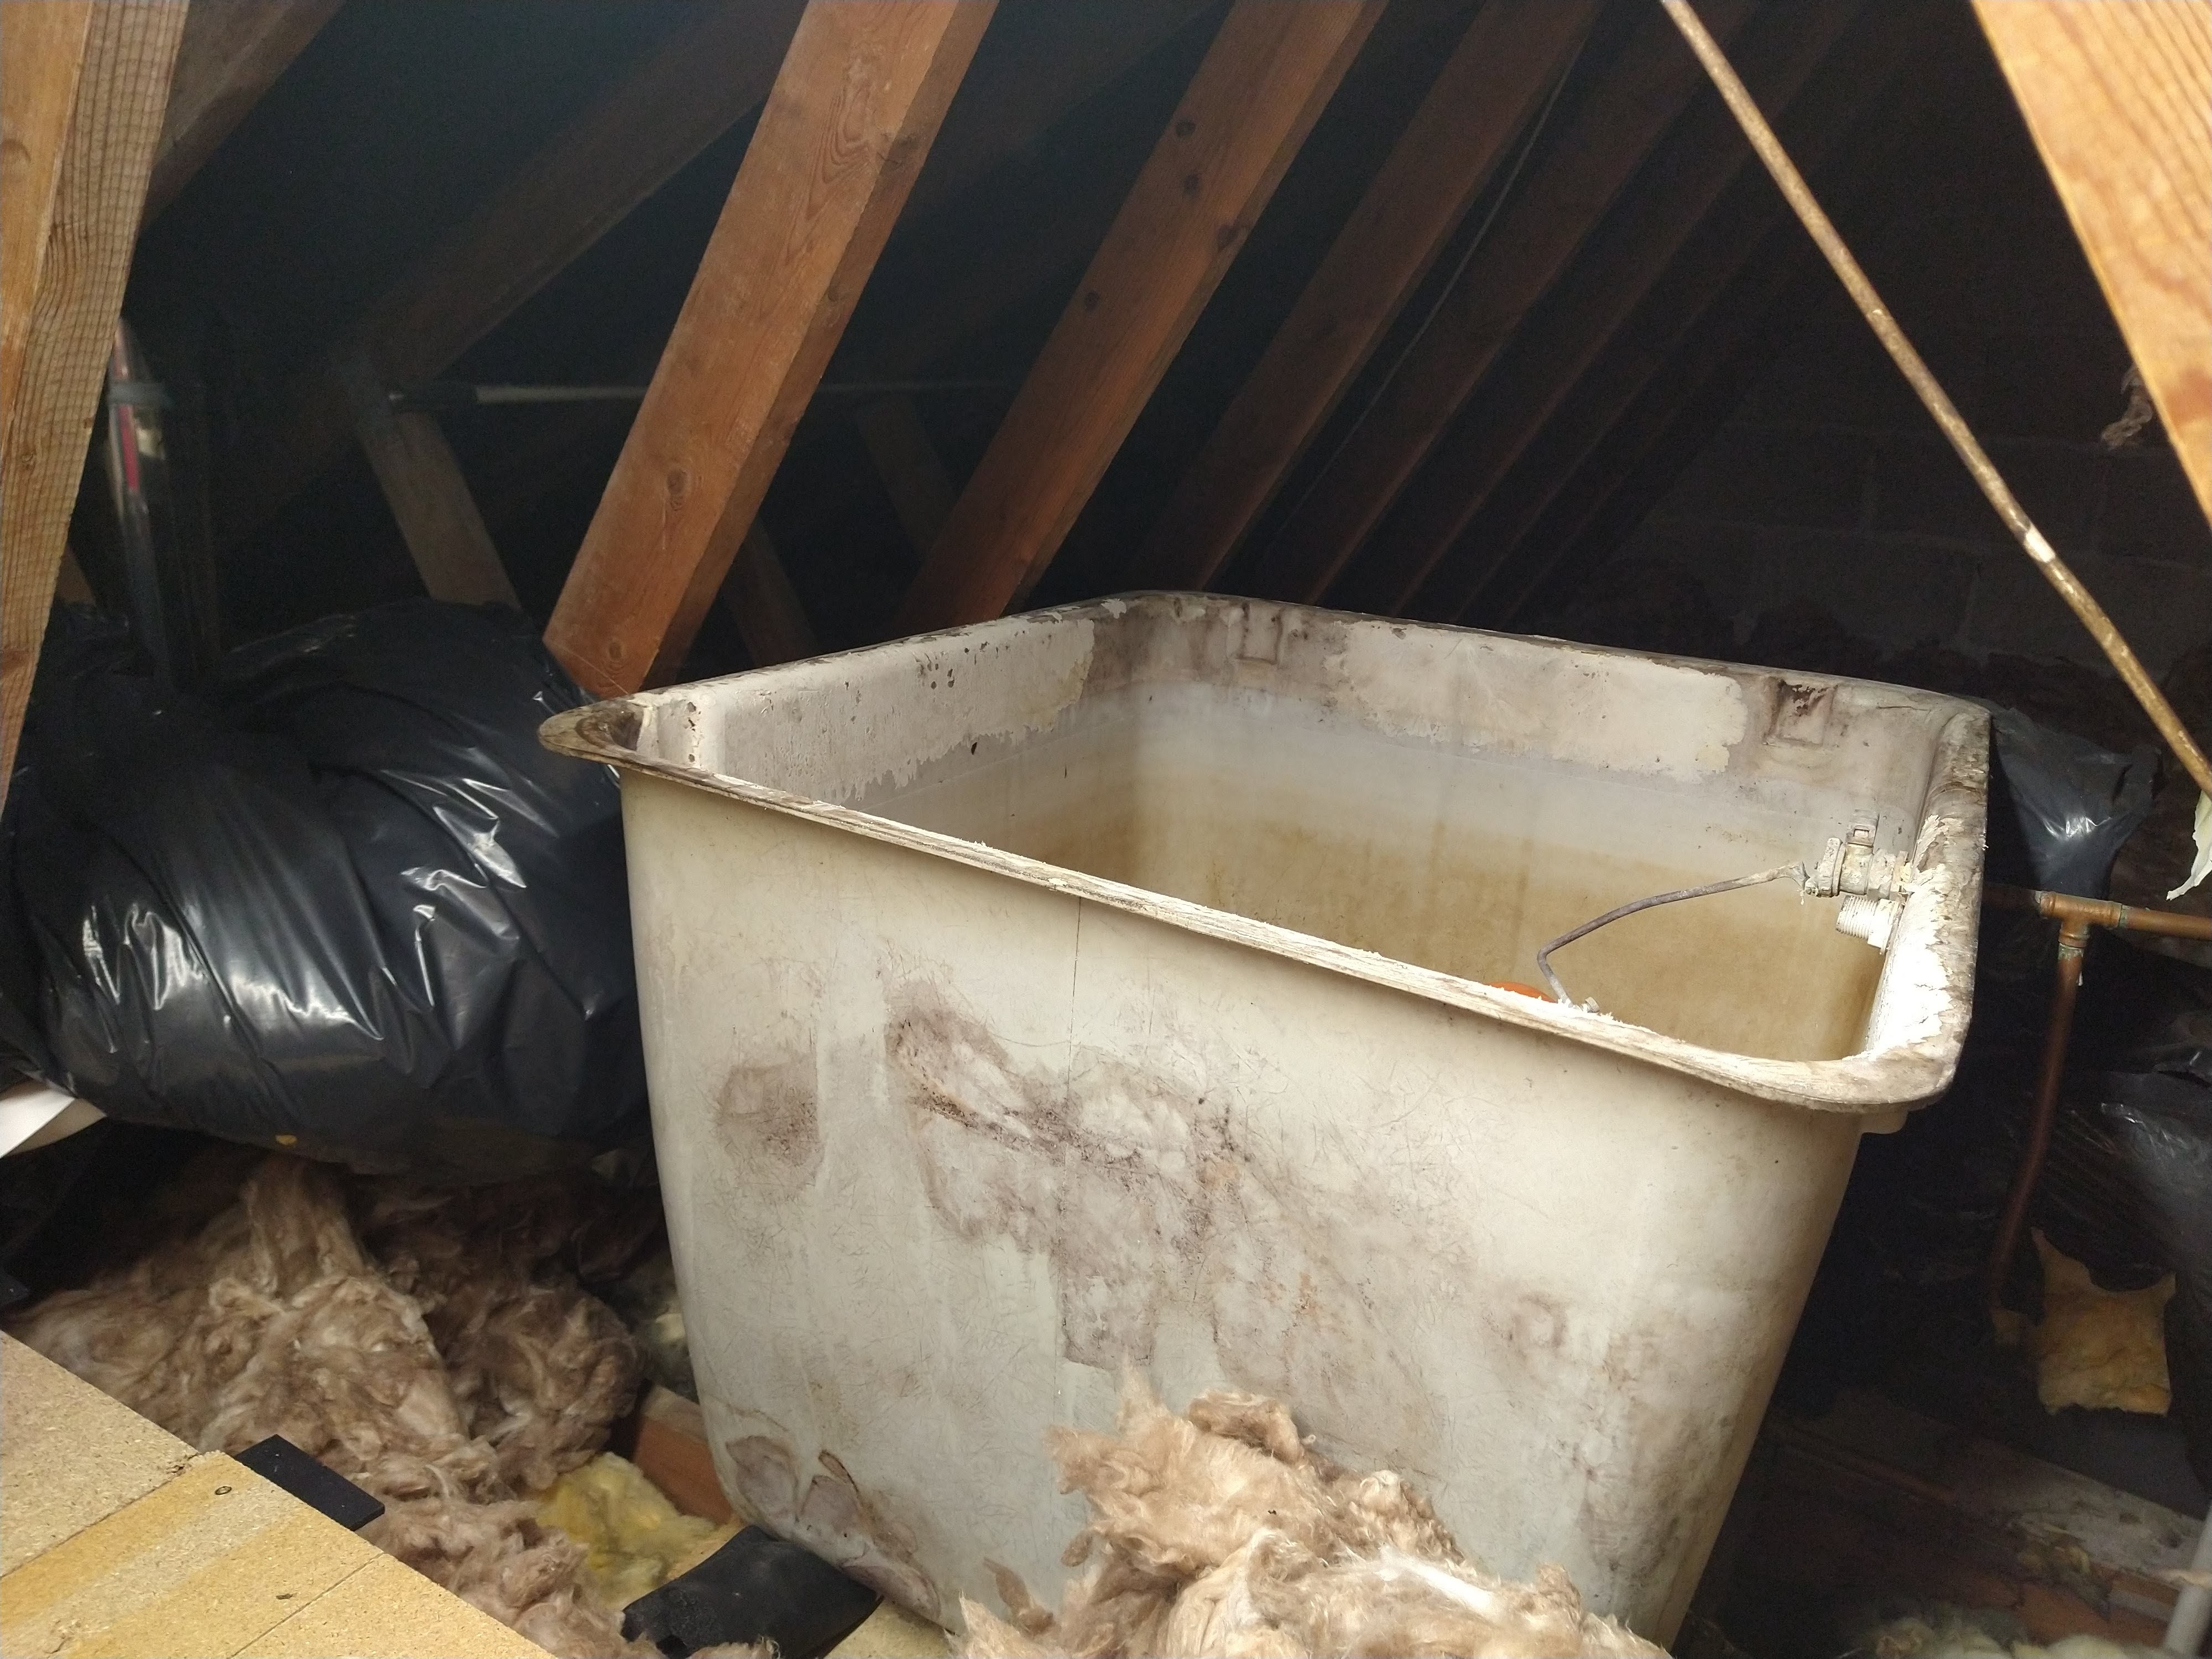
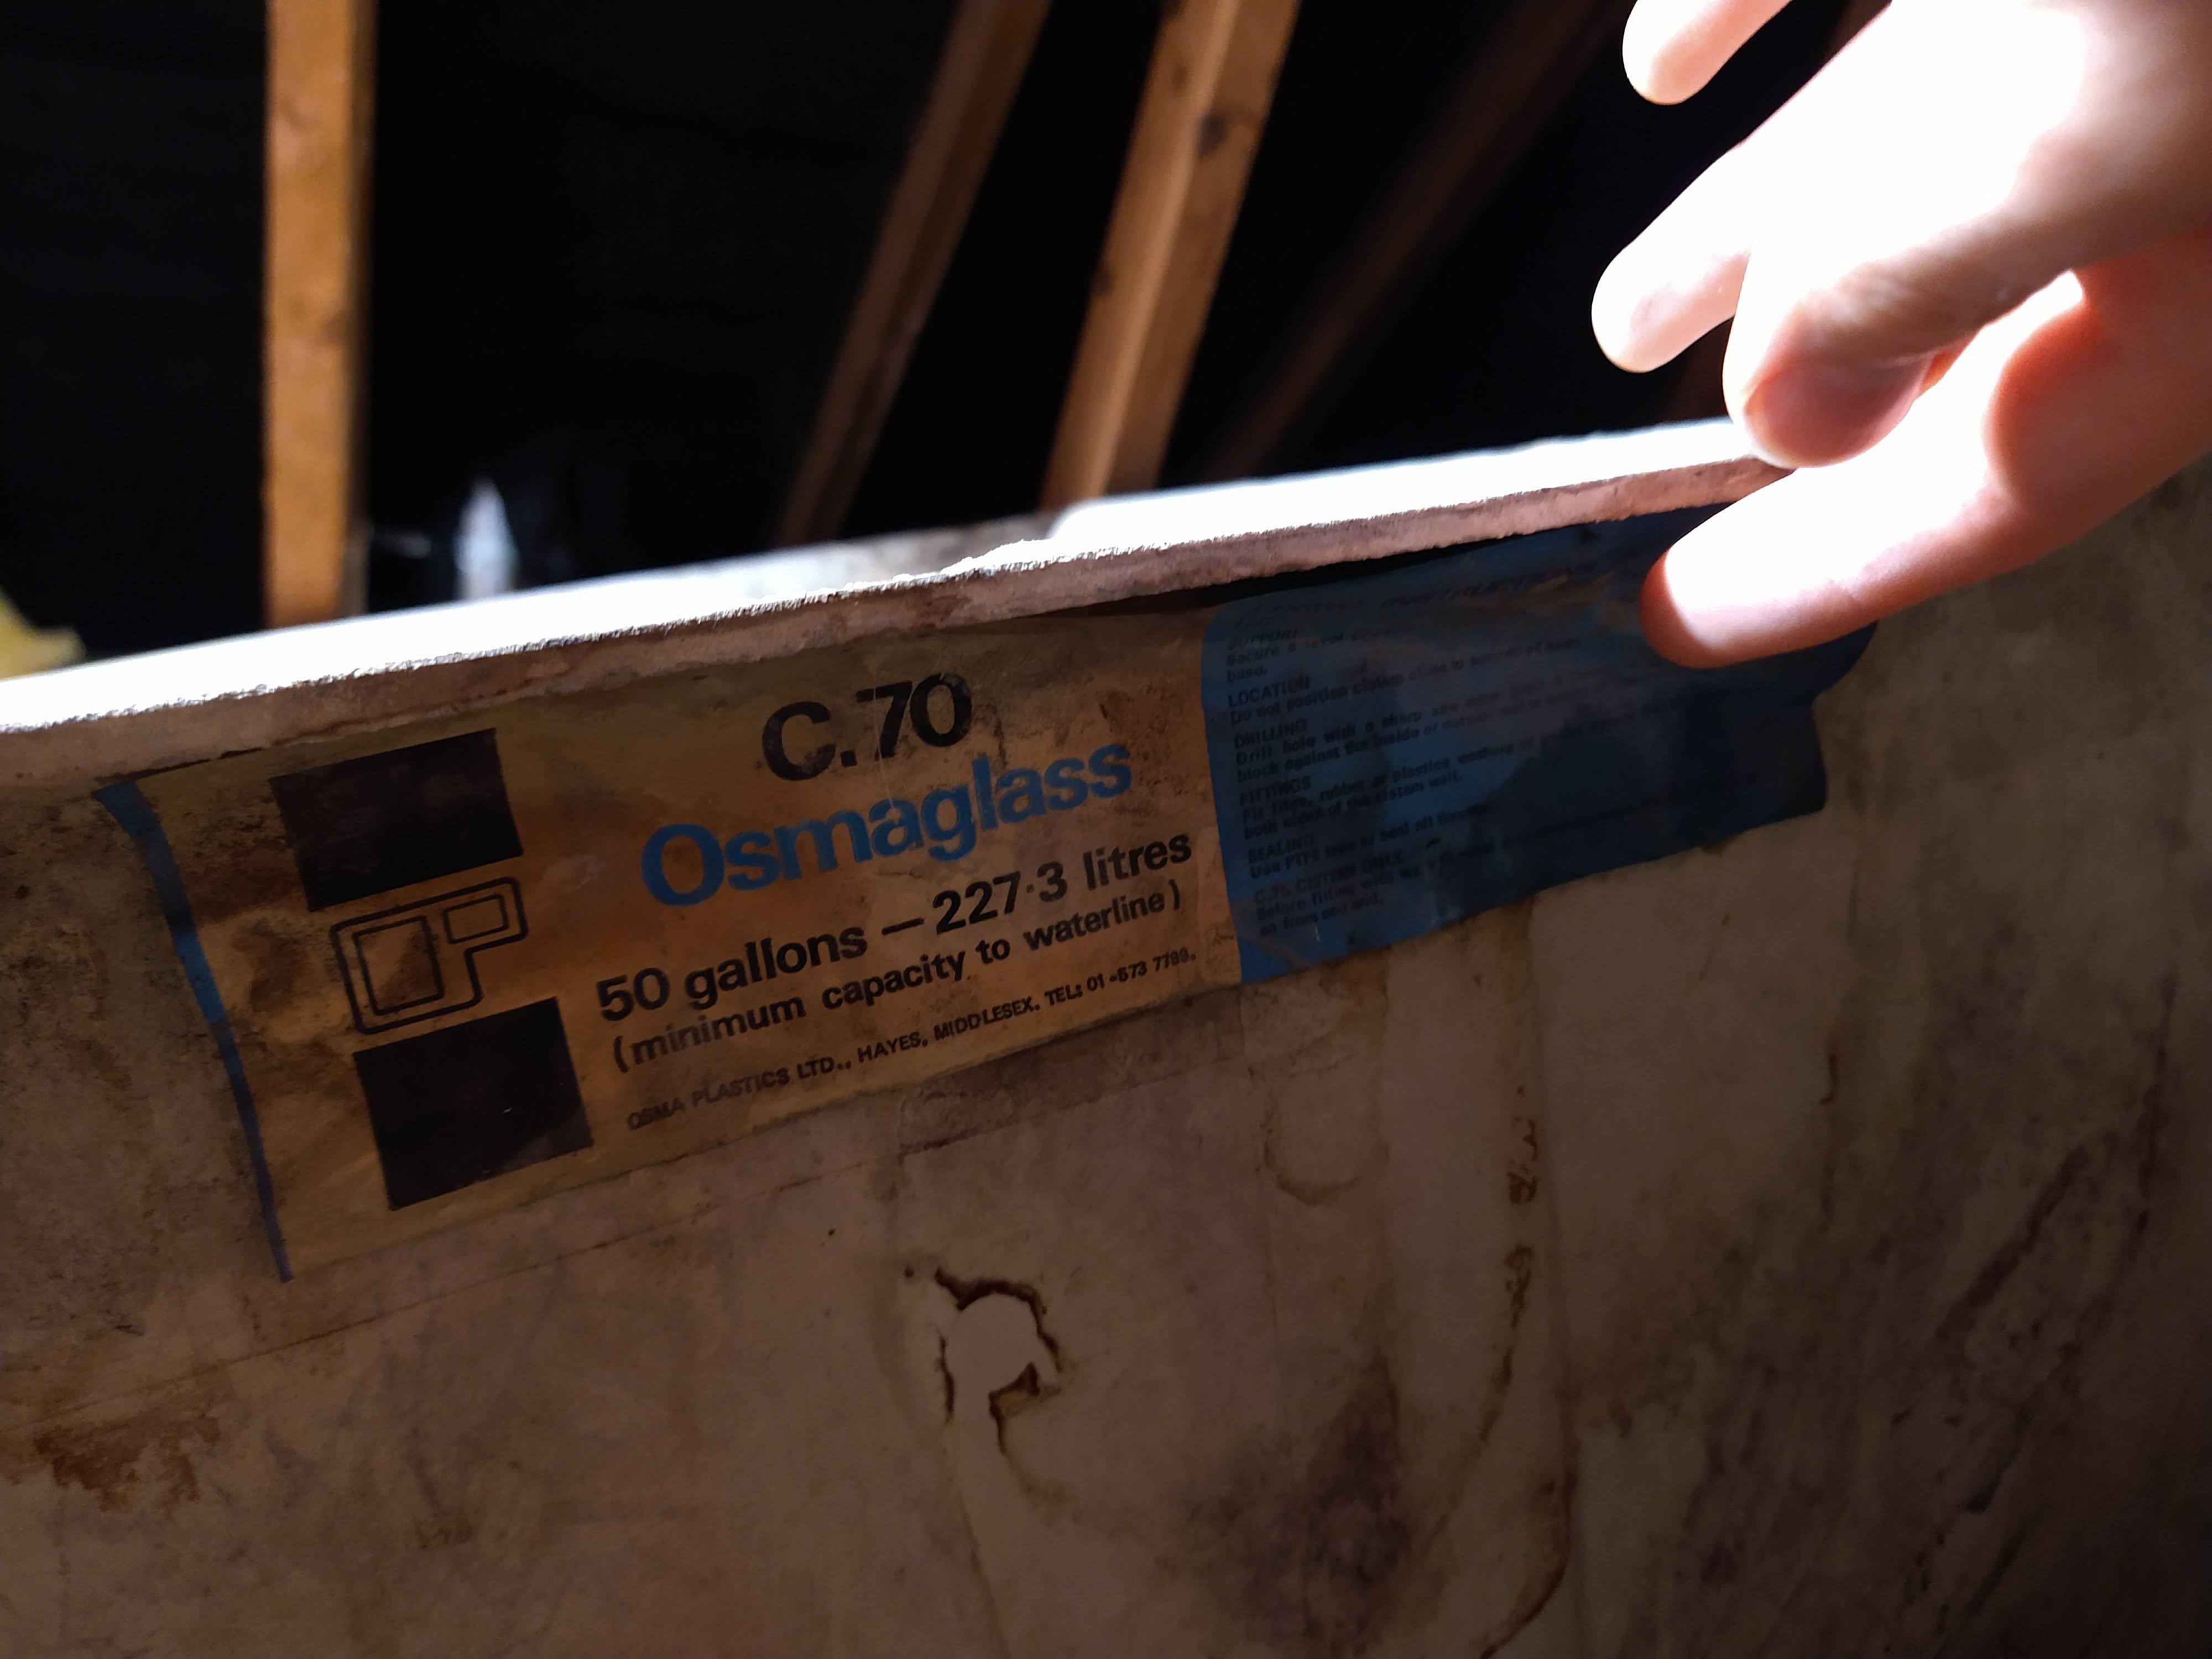
The new heating system is a pressurised unvented system so there’s no need for a cold water storage tank in the loft. Given the age of the property (1970) my first thought before disturbing anything is “could this contain asbestos?”. My work in lung pathology has exposed me to a lot of horrible cancers so asbestos is not something to be trifled with. After contacting a few asbestos removal experts I’ve had some assurance that the tank is fibreglass, as I suspected, and that there should be no asbestos content. Asbestos cement tanks tend to be bigger and heavier, and typically present in significantly older properties.
The next step is to cut up the tank so it can be removed from the loft, then the fun of putting in support stilts, more insulation, and raised flooring follows. It will mean a more easily accessible loft and a lot more storage space.
The work continues!

Leave a comment