Operation “New Car Radio” is go!
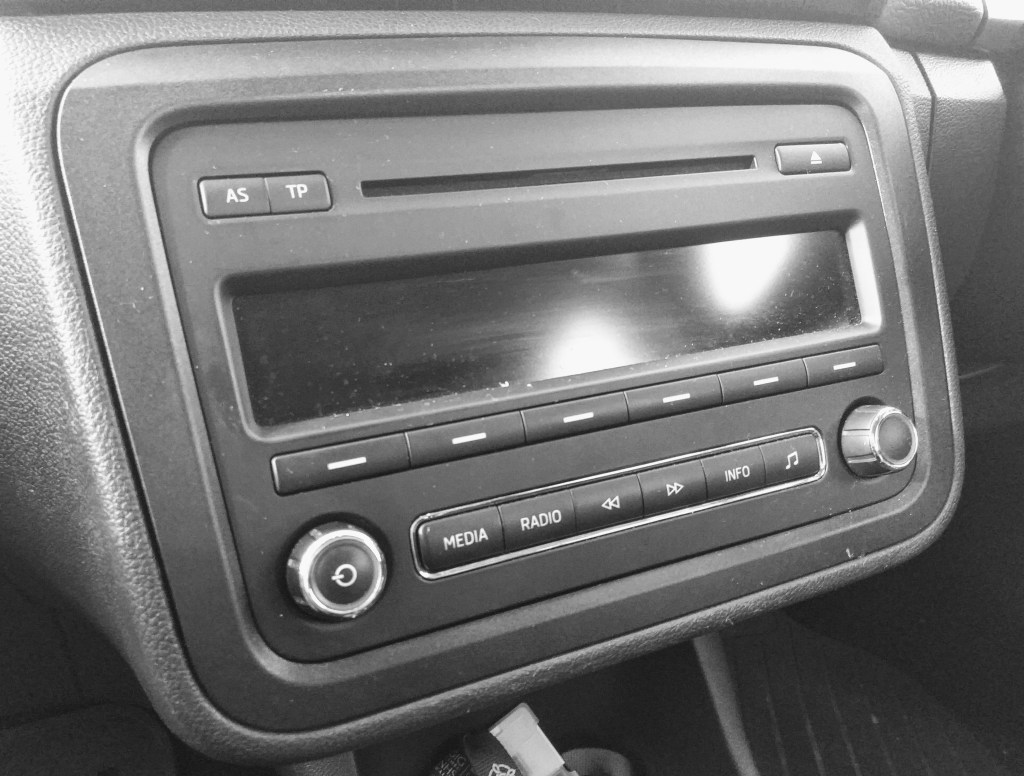
Since getting the Skoda Fabia from my parents (it was previously my grandfather’s) the radio has bothered me. It’s fine and all, but being stuck with a very limited selection of FM radio stations (during what can be a protracted commute) was driving me a bit mad. Caution, any puns you experience are not intentional.
I looked into the various head unit options from Skoda but that would be too simple. What if I could get a more complicated and awkward option? Enter the Android head unit. It is exactly what you would imagine – a computer fitted into a double DIN head unit running a version of Android. The idea is to have a unit that can be the radio, run Spotify, navigation, operate as a phone, and do anything you can think of.
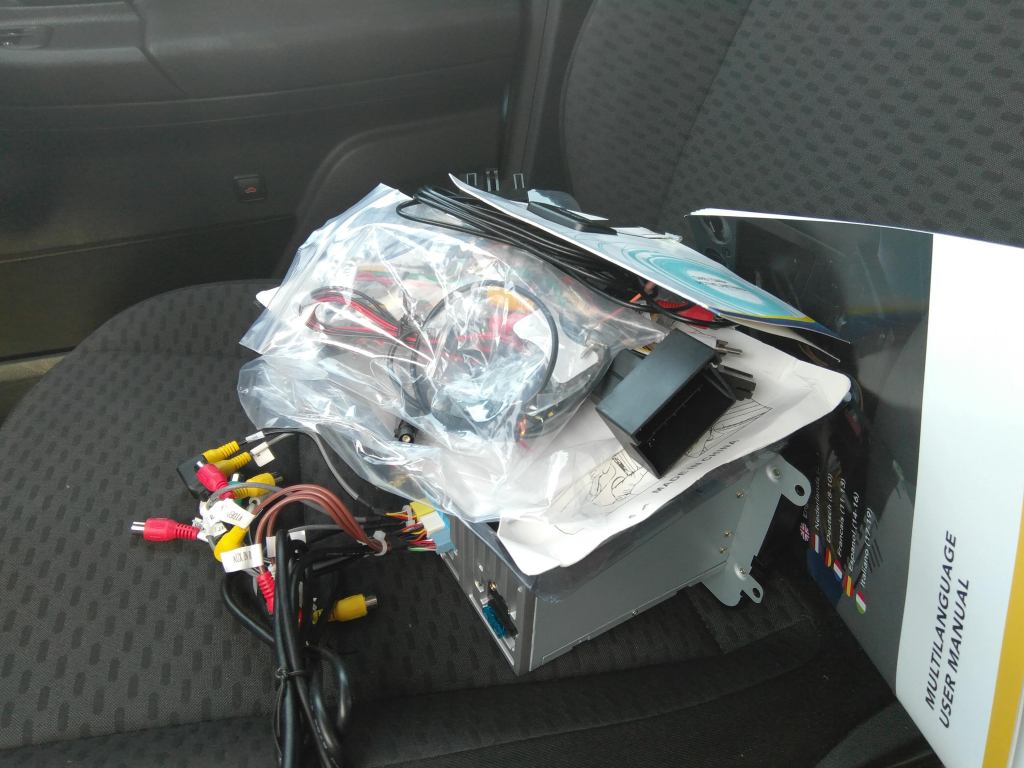
Now to the fitting. This unit came from carpar.com who provided a user manual with practical advice for fitting, and all the required cables and what not. A GPS antenna was included, but DAB was an optional extra. I purchased a separate compatible USB DAB receiver from eBay for about £20. I also bought a reversing camera for £5 from eBay, and a six metre composite AV cable.
The simple part was installing the head unit itself. Plastic trim removal tools are perfect for pulling apart the dash without leaving marks. The radio was held in place by four Torx screws which were easy to remove. The car antenna required an adaptor, but otherwise installation was a straightforward plug-and-play affair.
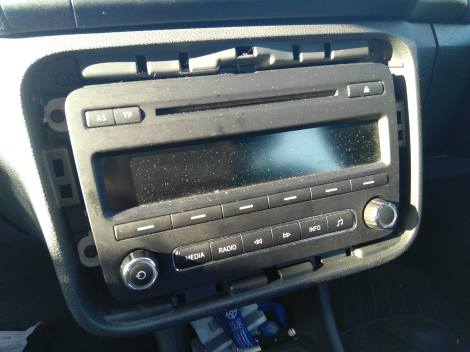
Removing the trim around the radio 
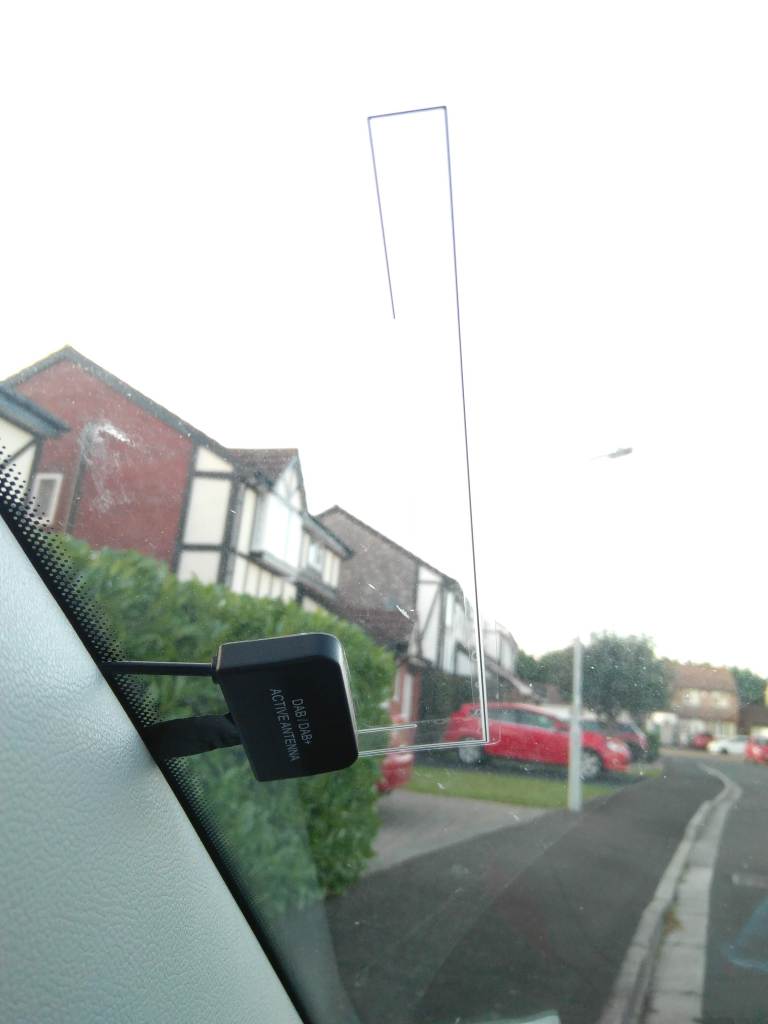
Lifting the A-pillar trim 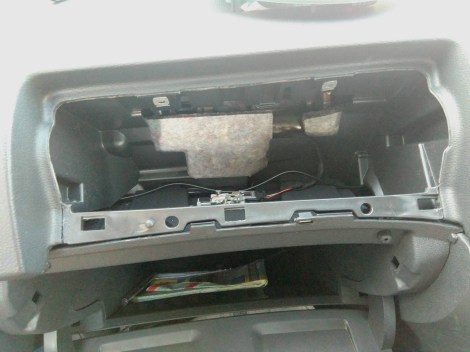
Removing the glove box to hide cables
Once the unit was hooked up the real work began. I had to route cables from the GPS and DAB antennae and the composite cable for the camera, which involved pulling off pieces of trim and removing the upper glove box. I was unsure how much force to use at first because I was afraid the clips holding the trim pieces in place would break, but they are pretty resilient. The DAB antenna grounding strip required sticking to the metal of the A-pillar. The unit is visible but not really an eye sore.
I spent an excessive amount of time on the last part of the installation – the reversing camera. I’ve liked the idea of reversing aids for some time, and while I was putting in a new stereo I thought I might as well add a camera. How hard could it be?
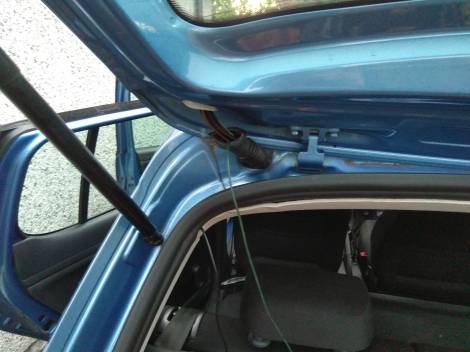
In the absence of proper tools or experience, routing cables into the hatchback was a nightmare. It took a lot of fiddling with bent coat hangers, but eventually I fed the composite AV cable and power cable into place. This was a solder-free installation achieved with my nice new ratcheting crimping tool, and the life-changing purchase of an automatic wire stripper. If I can recommend one tool as a gift for an electronics or electrical obsessed loved one, let it be automatic wire strippers. I’m not kidding, they’re exquisite.
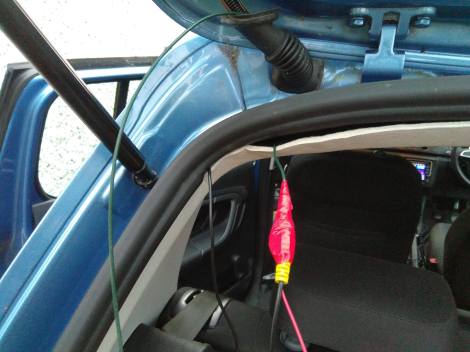
Sophisticated methods 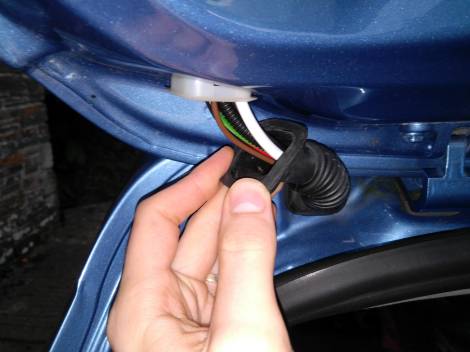
Routing cables through the conduit 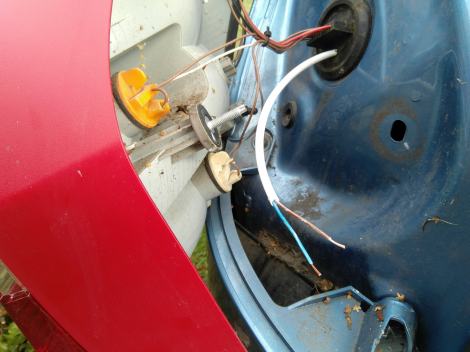
Power coming from the reversing light 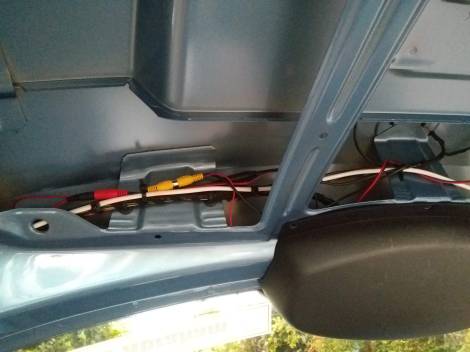
The cables are all in place
I was considering taking power for the camera from the wiper motor or the number plate light as this would have been considerably easier, but the proper way is to tap off the reversing light. When the car is put into reverse, power is provided to the reversing light (and after a bit of minor surgery) the camera. When powered on, the camera triggers the head unit and the image is displayed on the screen.
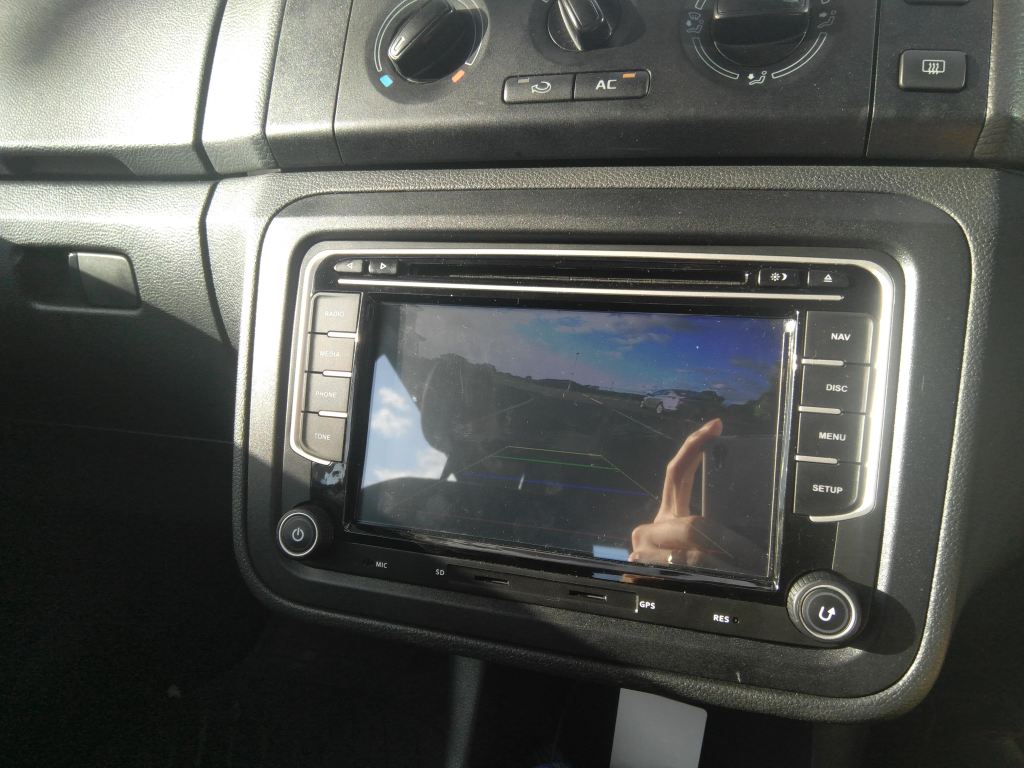
It’s still early days with the unit, but I’ve got Google Maps and Spotify going, and DAB-Z for the radio. It’s not perfect and takes a little while to boot (it is a PC, after all) but I can use handsfree with my phone, play podcasts, and get traffic updates. And reverse without crashing into anything in small English villages.
Would I do things differently if I had to do things again? Probably get a proper cable routing kit and save my sanity, and replace one of the number plate lights with an integrated camera. Overall I’m pretty happy, and I feel considerably happier about pulling bits of the car apart. Putting them back together is a different story…

Leave a comment