
The office saga continues…
I spent much too long poking around in the ceiling this week. Enough time to warrant buying an endoscope to see what the hell was going on. Picking up from where we left off last week, I was working on the network aspect of the office project. WiFi is fine, but given all the demolition and redecoration, I thought I might as well put in a wired connection with a network switch to future-proof the room. I needed at least three ports for the desktop, laptop and network attached storage (NAS). I may have gotten a bit carried away, and bought an eight port network switch from TP-Link. I’m putting the same switch behind the TV to provide wired connections to the PS3, PS4, Switch, Xbox 360 and TV.

A switch needs some cable, and I opted for a 50m roll of CAT6 which supports Gigabit Ethernet which should be more than capable for our needs – predominantly backing up to the NAS and streaming video through Plex.
In an attempt to keep things as neat as possible, I decided to use the existing route the old coaxial cable took. I tried the old “tape cable to cable and pull it through” but the route was too tortuous and the cables broke apart along the way. After a lot of poking with coat hangers and cable fishing rods, I took a trip to Toolstation (after donating some of my spare platelets) and picked up a little WiFi endoscope. I have a bulkier inspection camera but it has spontaneously stopped working; cause of death unascertained. The Draper endoscope was just under £30 and worked surprisingly well. Anyone complaining about the image quality has somewhat unrealistic expectations of what you can achieve at this price point. I found it more than usable, and made the job actually doable.


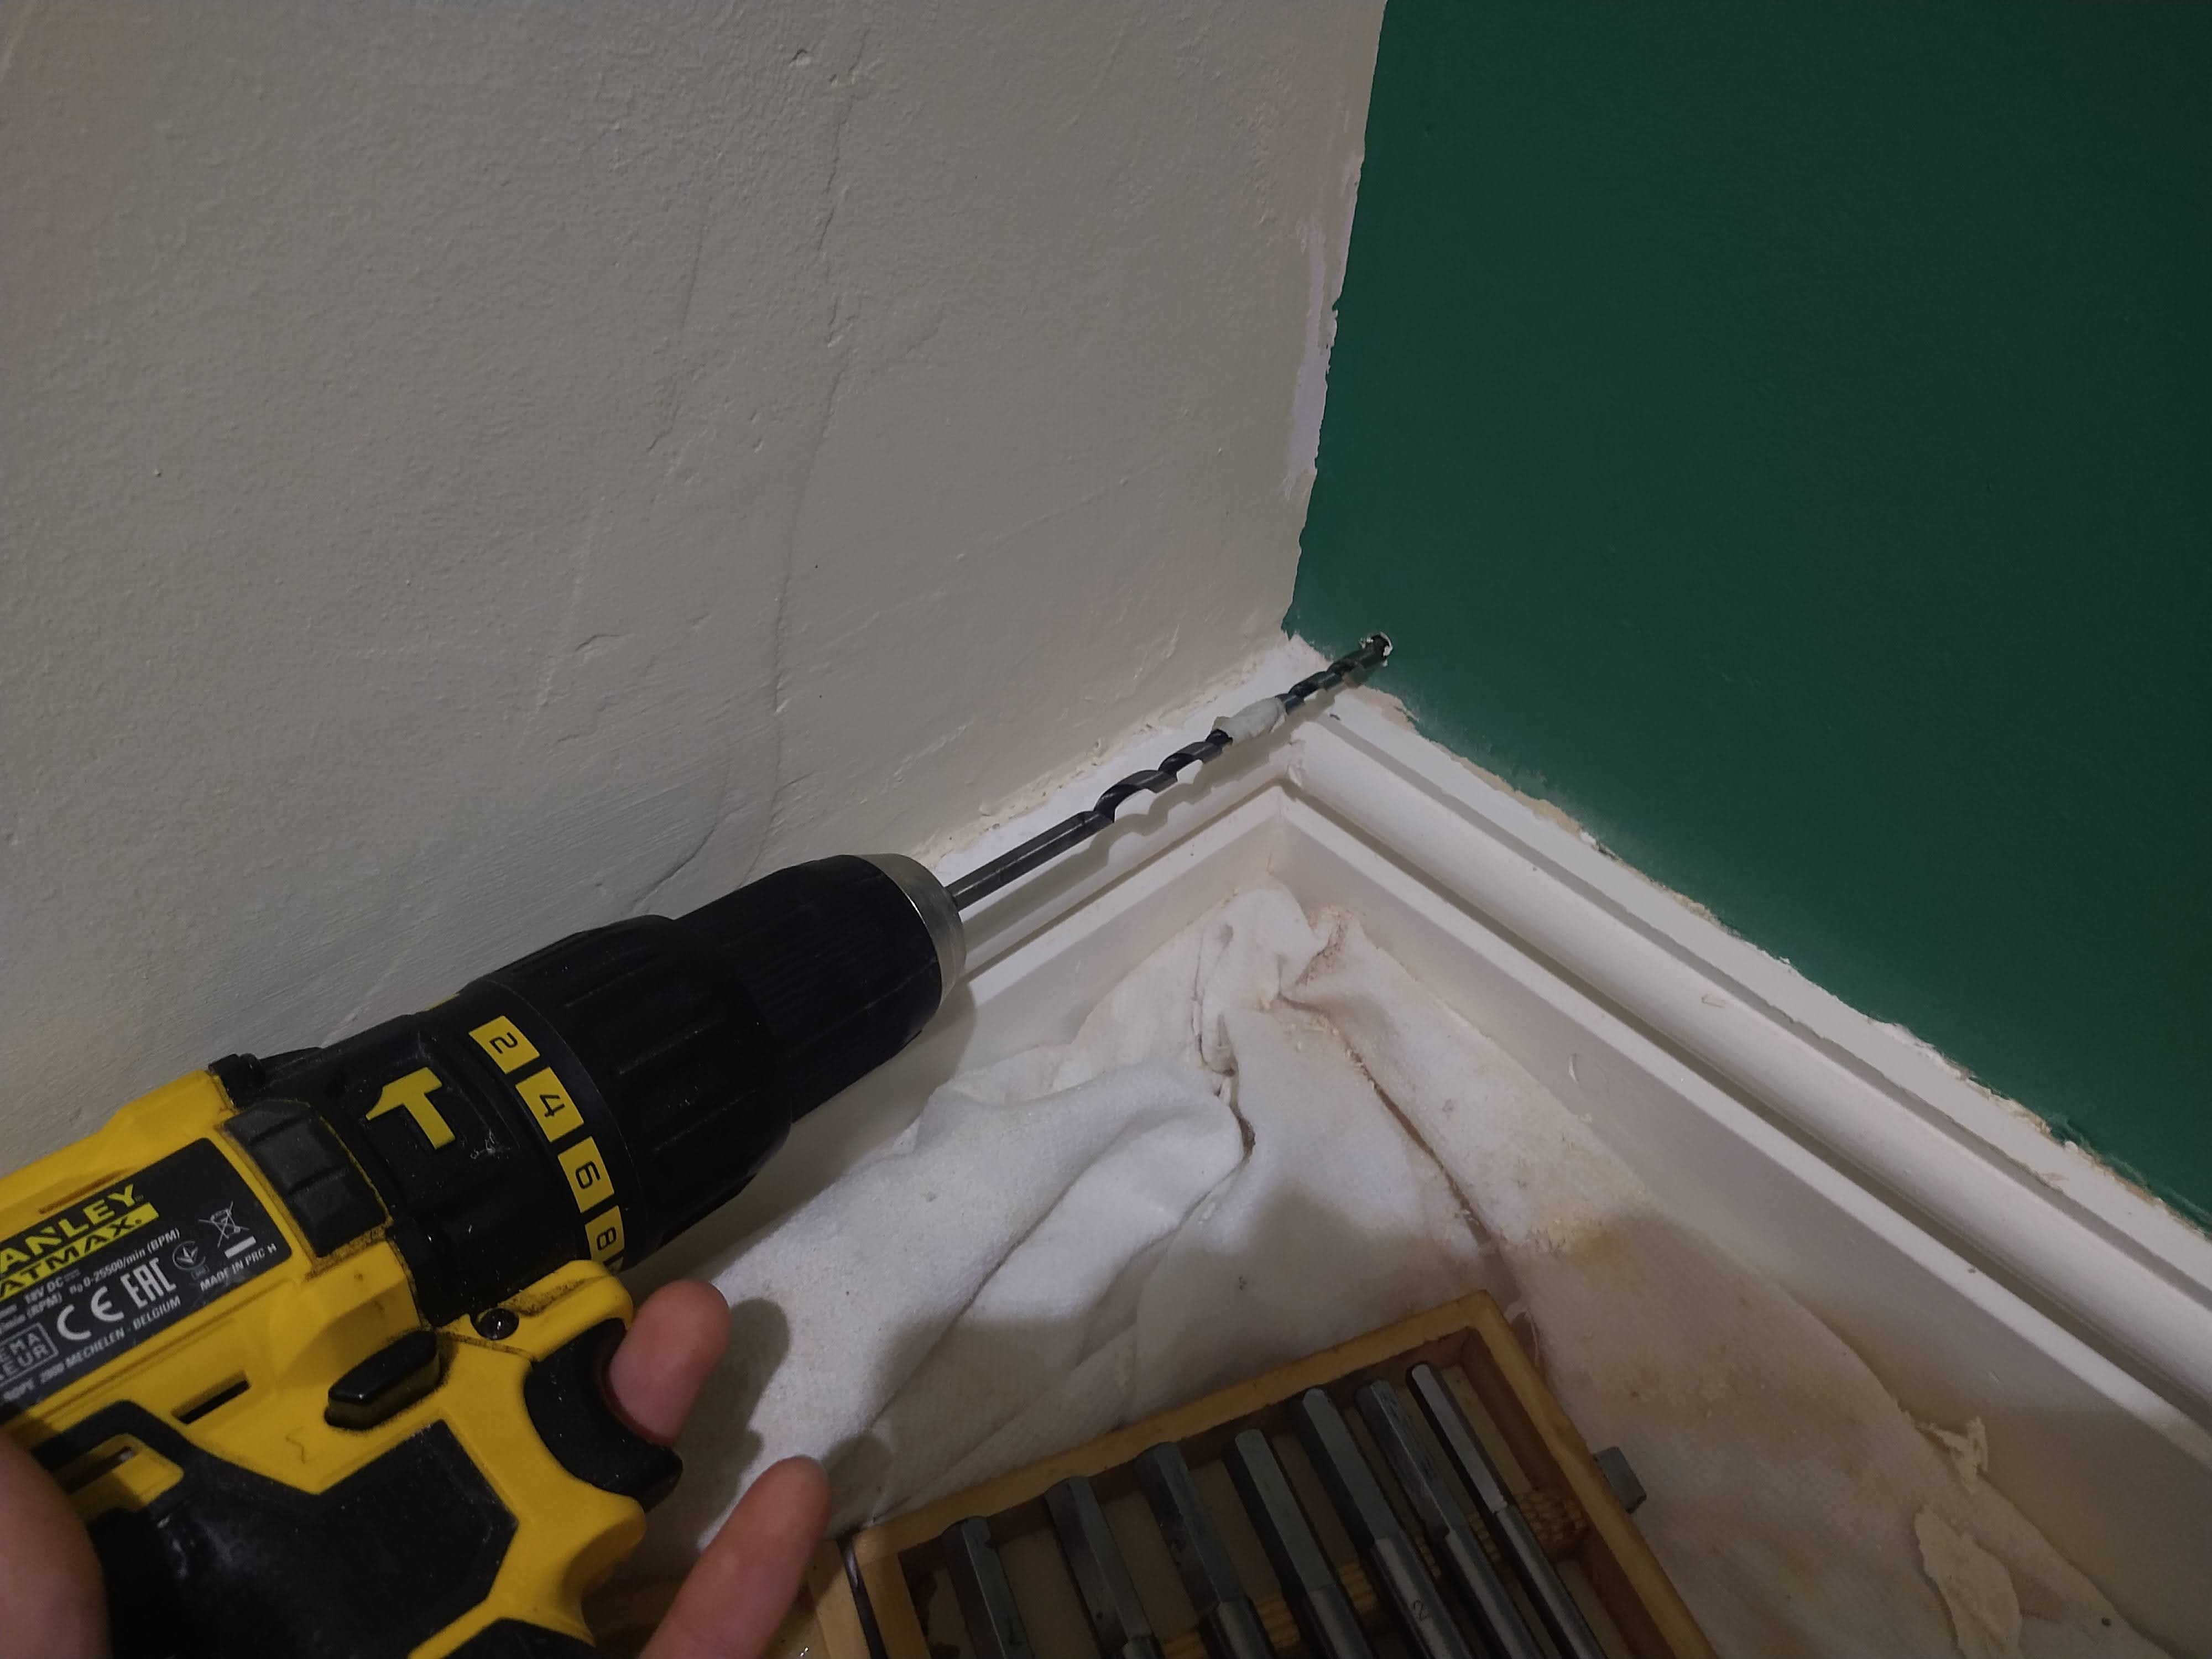
Once the cable was through the ceiling that was half the battle. The next, more traumatic, half involved pulling it behind the coving. Needless to say it wasn’t the smoothest of procedures, and involved some damage which will have to be added to the long to-do list. The cable is laid at least. The next step will be to terminate it and test it, before laying down the conduit along the skirting board.
Very Shelf-ish of You
There is still a little touch up painting to do around the coving, but I couldn’t resist working on the bookshelf side of the project again. I had already cut and stained most of the shelves but the brackets were collecting dust in the hall. The shelving is going to be L-shaped, mirroring the footprint of the stair bulkhead roughly. It’s the most important part of this project, and why I got it started in the first place. I hated those old bookcases so much.
One of the supporting walls is a stud wall with plasterboard, and the other is plaster over concrete block. Given the weight of books, I opted to screw the brackets into the wooden studs for the first wall which I identified using a stud finder. The brackets I chose are incredibly heavy duty and purchased from Regalraum.

Originally I liked the idea of right-angled plywood brackets, and although most of the reviews were positive, occasional ones mentioned bending under the weight of books. Not the best trait in a potential bookshelf, so I started to look for heavier duty options. Strength was the main goal, but aesthetics were not far behind. What’s the point of going to all of this bother to replace a terrible-looking set of bookcases with a terrible-looking set of shelves?

If anyone is wondering (almost certainly not, but you never know), the Herakles brackets from Regalraum and the Herkules brackets from Mastershelf are identical. Cutting edge investigative shelf journalism from Ordinary Decent Shelving. They’re not cheap but they hold up to 400kg a pair (depending on the wall), and I like the simple profile. If aluminium is good enough for aircraft fuselage, it’ll do for a shelf bracket.
You might have noticed the side batten on the right of the picture, which has been added since my last update. That supports the broad shelf covering the top of the bulkhead. It was originally planned to hold a printer, but will probably just hold textbooks and heavier items. There’s a mix of shelving materials as the structural plywood used to cover the bulkhead had more than enough waste to make the shelves around it. It’s not a perfect solution but you’ve got to work with what you’ve got.

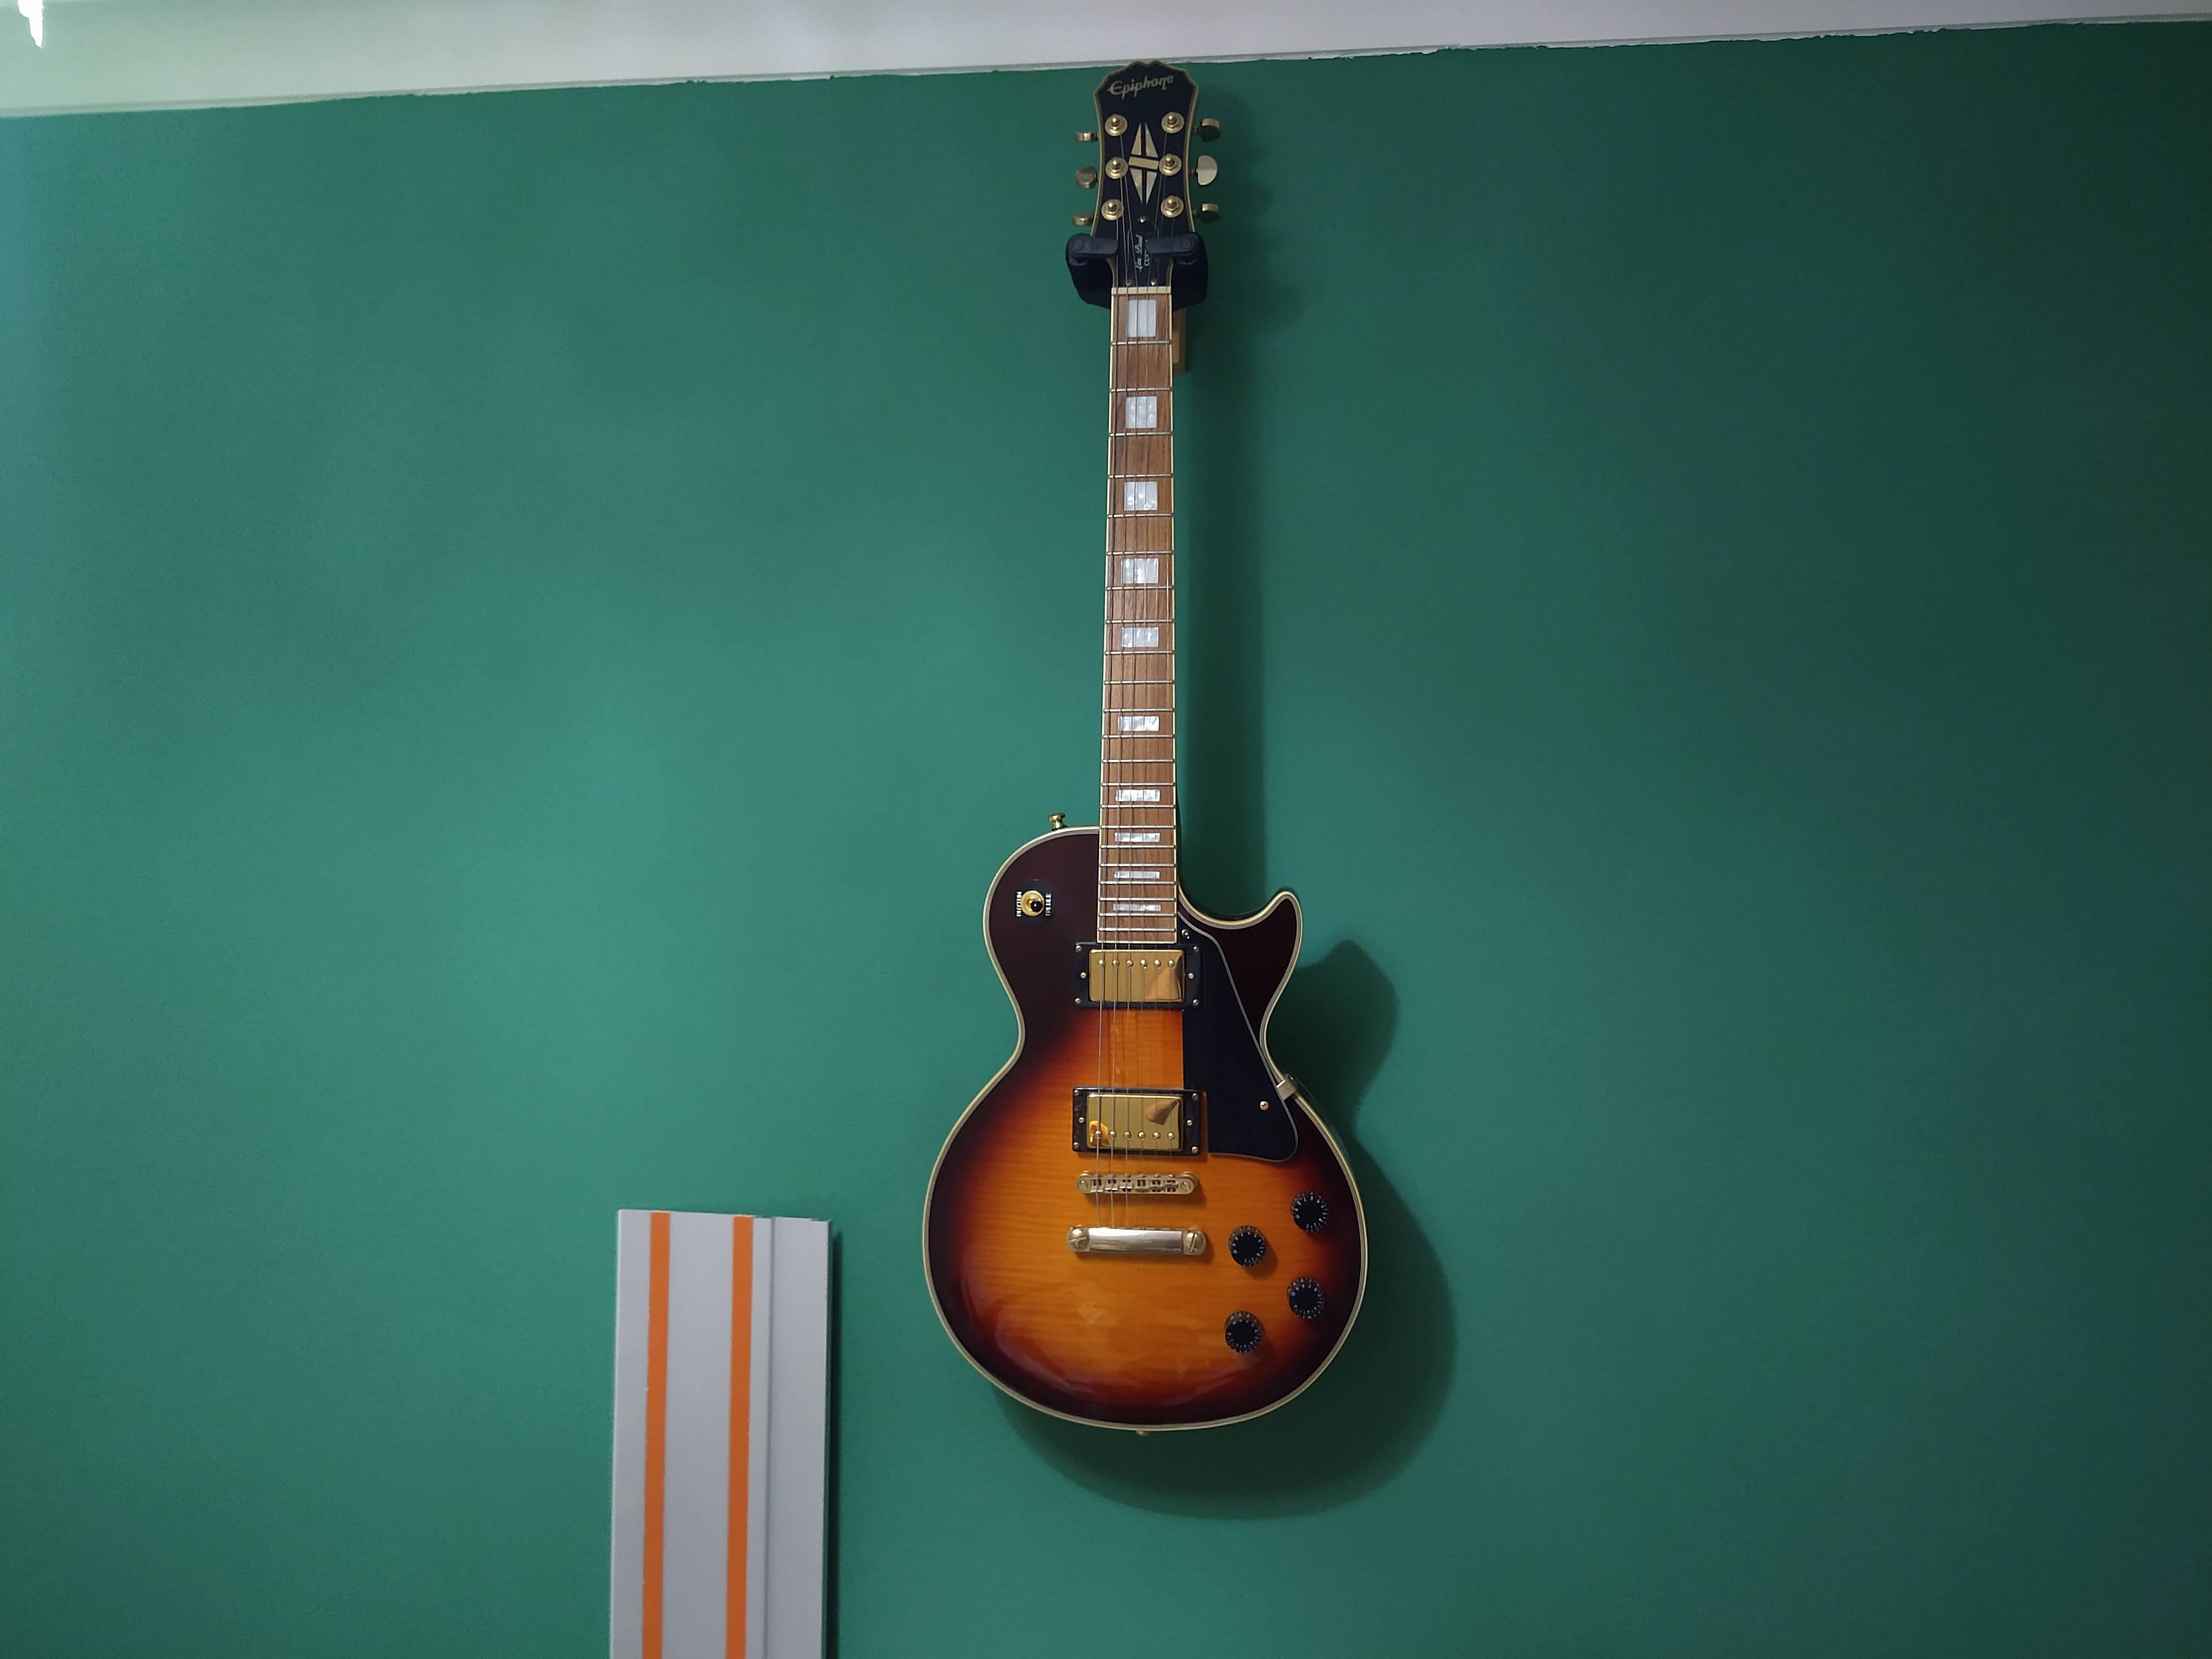
Another moment of distraction had me working on the green feature wall. The plan is to fit as many stringed instruments on there as we can, and as proof of concept I fitted one of the Sondery guitar hangers to try out with my Epiphone Les Paul. Yes yes, I know I should be completing tasks in a logical order and getting all of the painting finished, but it was too tempting not to play around with it.
Having a CHAT
Tomorrow brings the first part of my autopsy exam (the Certificate of Higher Autopsy Training/CHAT), which involves performing a post mortem examination in front of two examiners. A slightly nerve-wracking prospect, but it’s not my first rodeo. It’s my 94th, to be exact. I have been immersing myself in the mortuary over the last couple of months, performing a post mortem almost every day. It has been fascinating, exhausting, enlightening, and challenging. It seems as though every day I utter, “I’ve never seen that before in my life”. As morbid a subject as death investigation can be, the post mortem examination has proven a crucial tool in the advancement of medical science and one which is, unfortunately, falling out of fashion. But that’s a story for another day. Wish me luck.
Another autopsy, then back to office renovation. It’s a strange life…

Leave a comment