
Still no heat pump, and we’re looking at another month before we’ve got a suitable cylinder. That hasn’t stopped me getting doing stuff.
Shelf-ish Actions
Selling our dresser left us a little short of storage space in the kitchen. Unfortunately it had to go as there was no space for the new mega-radiator (1.6m long and 97kg heavy) and I had to come up with an alternative solution. I opted for shelves, and picked up some oak furniture boards to match the alcove shelf I made a couple of years ago.
I love the natural look of waney edge planks, particularly with the bark attached, and they can be picked up a little bit cheaper than neat and tidy ones in B&Q. I generally try to get wood from Totem Timber in the city centre, but the B&Q on Tavistock road is very convenient and was where I sourced the wood for the alcove shelf. If you are looking for planks with the bark intact you’ve got to do a little bit of hunting. Most of the ones I looked through were damaged in some way or other, but I managed to find just enough in good condition for my purposes.
Ordinarily I would use my mitre saw to cut the wood to size but it’s buried under a lot of other stuff at the moment; instead I opted to try the B&Q cutting service which was free and worked quite well. I asked for the cuts either end of an area that the bark was coming off to preserve it, and where the bark lifted I glued it and clamped it in place.
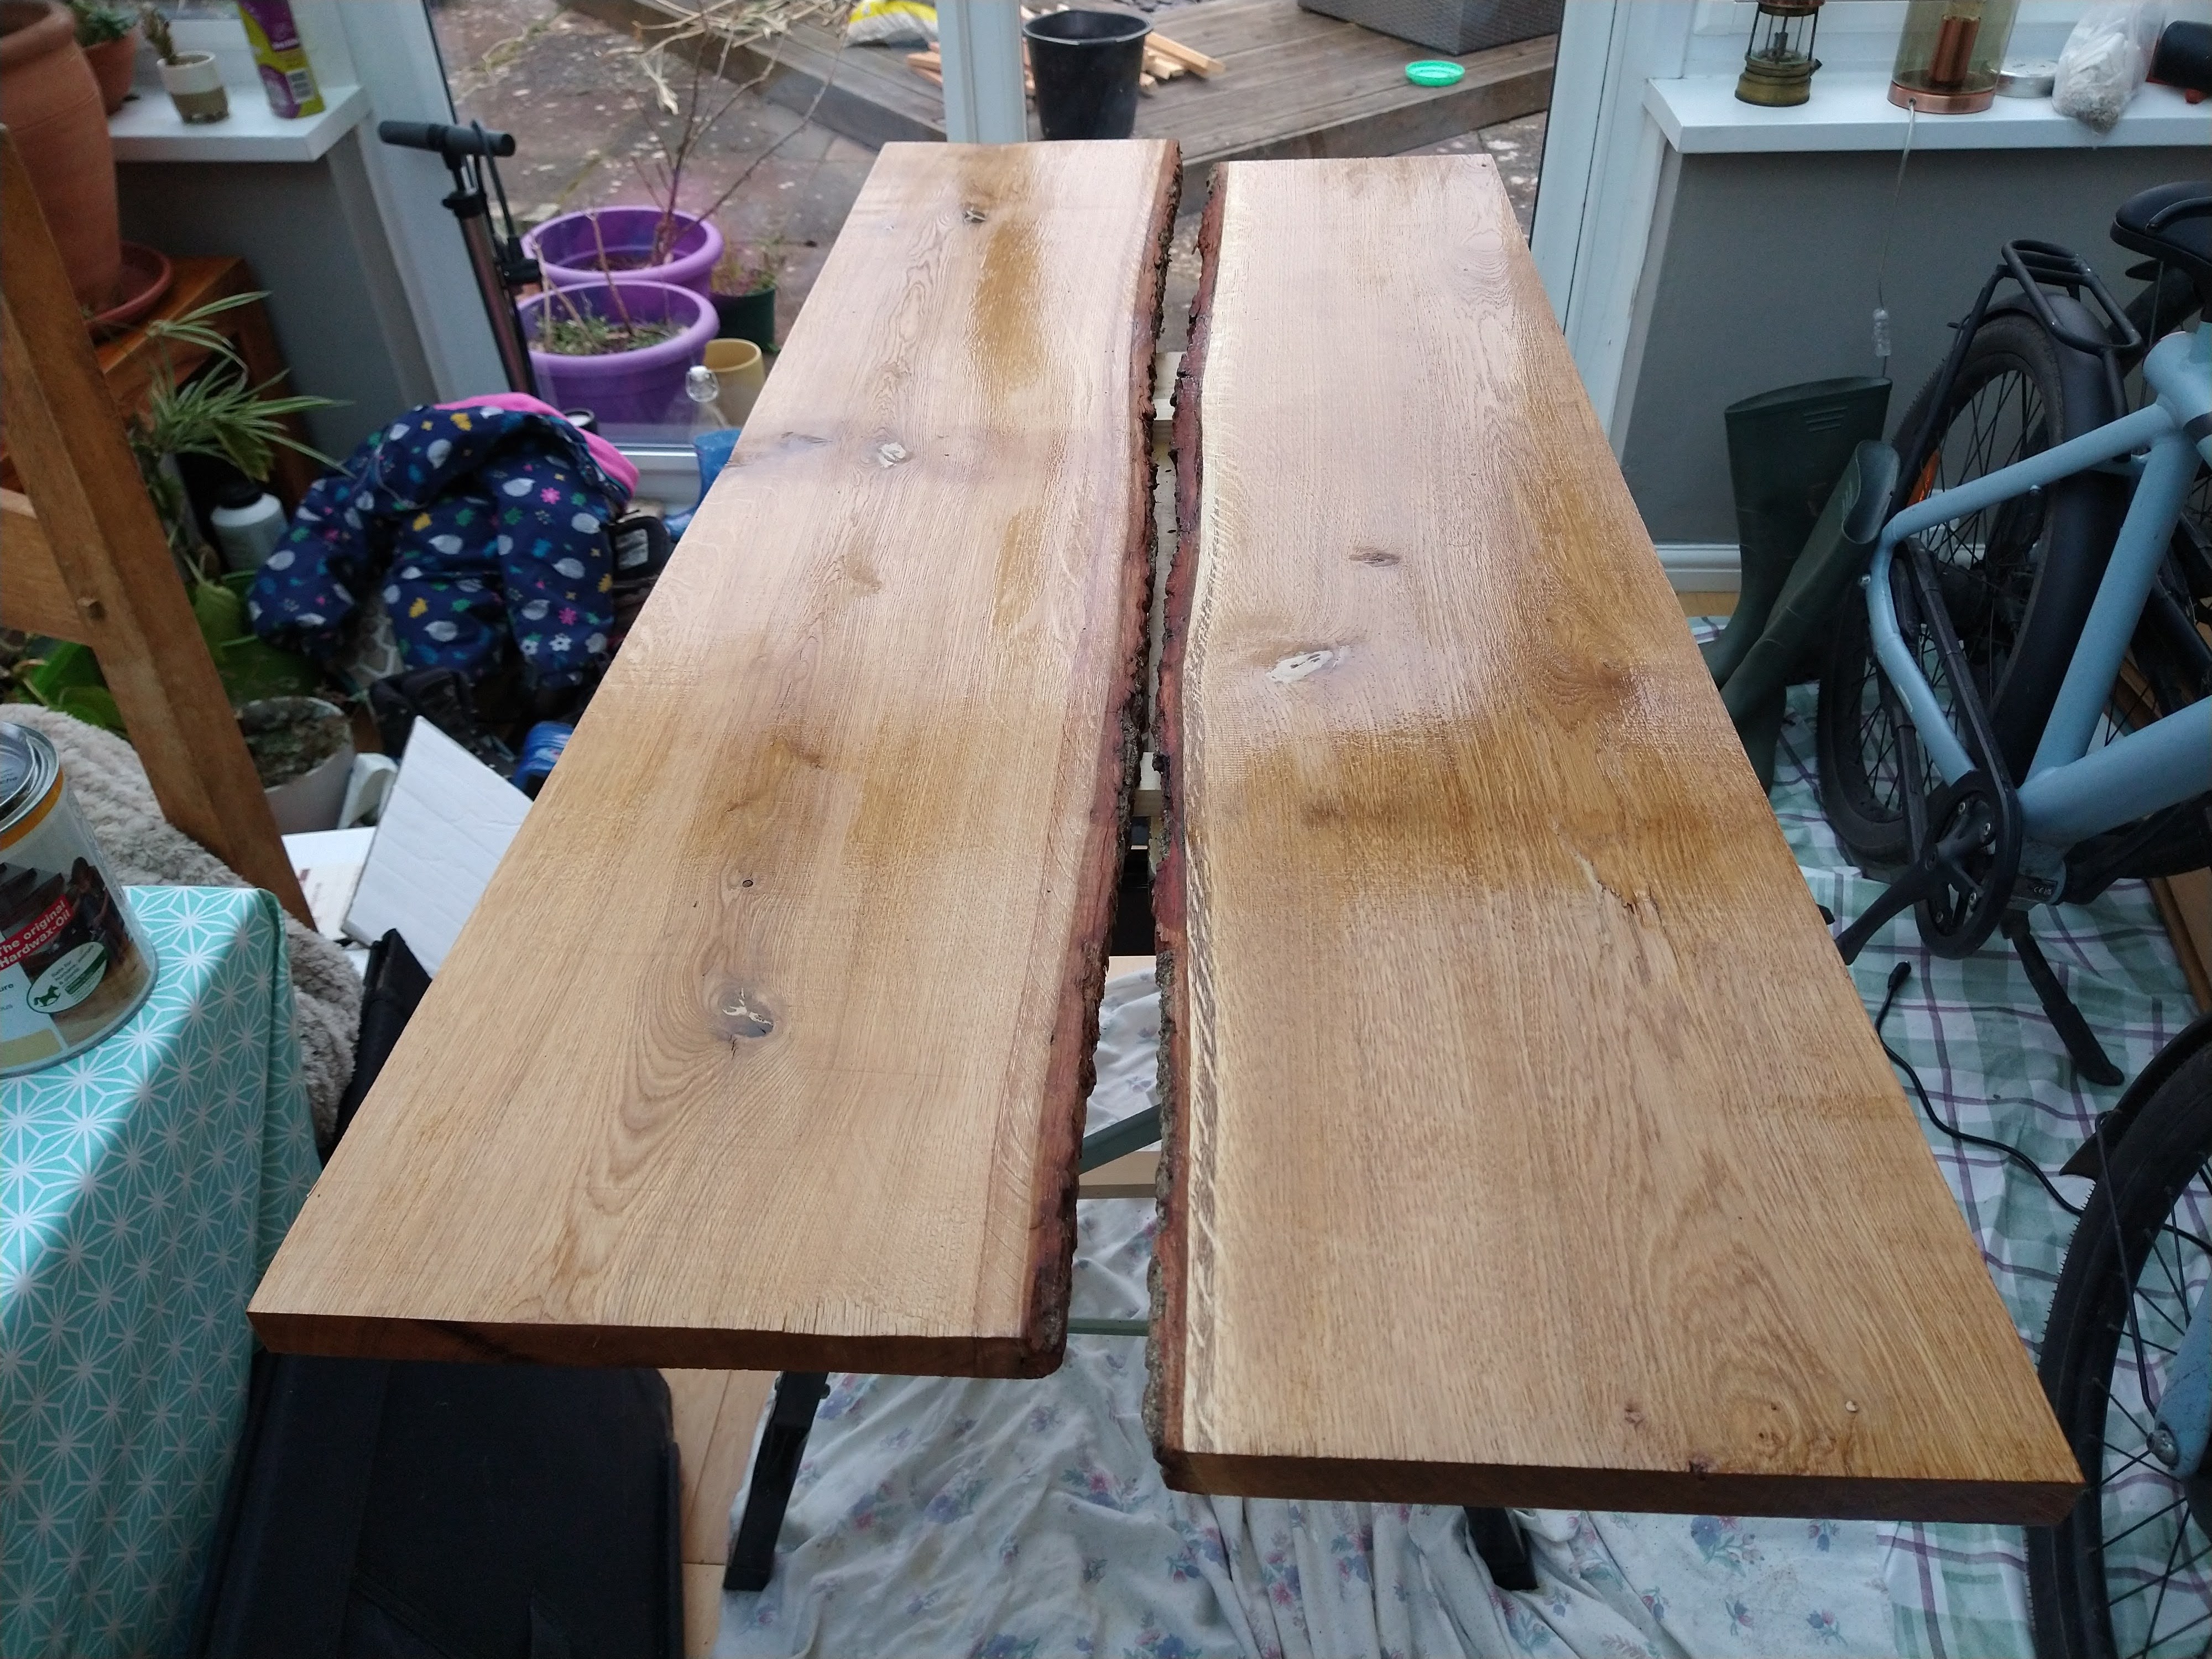
I attempted to fill some of the defects with wood filler but this caused more problems, and on future projects I will use resin instead as it would retain the natural look without causing a big cream splodge. After that, I gave all the surfaces a sand from 60 to 120 grain, then a couple of coats of Osmo wood wax finish. The original shelf was made with Danish oil but I had an open tin of Osmo and I’ve found it pretty easy to work with in the past.
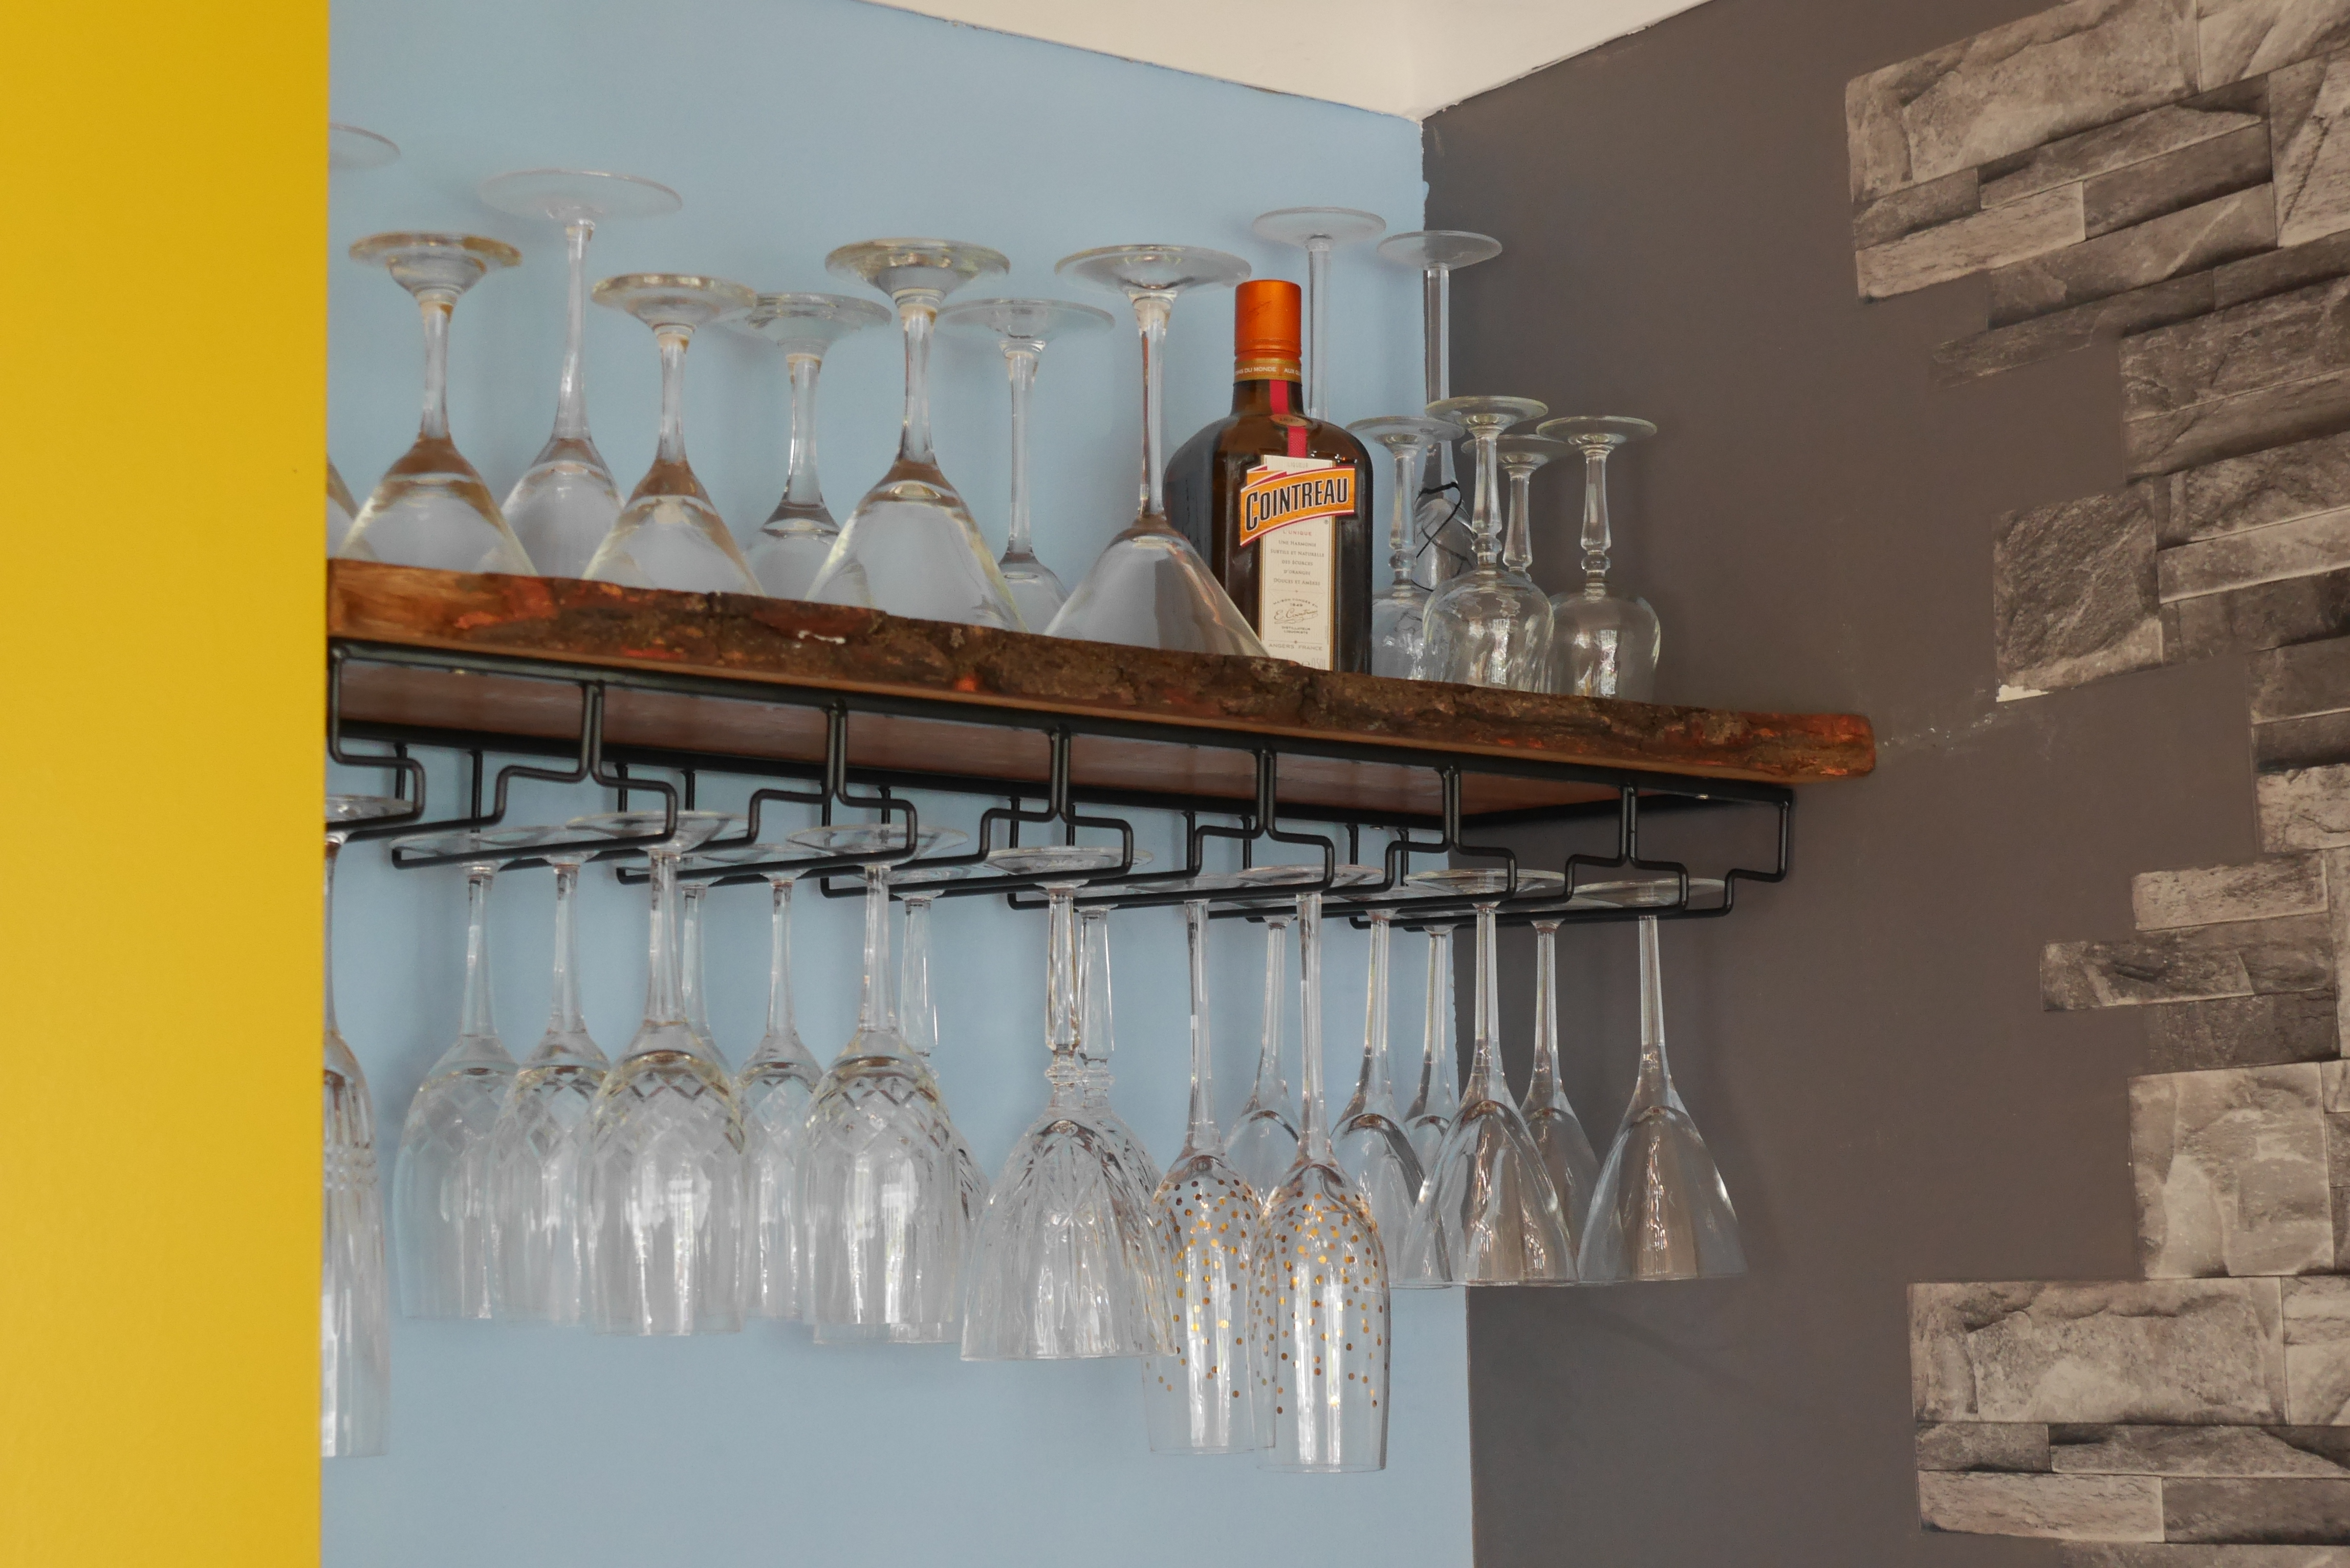
I sourced some heavy duty pseudo-floating shelf brackets from a South American river (or similar location) hoping that they would be sufficiently strong for my requirements. A pair was rated at around 40kg but some of the reviews expressed doubts about the level of quality control involved in production, and I almost had second thoughts about whether to trust them with our collection of glassware. They felt pretty sturdy in the hand, and mine were welded reasonably close to 90 degrees to the base plate. They were secured with four screws so I used quality wall plugs as the back wall is block and perfect for securing heavy fittings.
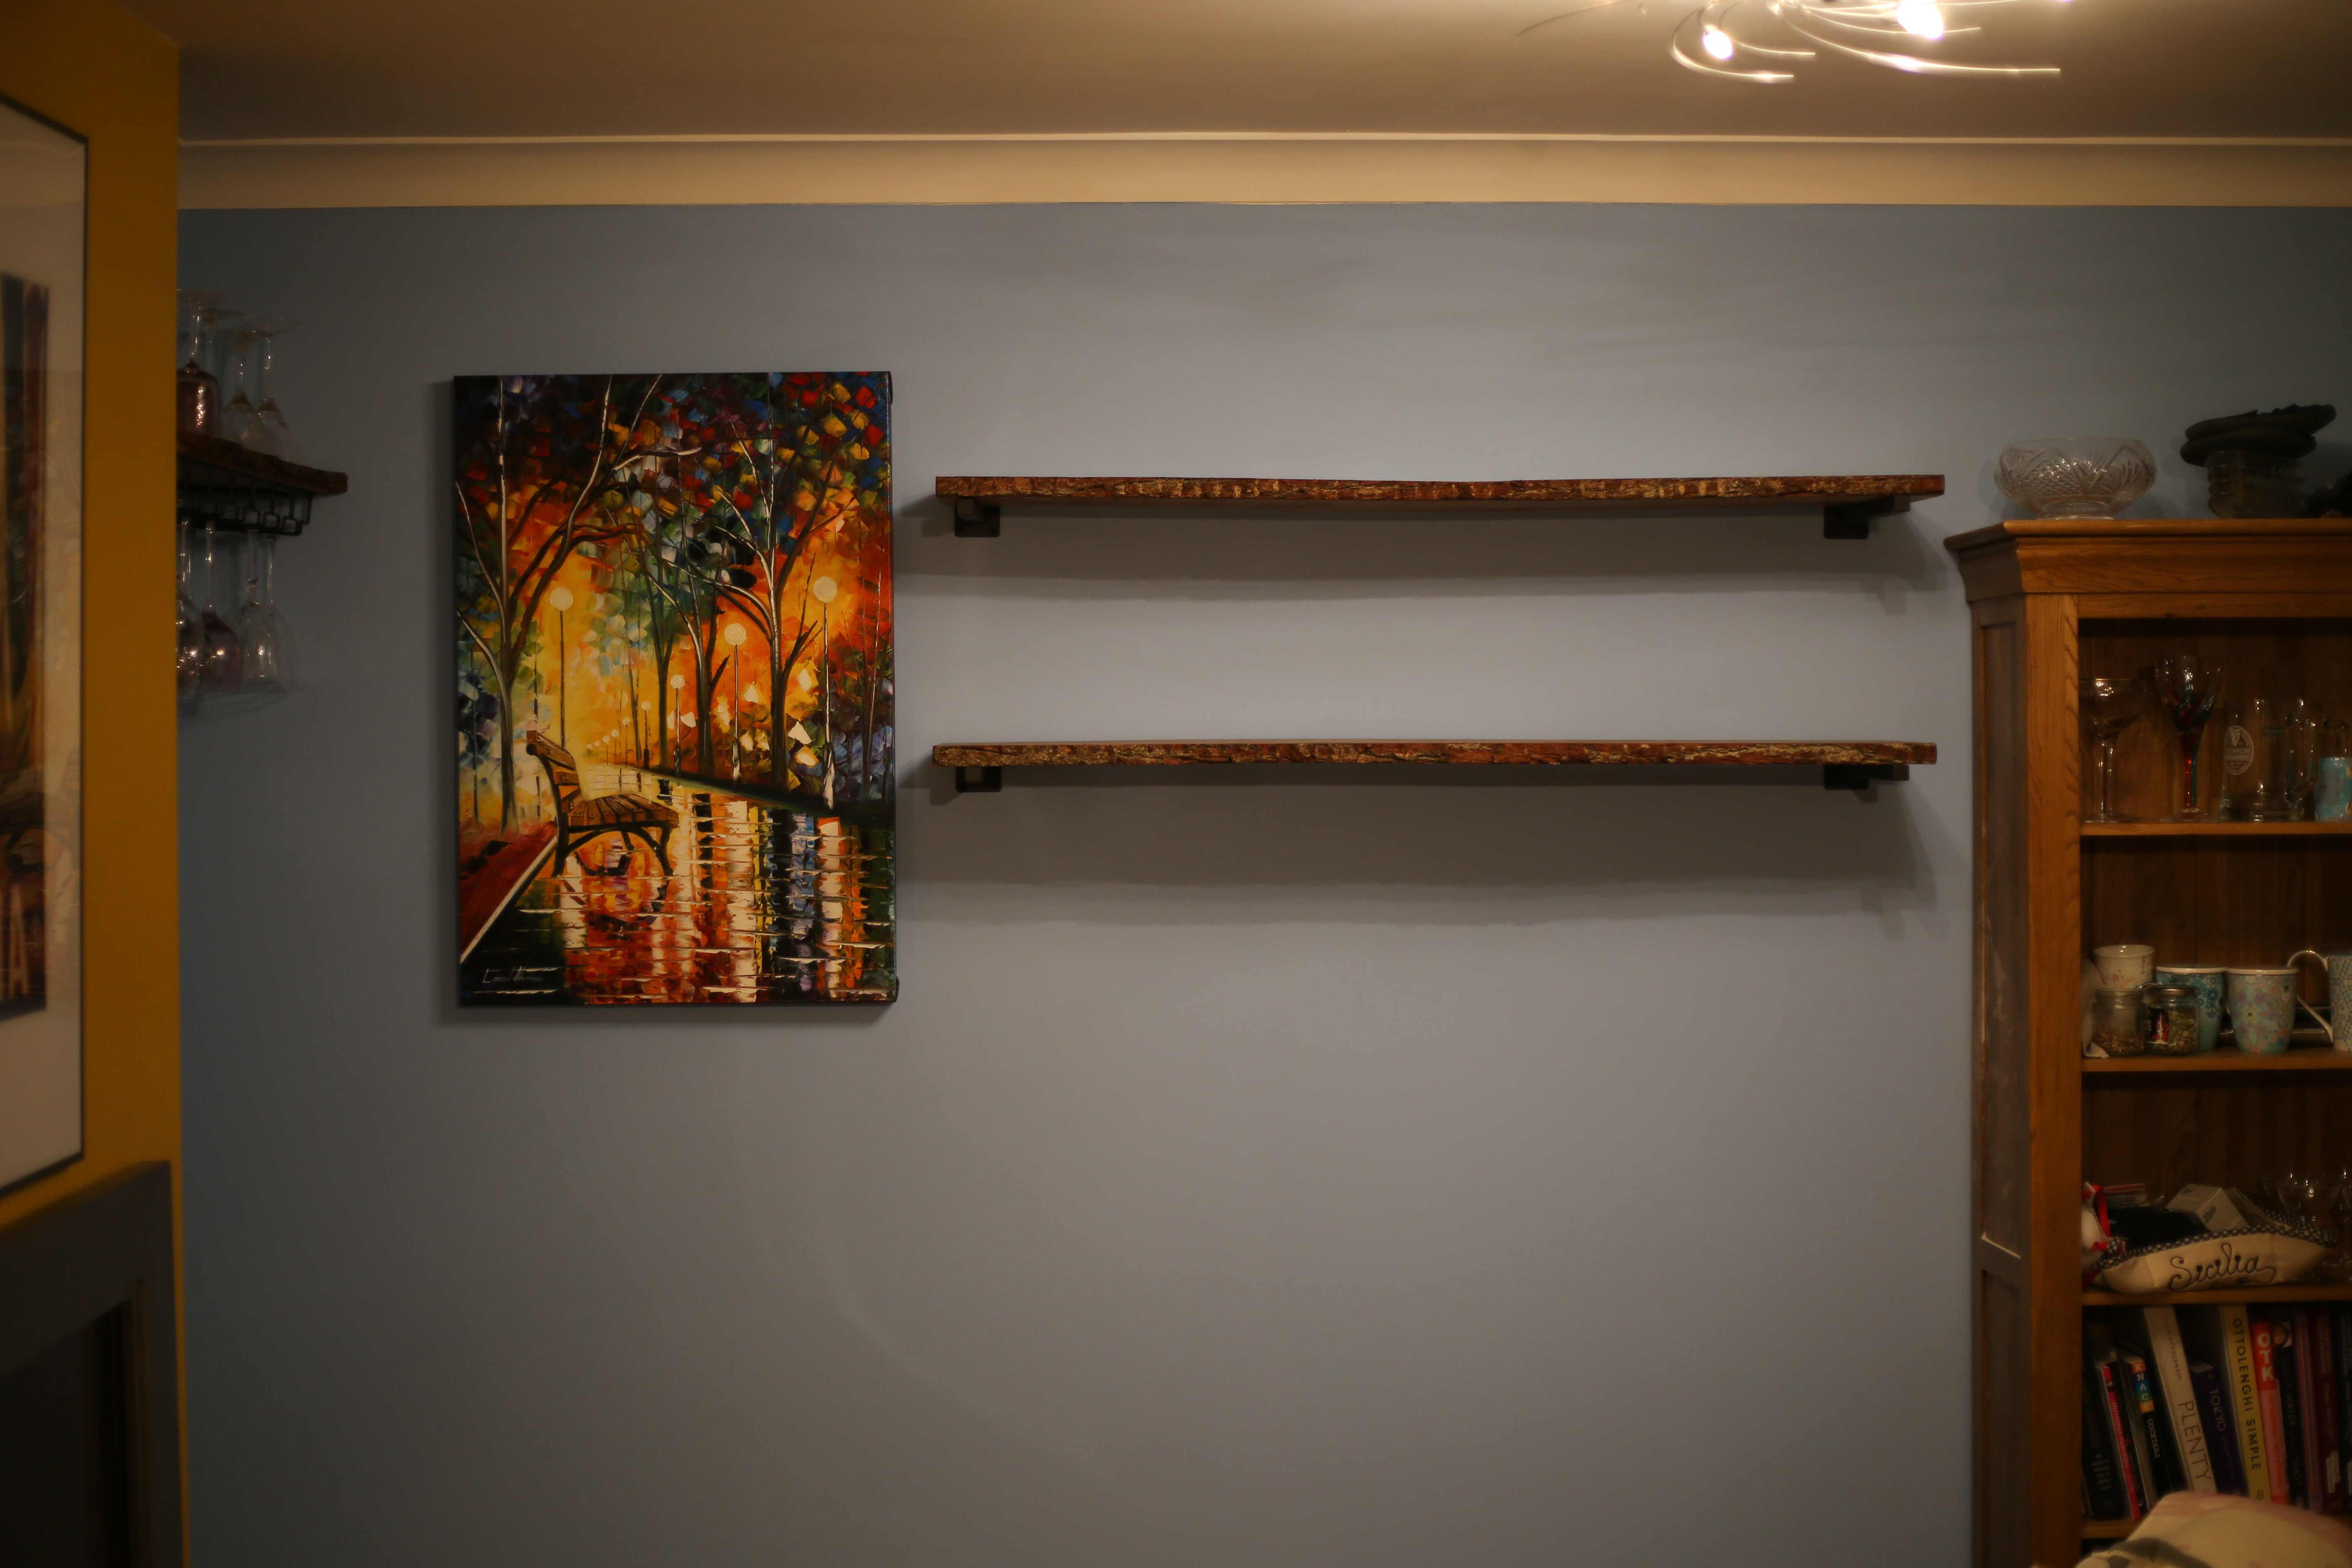
Hanging pictures and anything from walls is a skill I learned from my grandfather, and one that is immensely useful in day to day DIY. I used his level to draw a line and sited the brackets along it close to the end of where each shelf would be. Oak is a very strong wood so I have no concerns about it bowing over the 1.2m length of the shelves. The natural edge meant that the front receded a little towards the right of the bottom shelf, but it just adds to the charm. All that was left was to secure the shelves to the brackets with a couple of screws and leave the finish to dry completely.
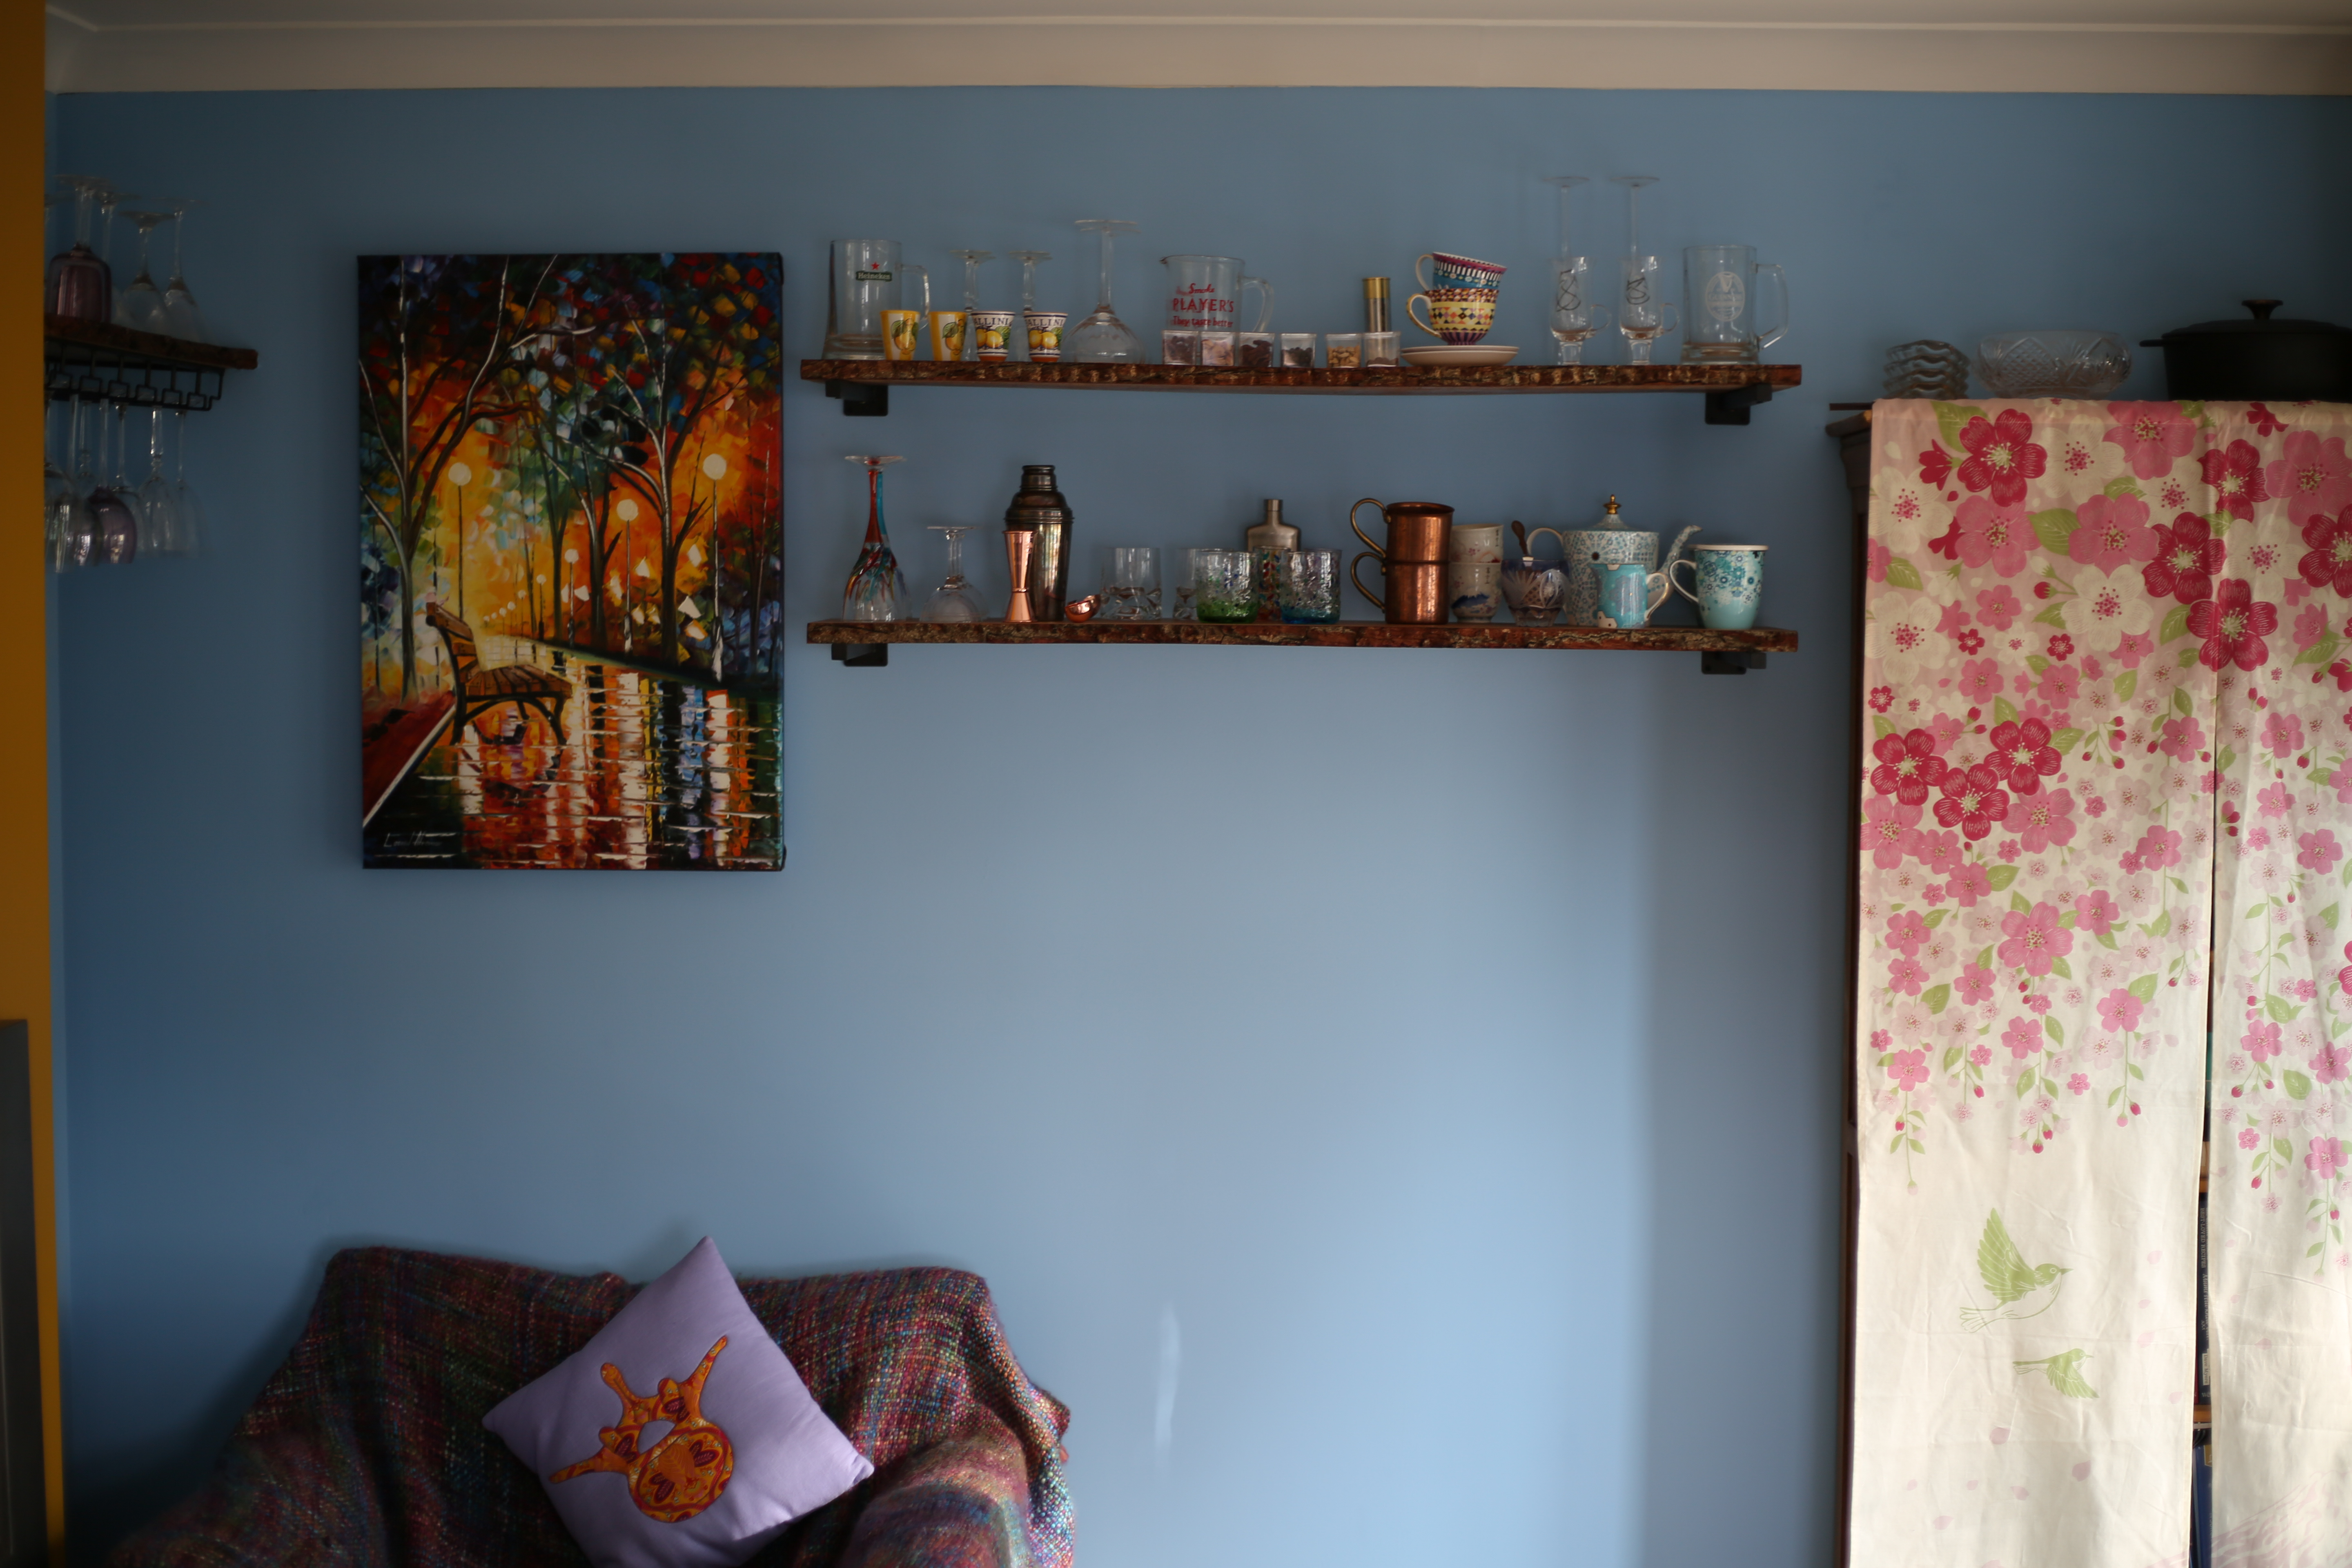

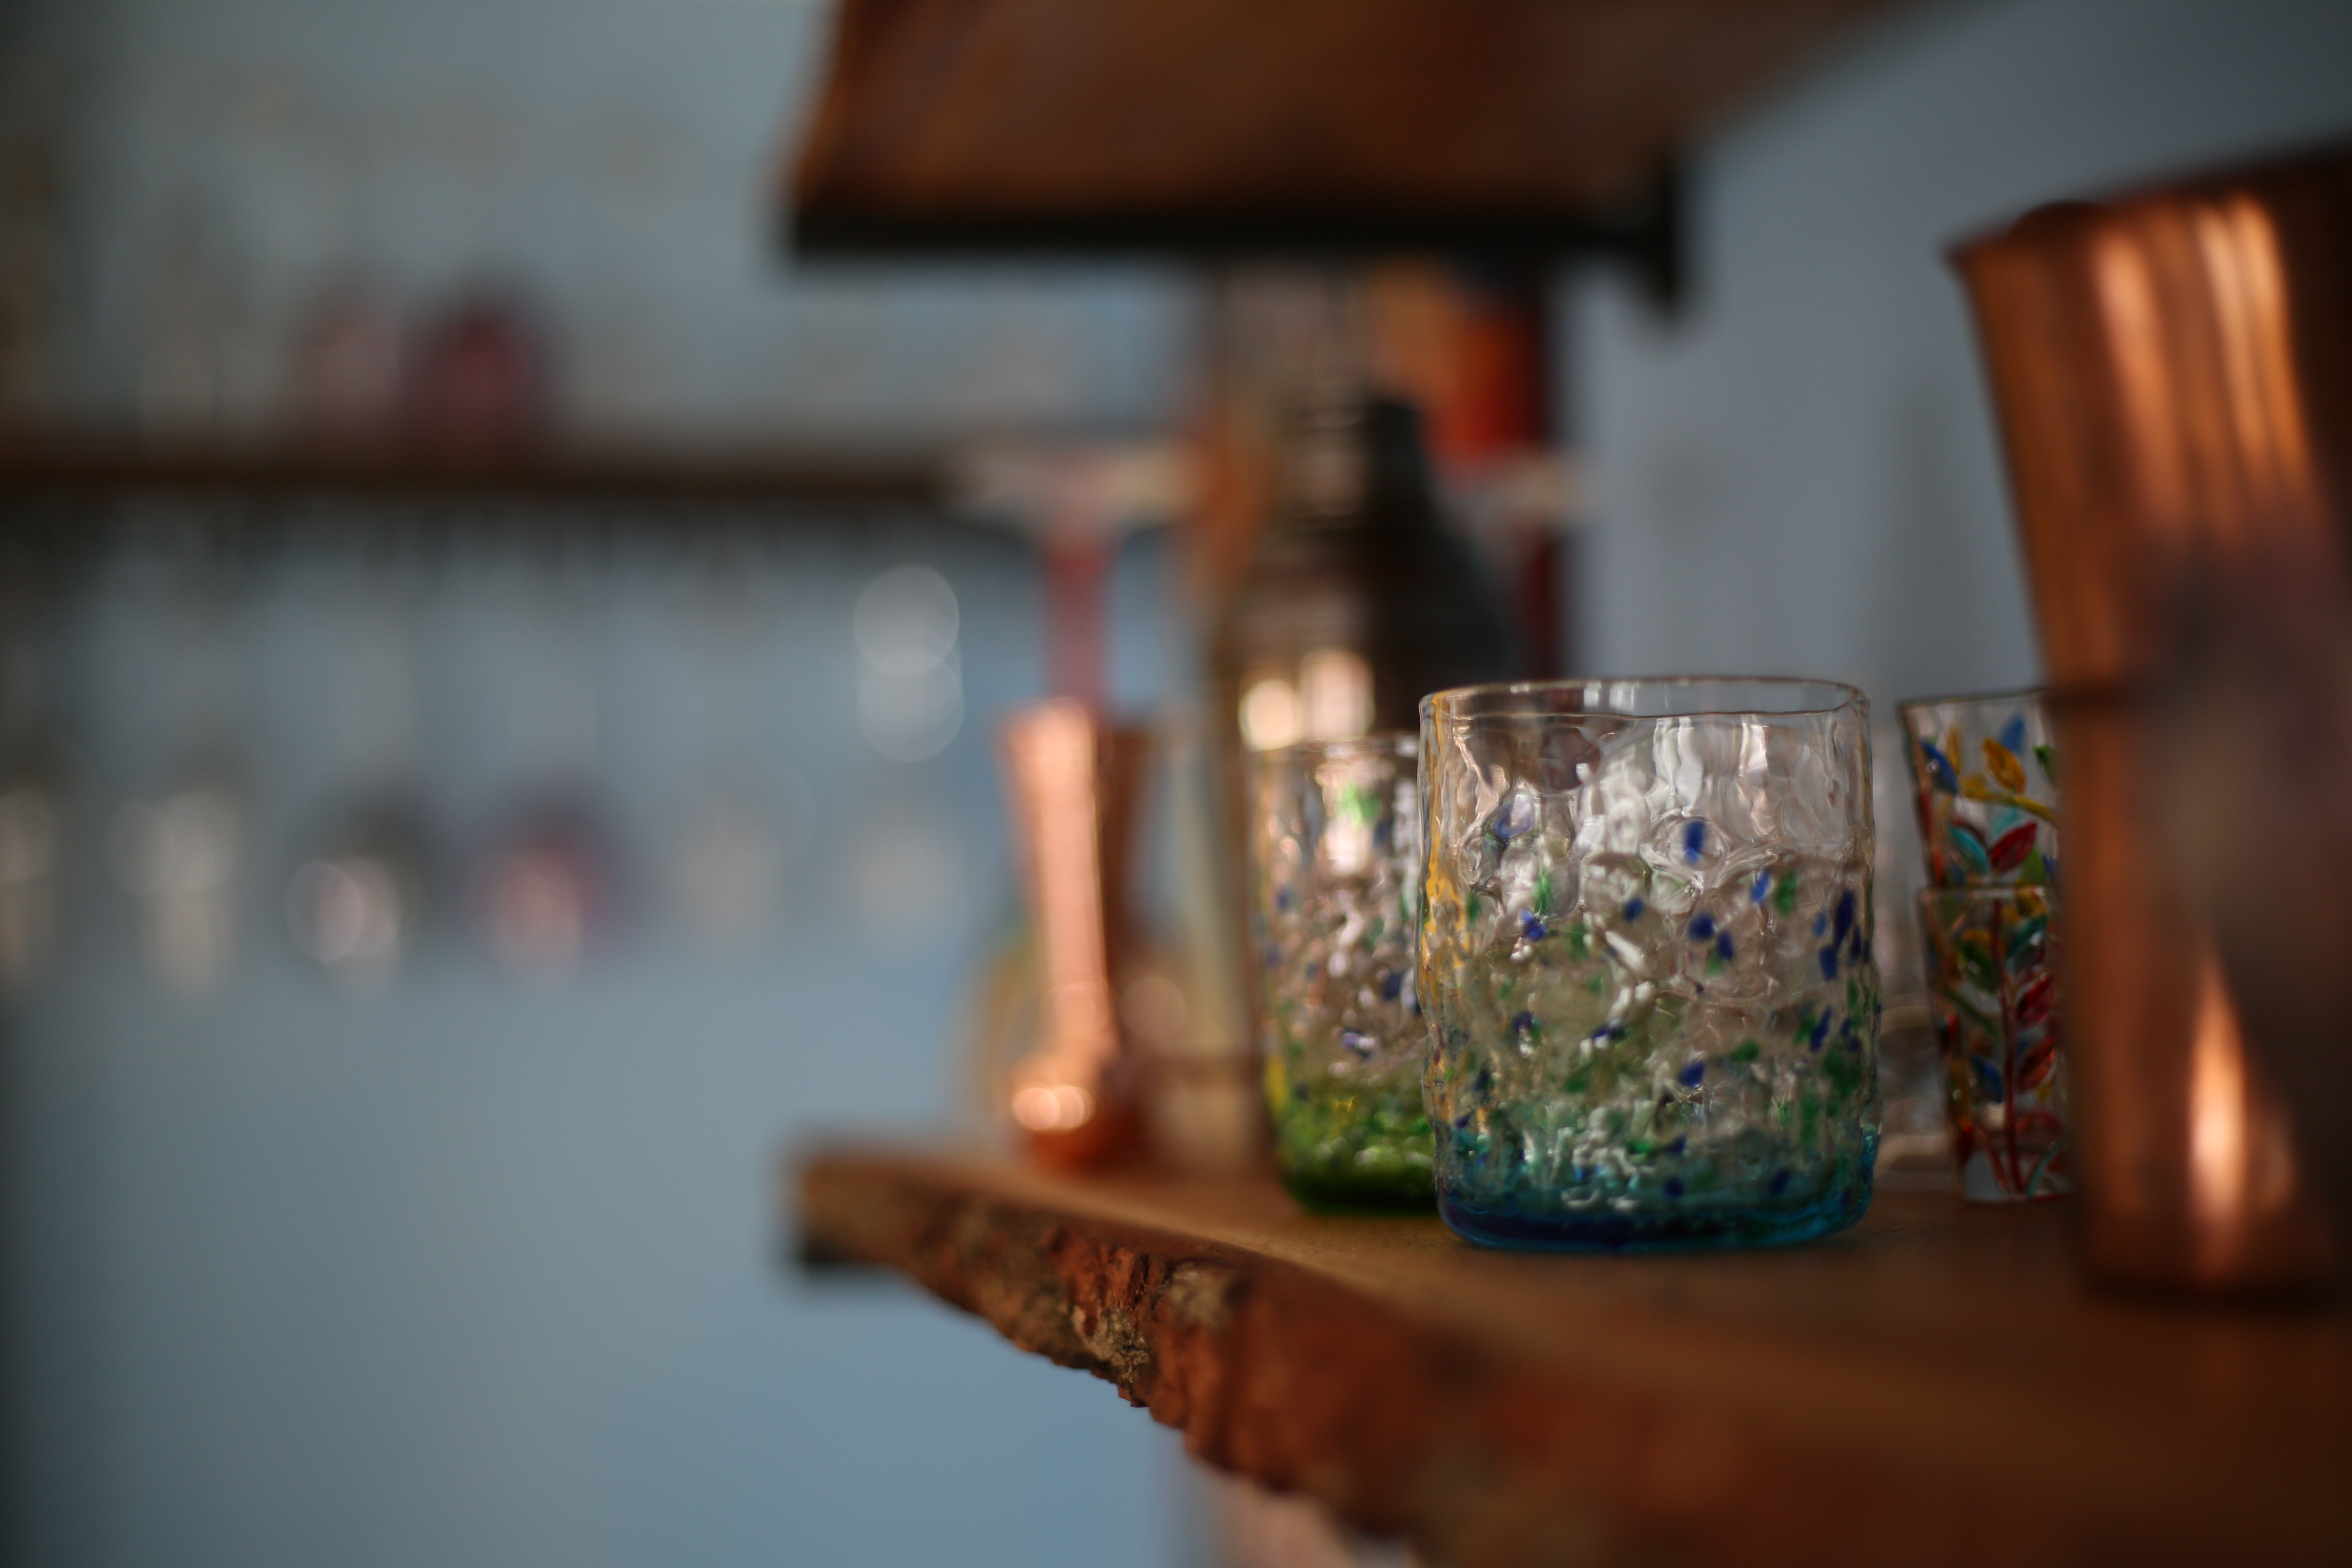
Although there’s less storage space than before, I really love the finished look. It’s great for showing off the unique pieces we’ve picked up over the years and they’re easy to access. An Old Fashioned out of a handmade Okinawan glass, anyone?
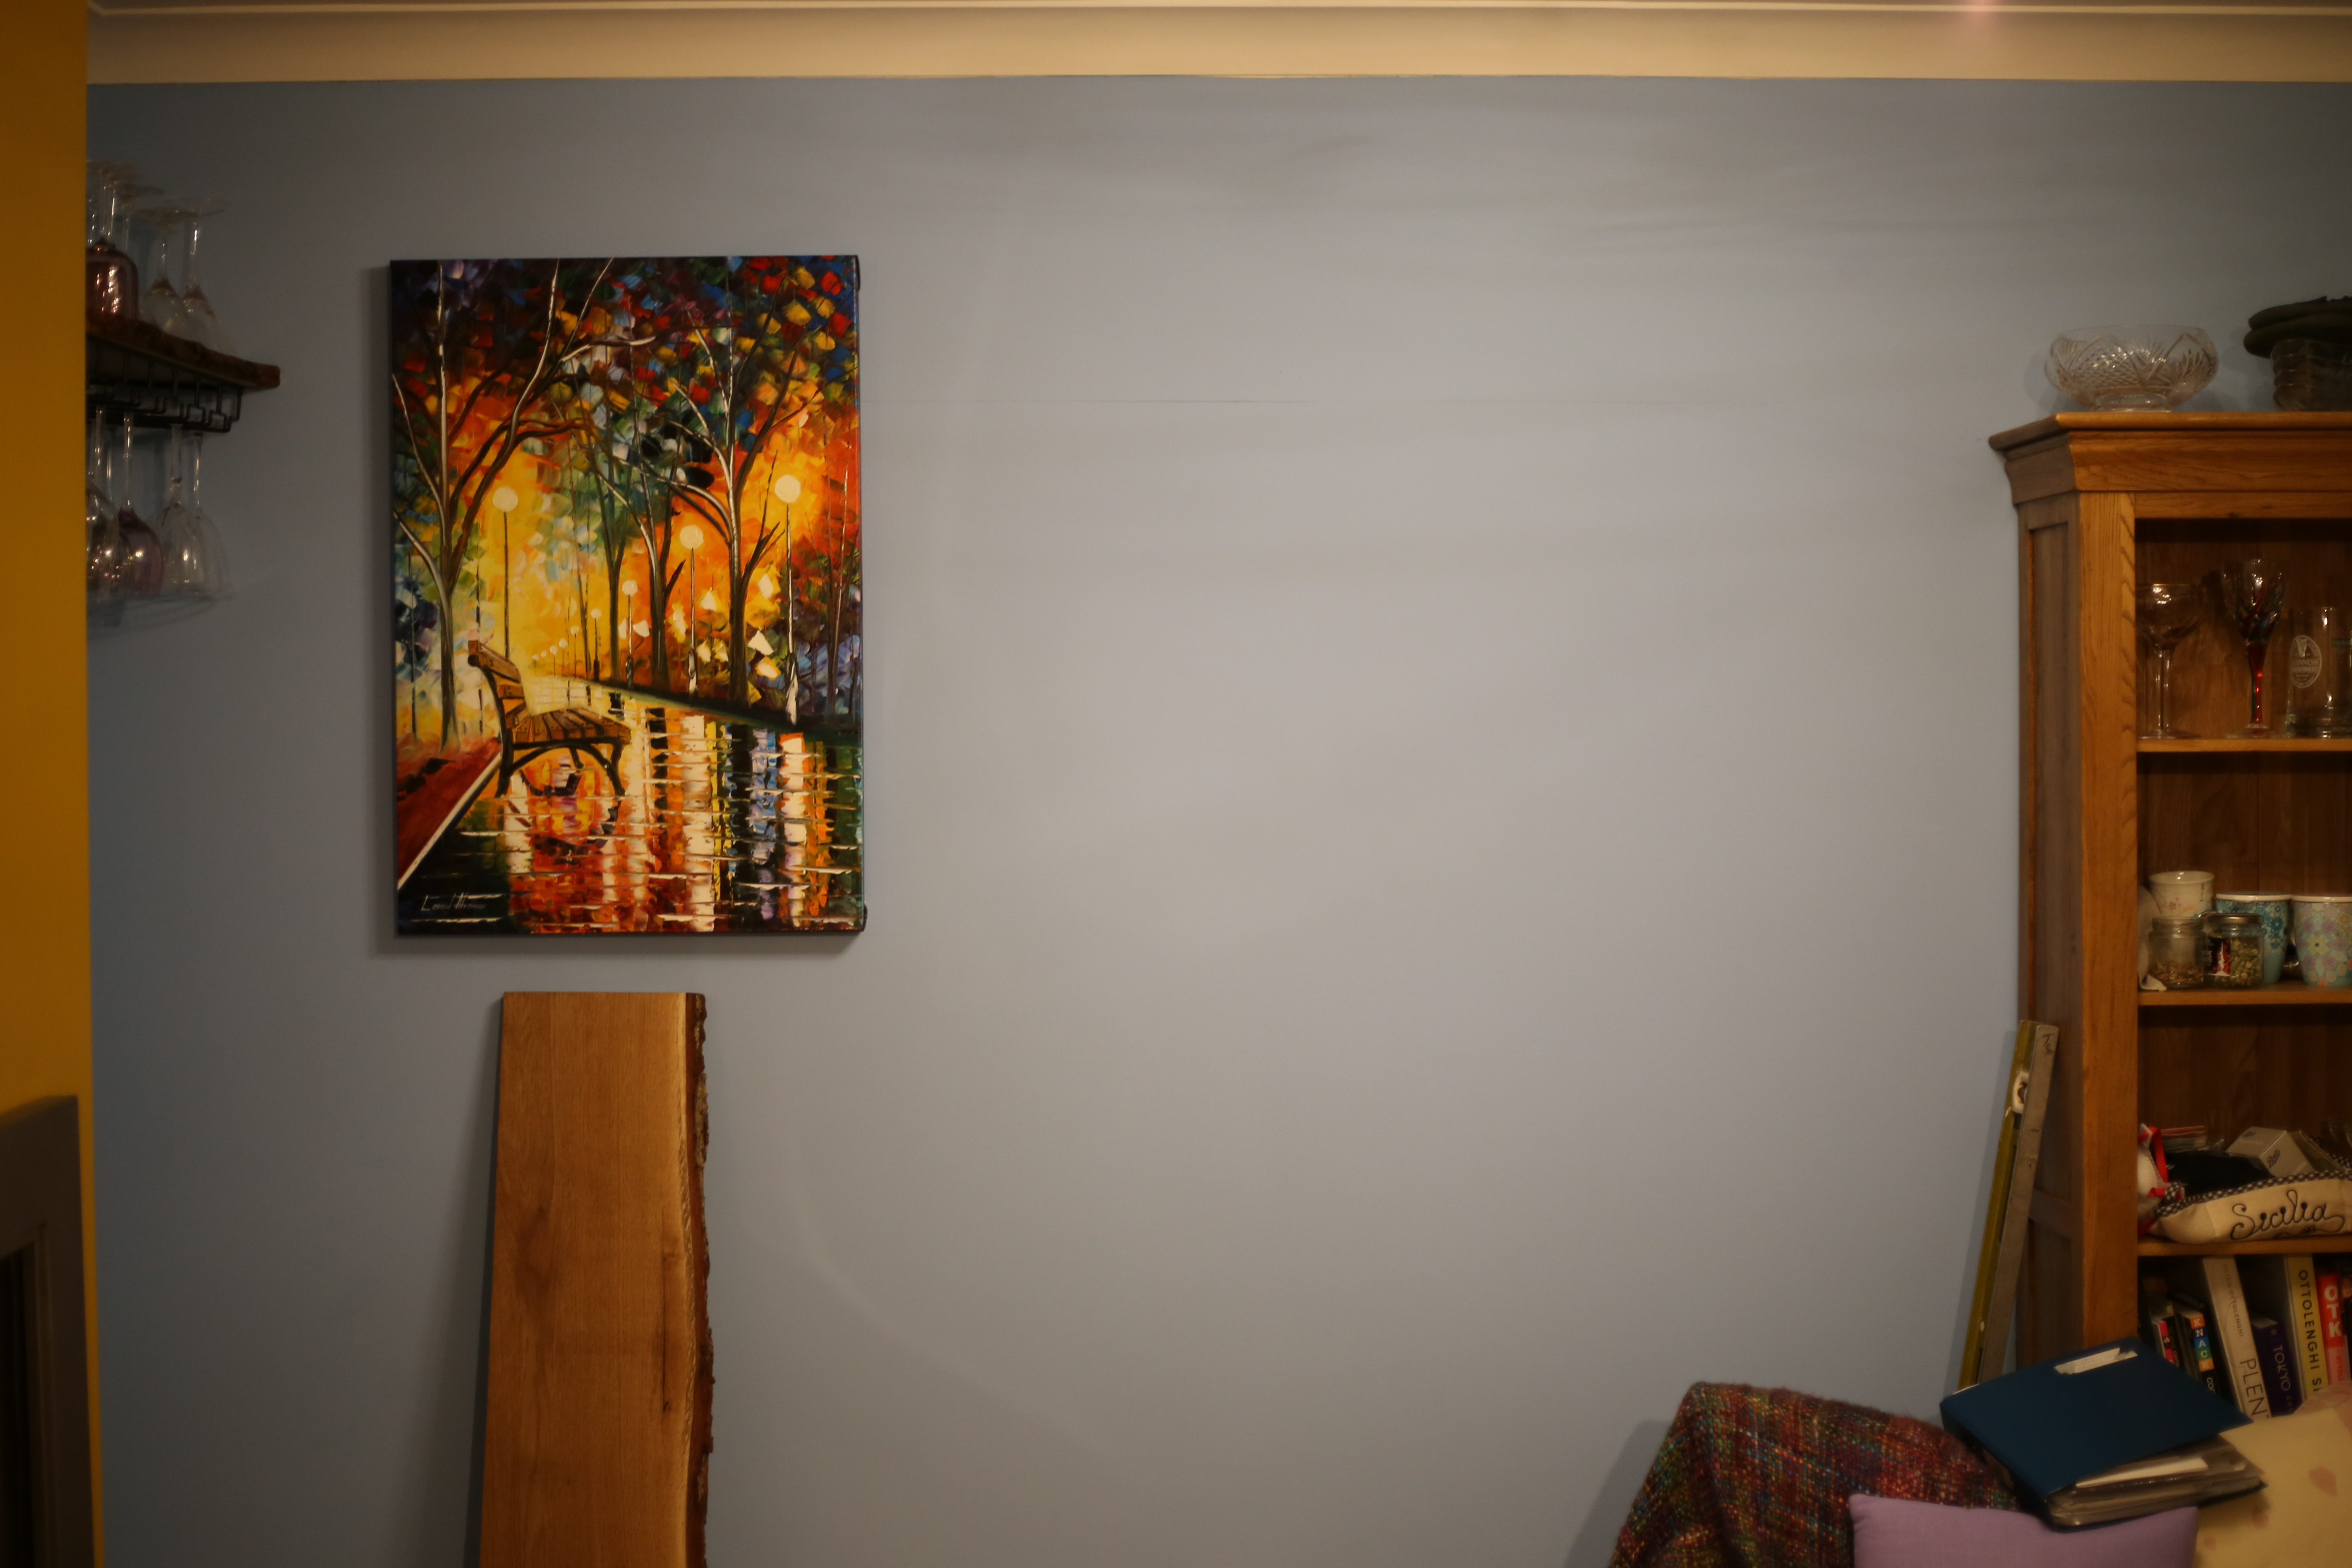
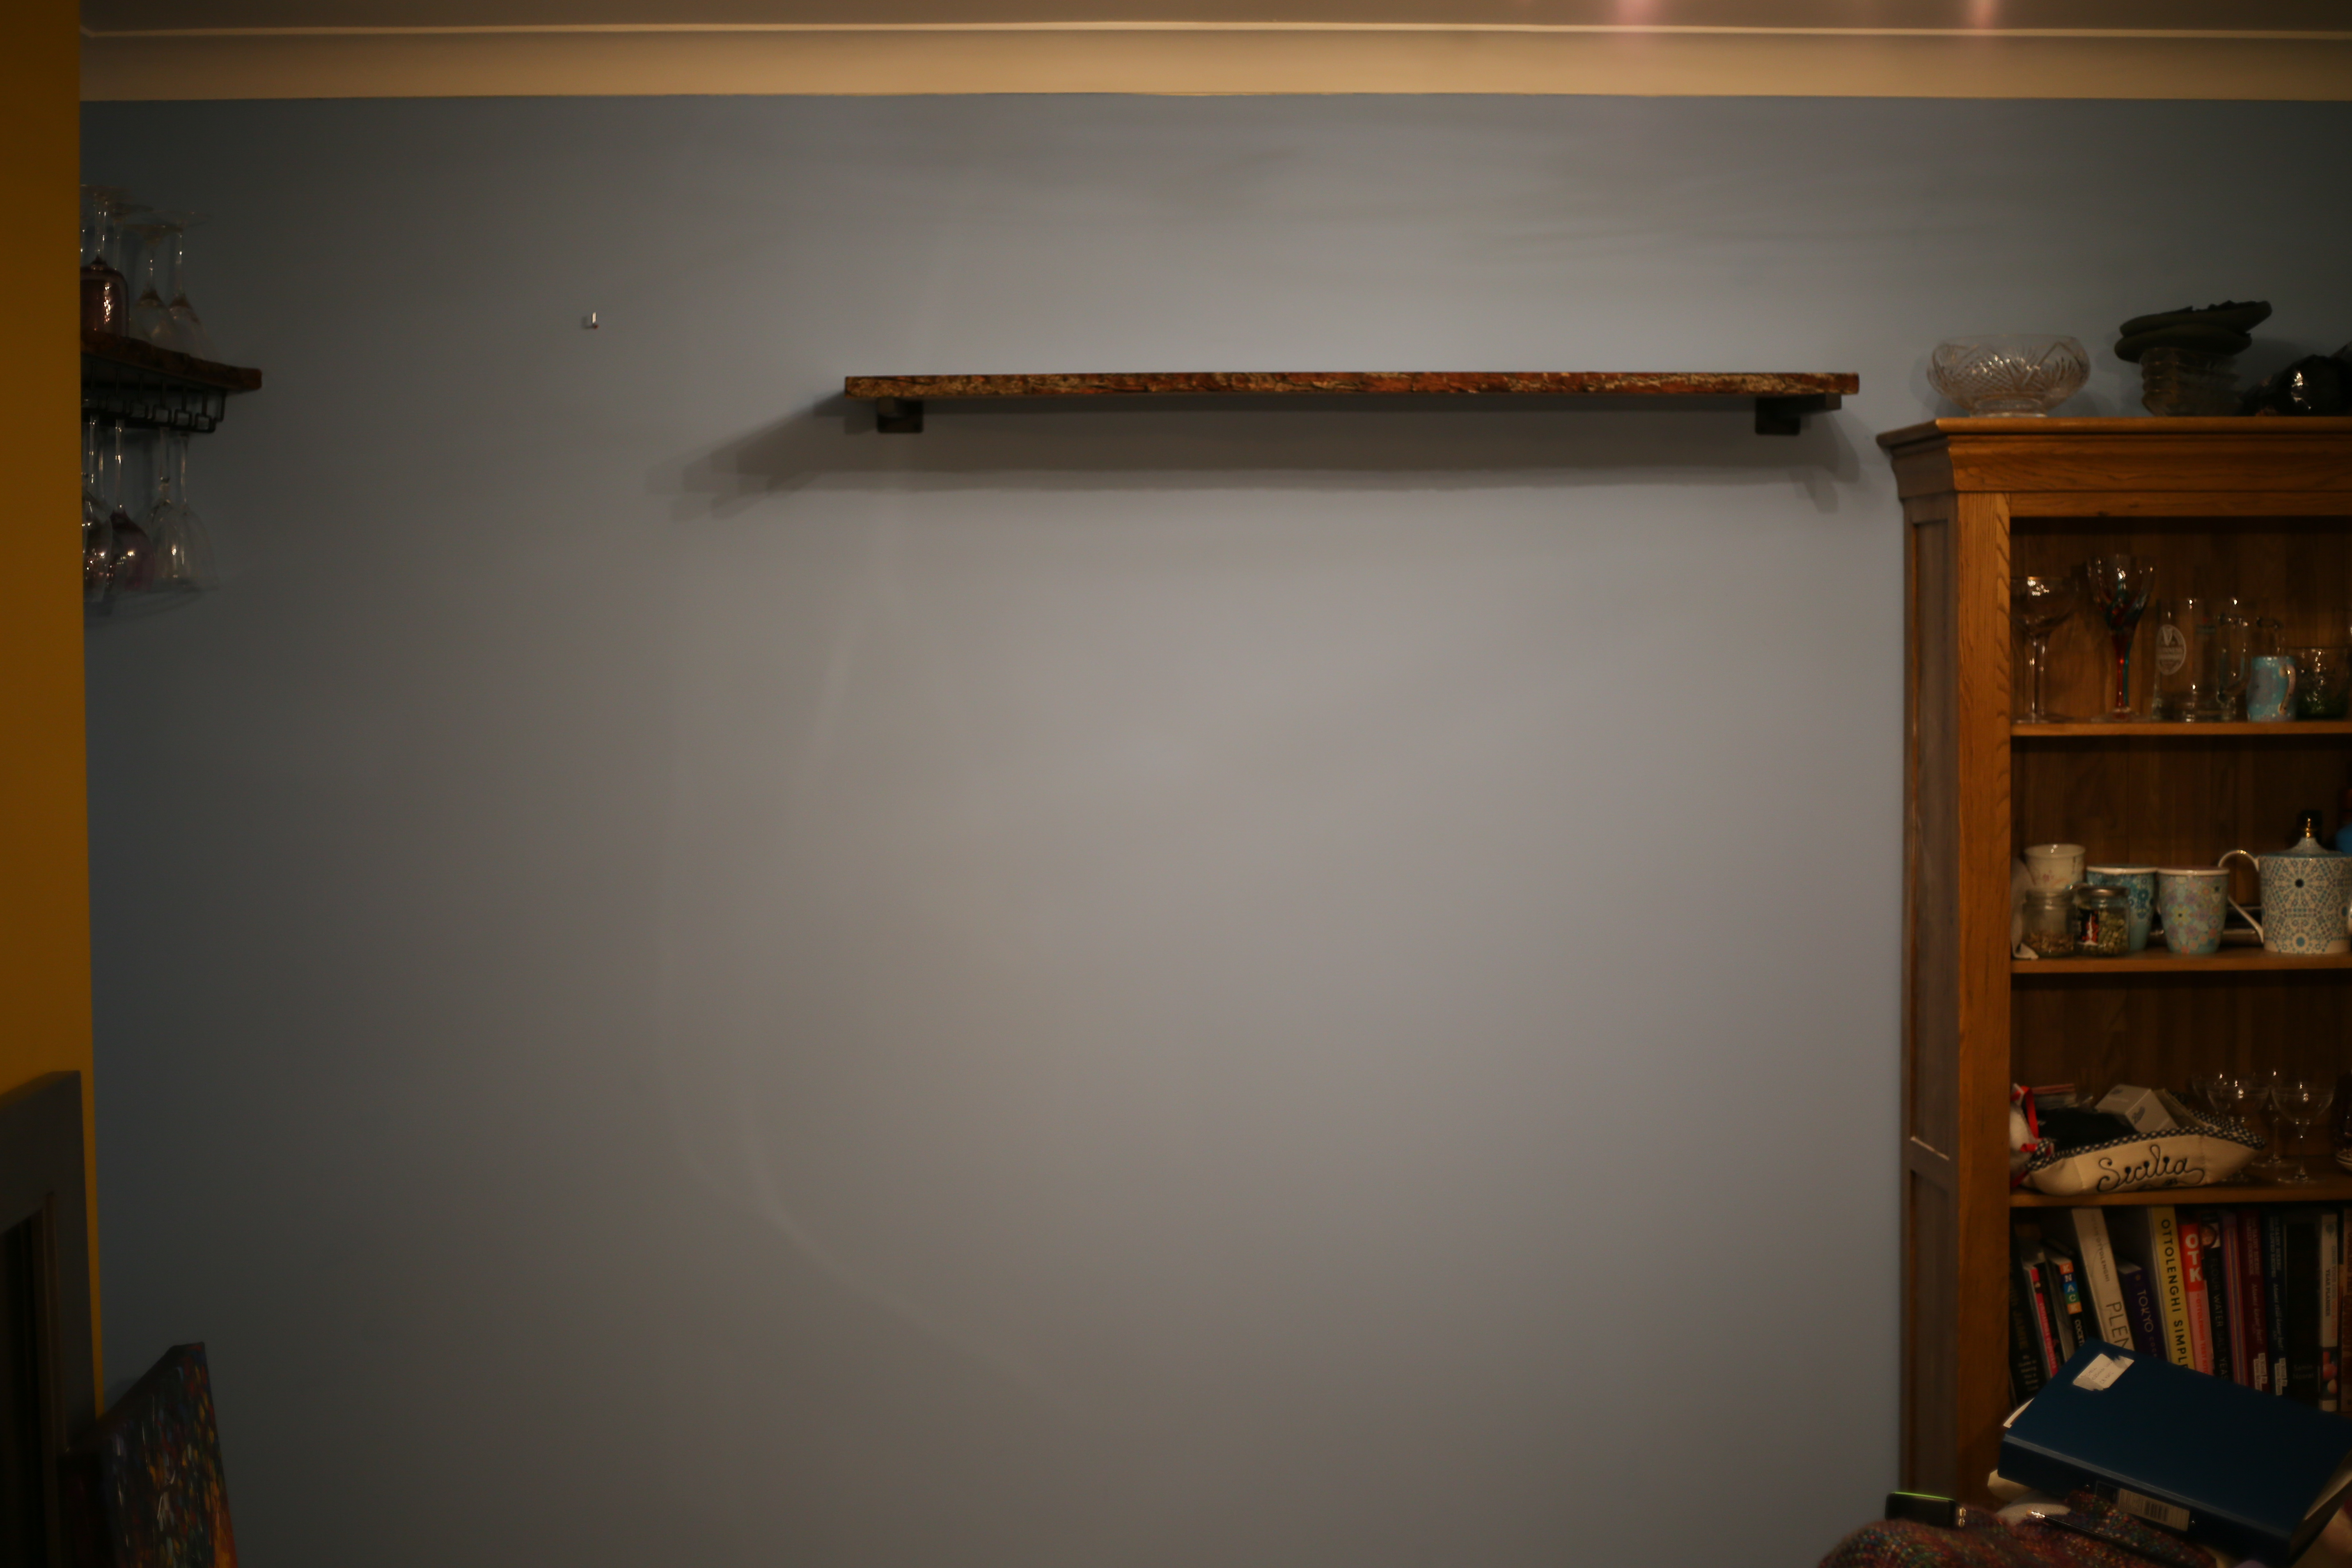
At the same time as buying the larger shelves, I bought wood for two smaller shelves to fit in the alcove below the wine glass rack. It was always my intention to fit more storage in that area, but getting round to it was another matter. Rather than using floating brackets, for the next shelves I’ll use battens around the three sides which will provide a sturdy base.
Fencing (but not the violent kind)
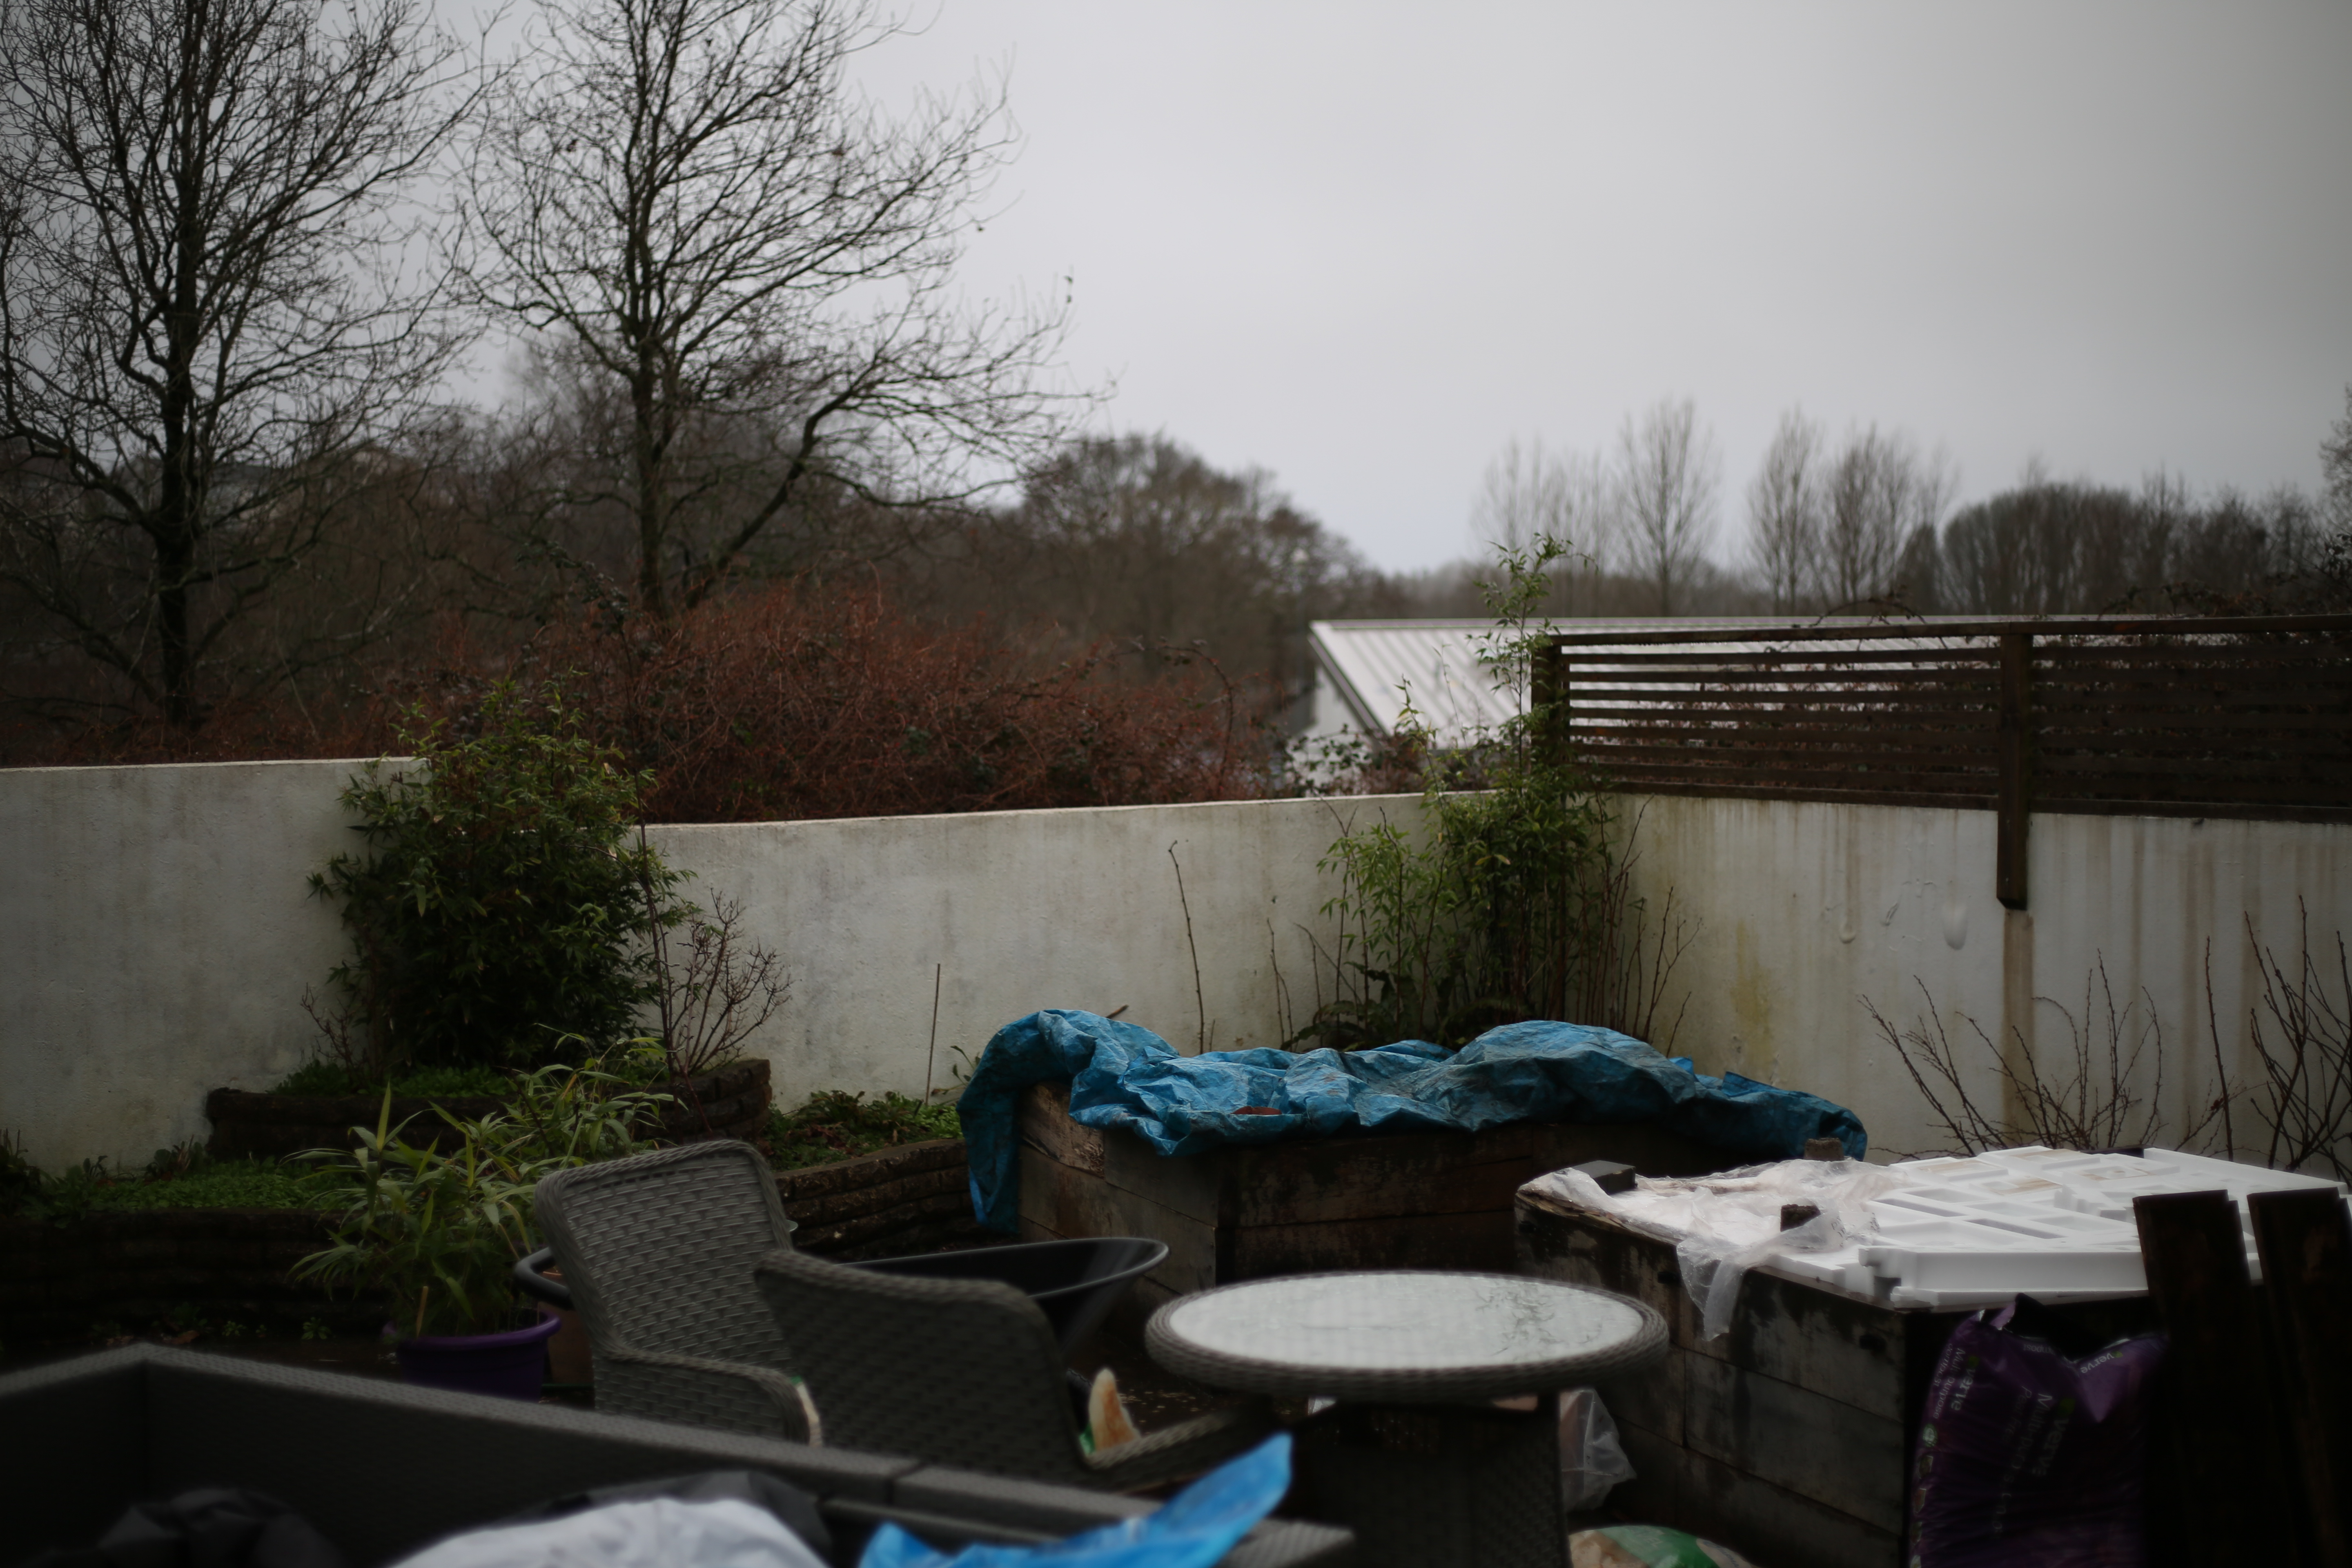
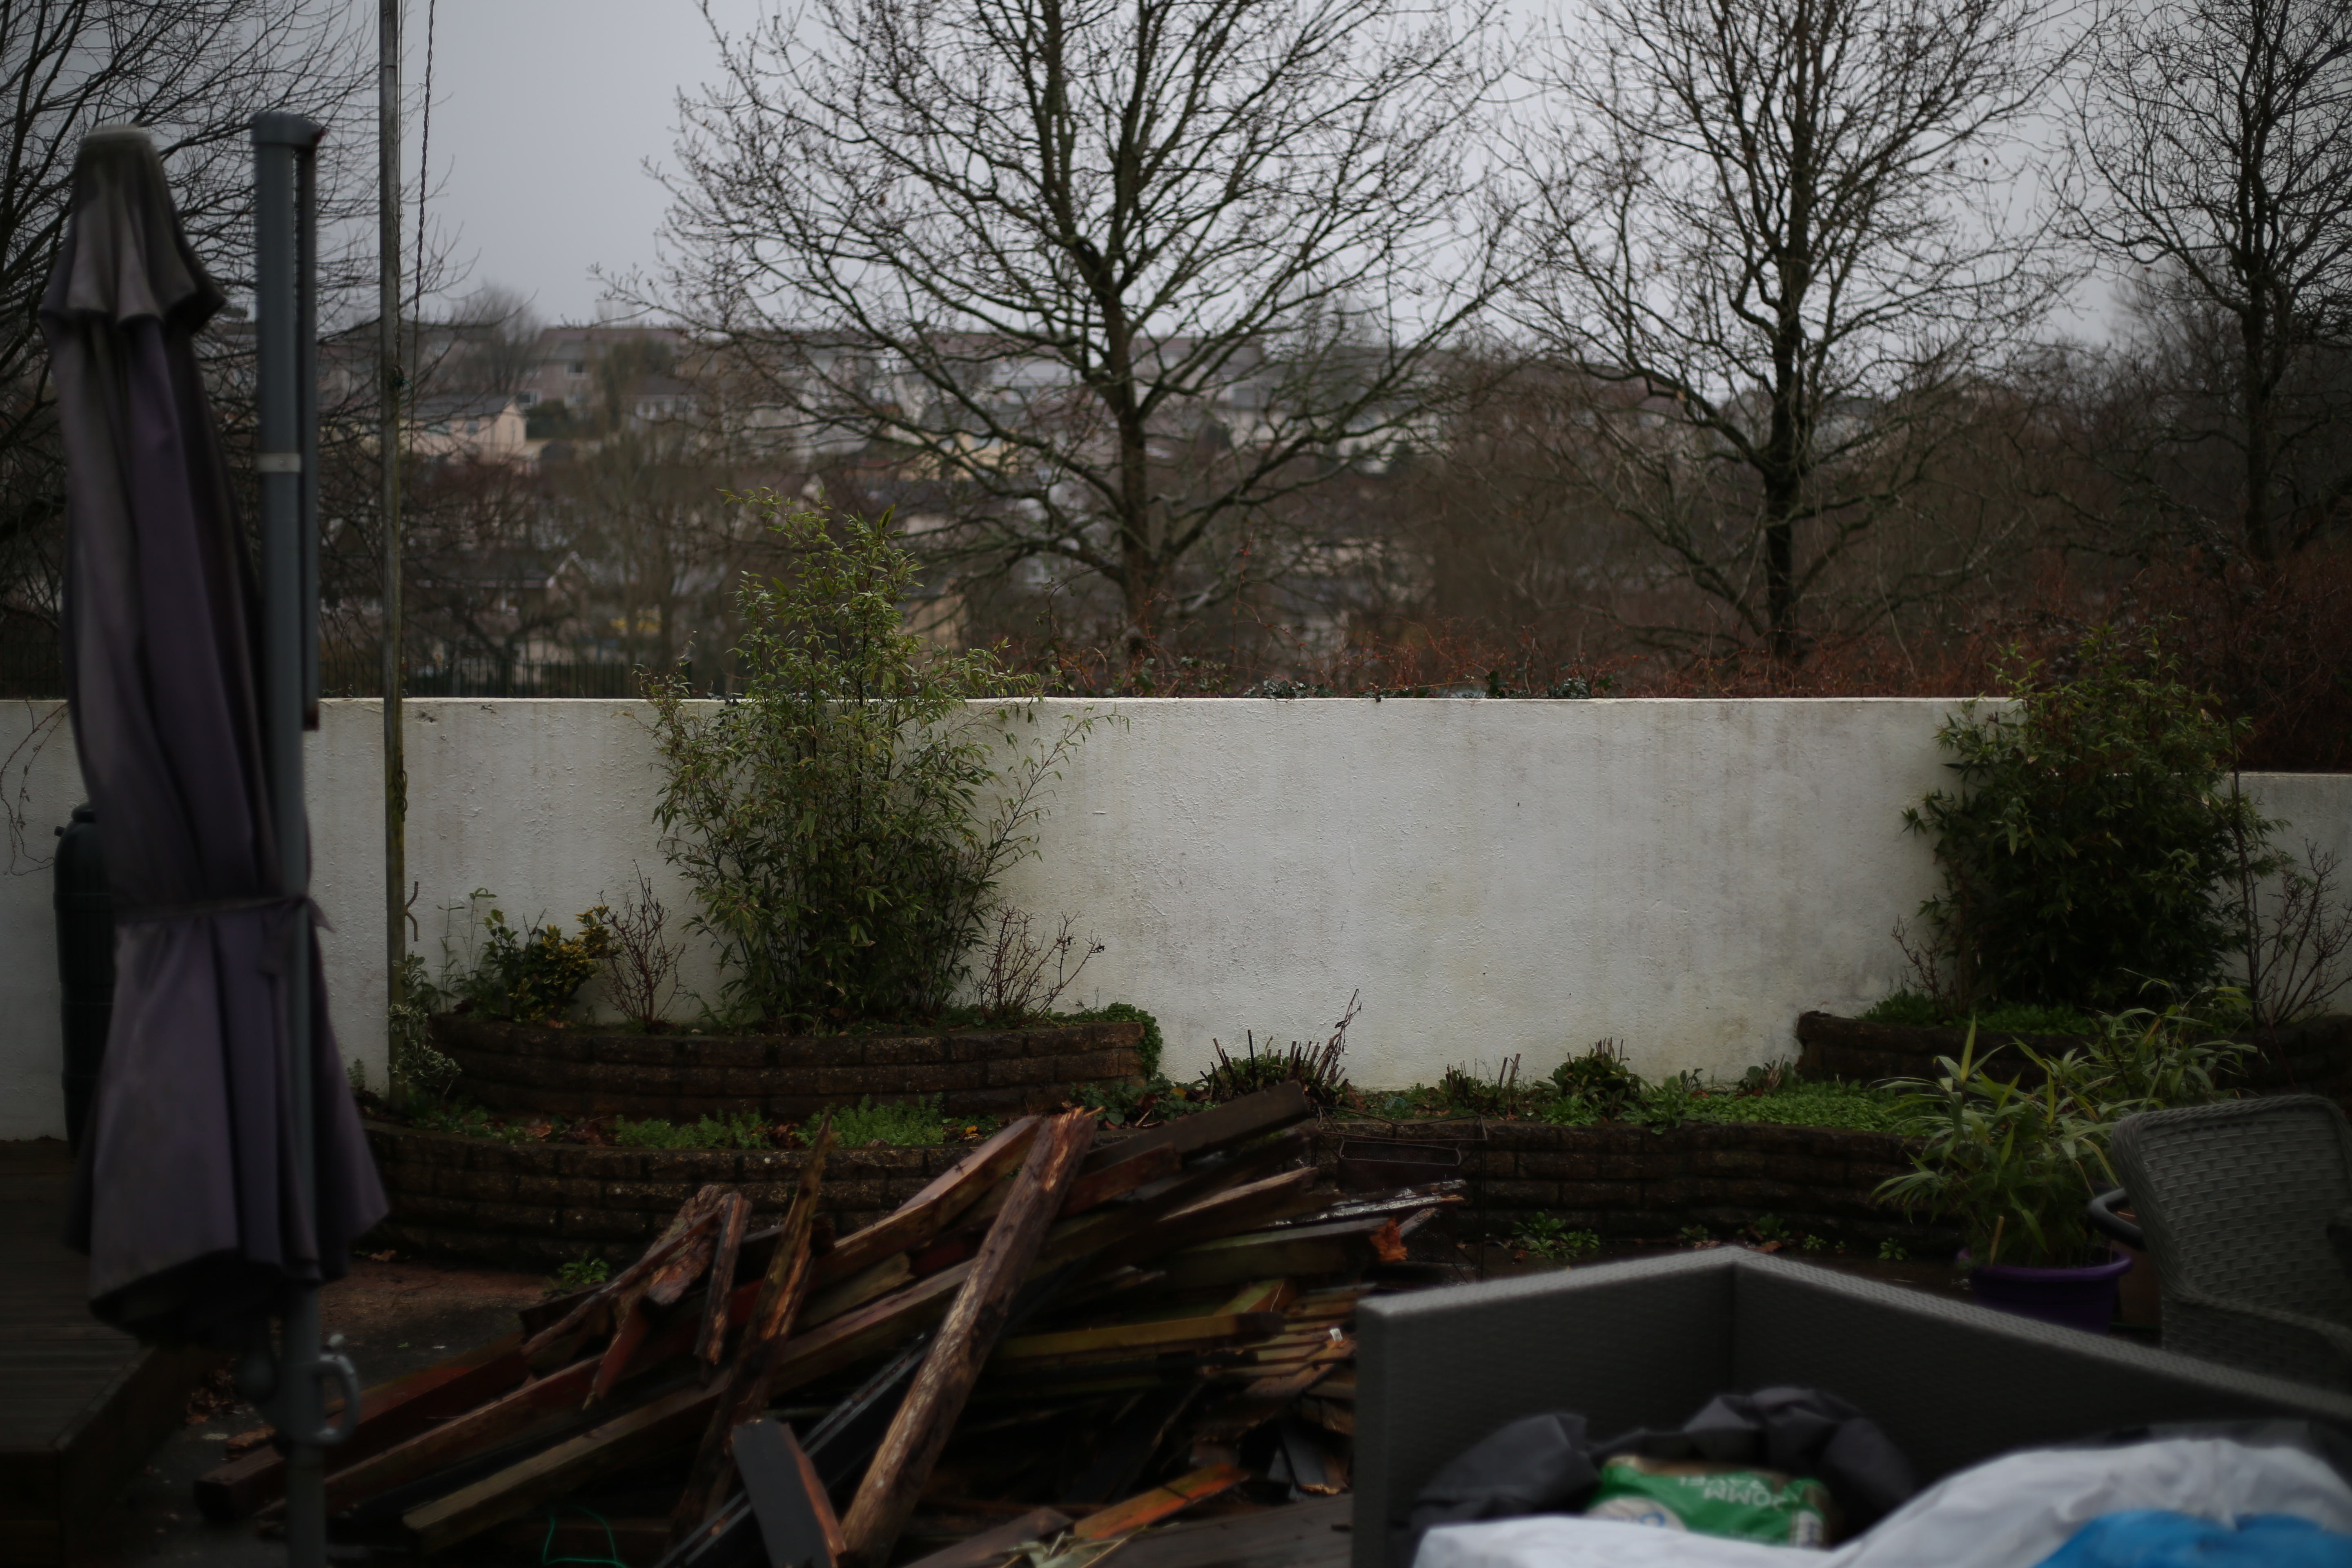
Although I was once an épéeist I am now referring to the garden fence. Ours has been falling down for a matter of years. The previous owners slapped some black paint on it and gave an impression of it being servicable; in reality the wood was rotten and about to fall apart. It has been on the to-do list for a while, but I was waiting until I finished (and started) the wall at the back of the house. That was going to be a project for last year but time got away from me and I focused on some other areas like the home office.
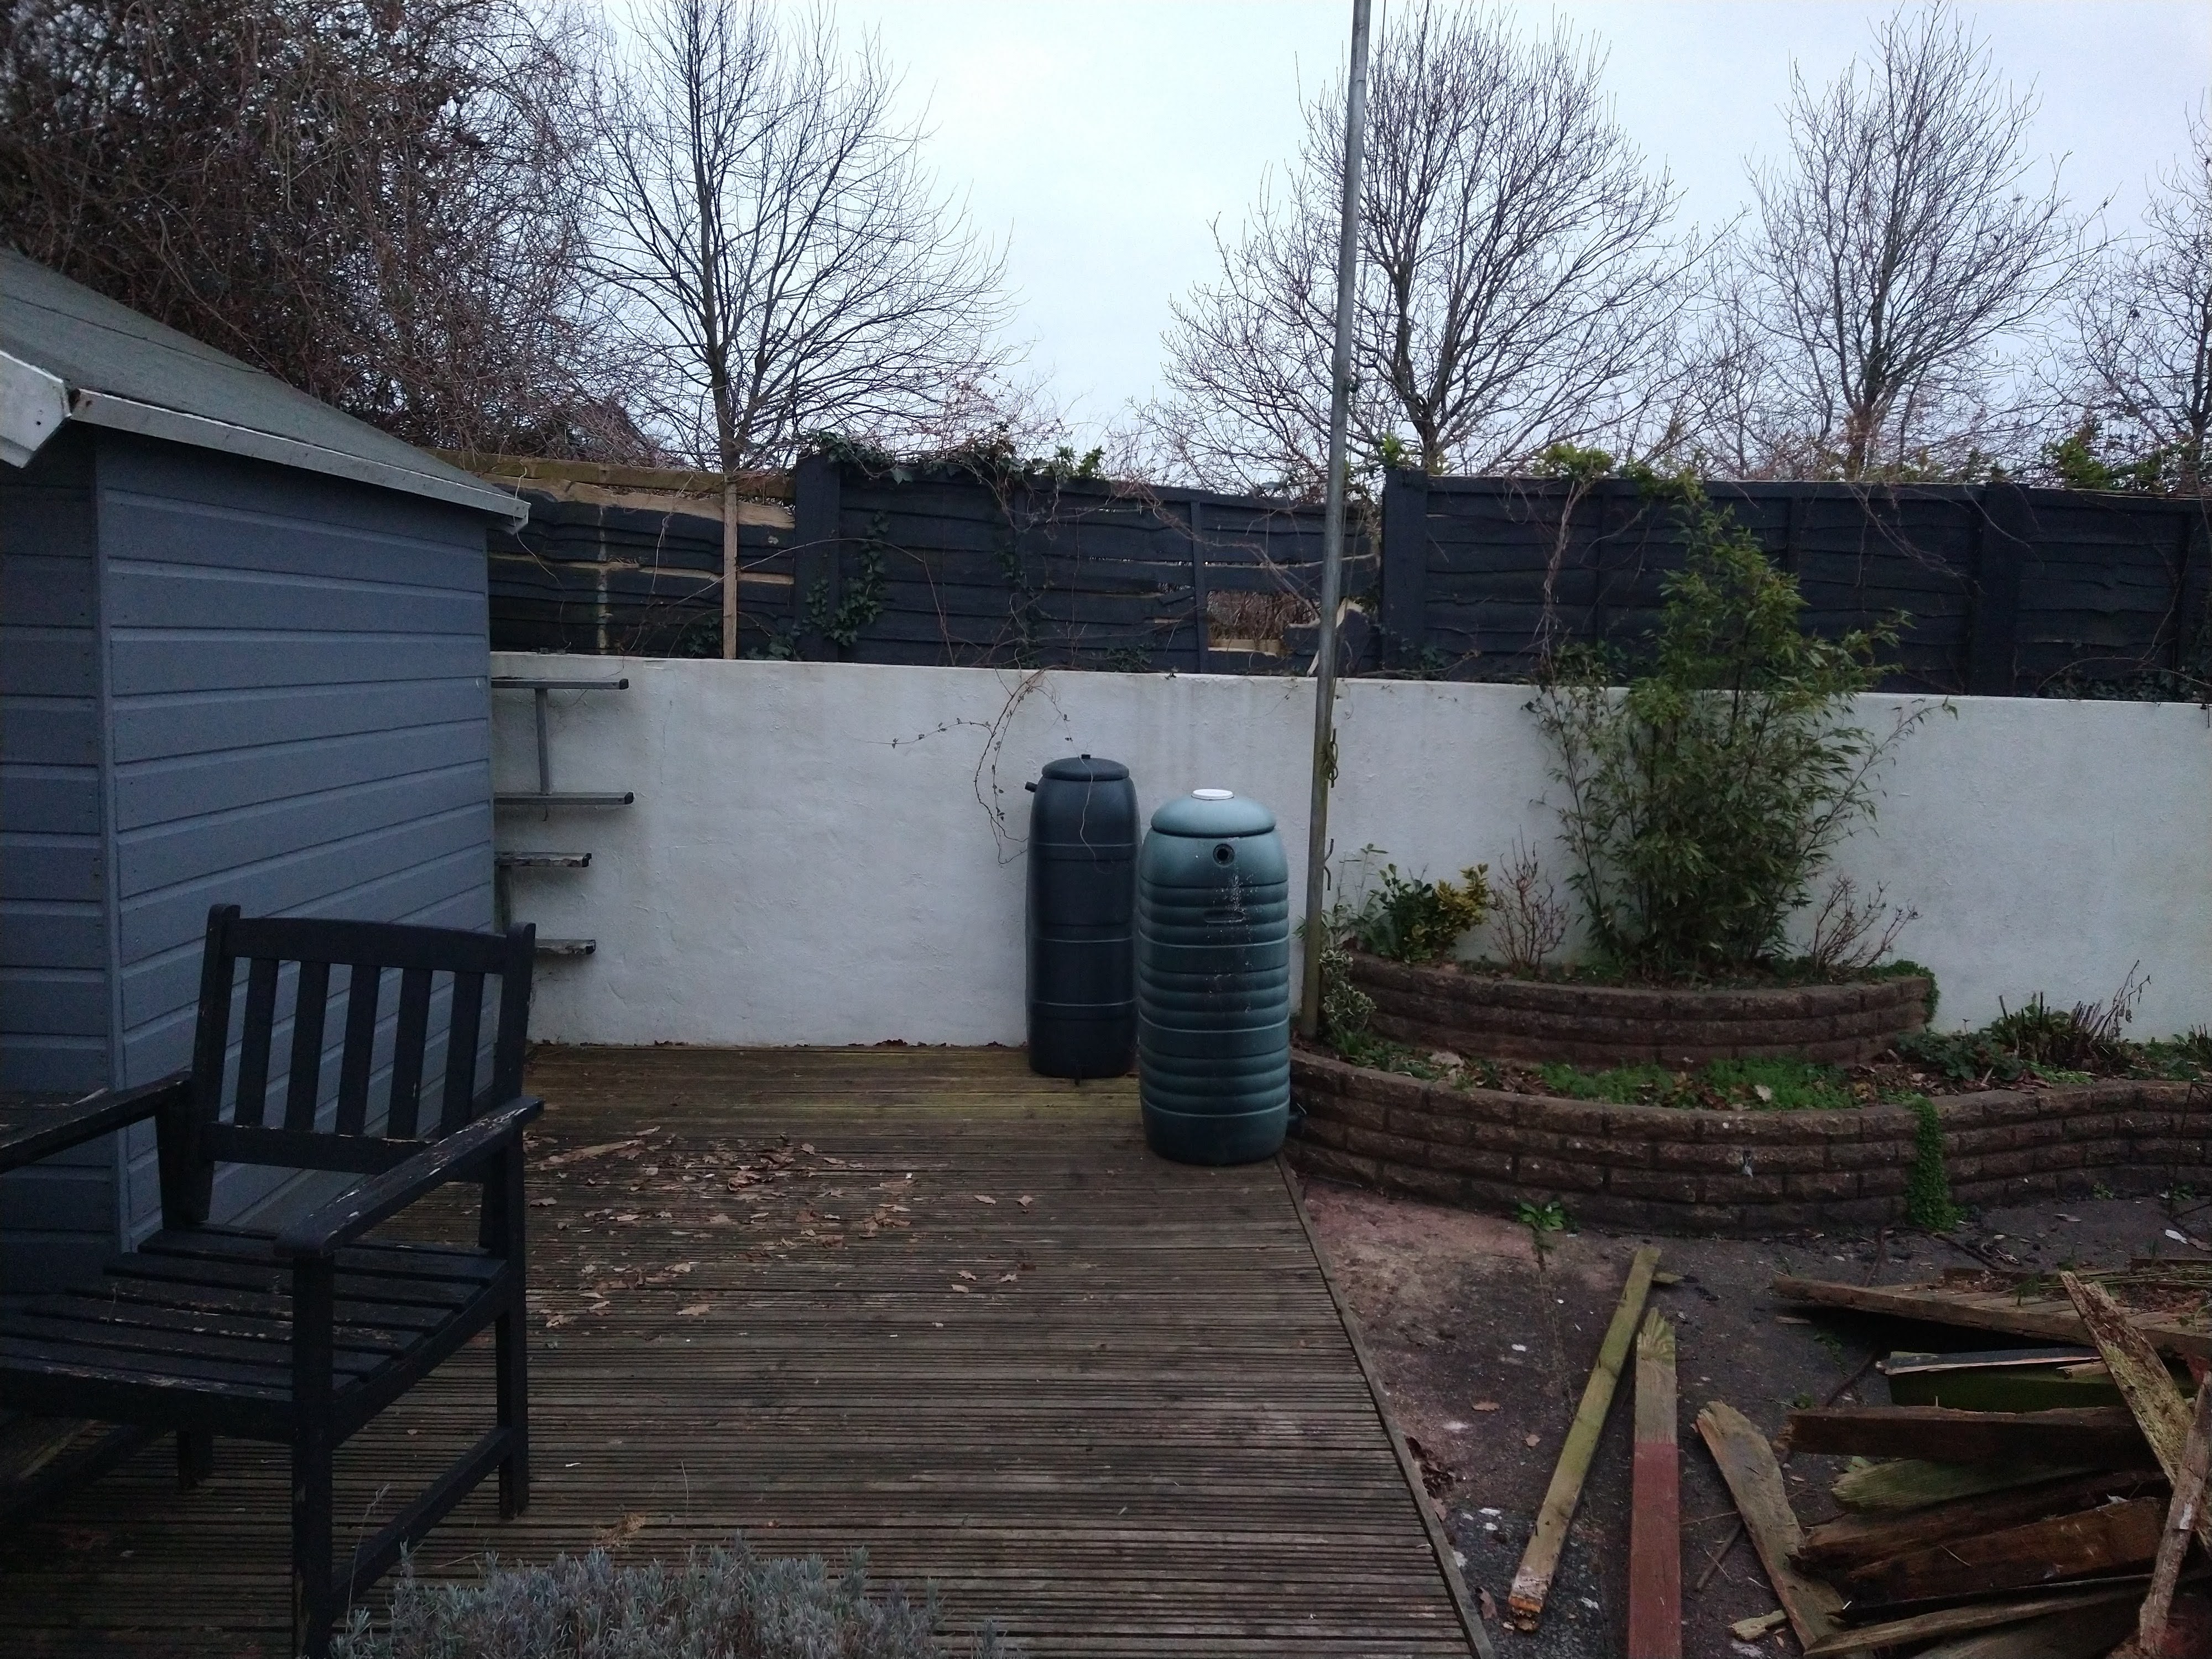
I spend an inordinate amount of time on DIY. I enjoy DIY, but sometimes it can be all-consuming and in an attempt to find more balance in my life, we’re getting a company in to do the fencing. In preparation I cleared away some of the scrub behind the wall and introduced the chainsaw to some trees which were in the way. Today they removed most of the old fencing and dug post holes, and I expect tomorrow they will begin building fence proper. Without the fence the house feels quite exposed as people can look in from the adjacent path.
I am looking forward to seeing the final result. Hopefully it will be a significant improvement on the hodge-podge efforts of the previous owner of the house, and help to make the whole property feel more secure.
That’s pretty much all there is to this one. I haven’t even had time to play any games, but I’ll manage to sit down one of these days.

Leave a comment