I might have posted sooner, had I not been involved in the greatest project this year (for me anyway). I finally have a workspace to call my own. It is still needs some finishing touches, but it is damn exciting. Over the last few months I’ve been working on coin rings, but without a bench. I’ve resorted to floors, dumbbells, pavements, and anything I could hammer on. I even had a bench grinder in the living room for a while, working in any space available to me. The garage has been mainly off limits over the last few years because of the sheer volume of junk lying around, but it is being cleared out, and there is enough space to walk around again (and swing a moderately large cat, of course). No workshop is complete without a computer, however, and I had an interesting idea for my one.
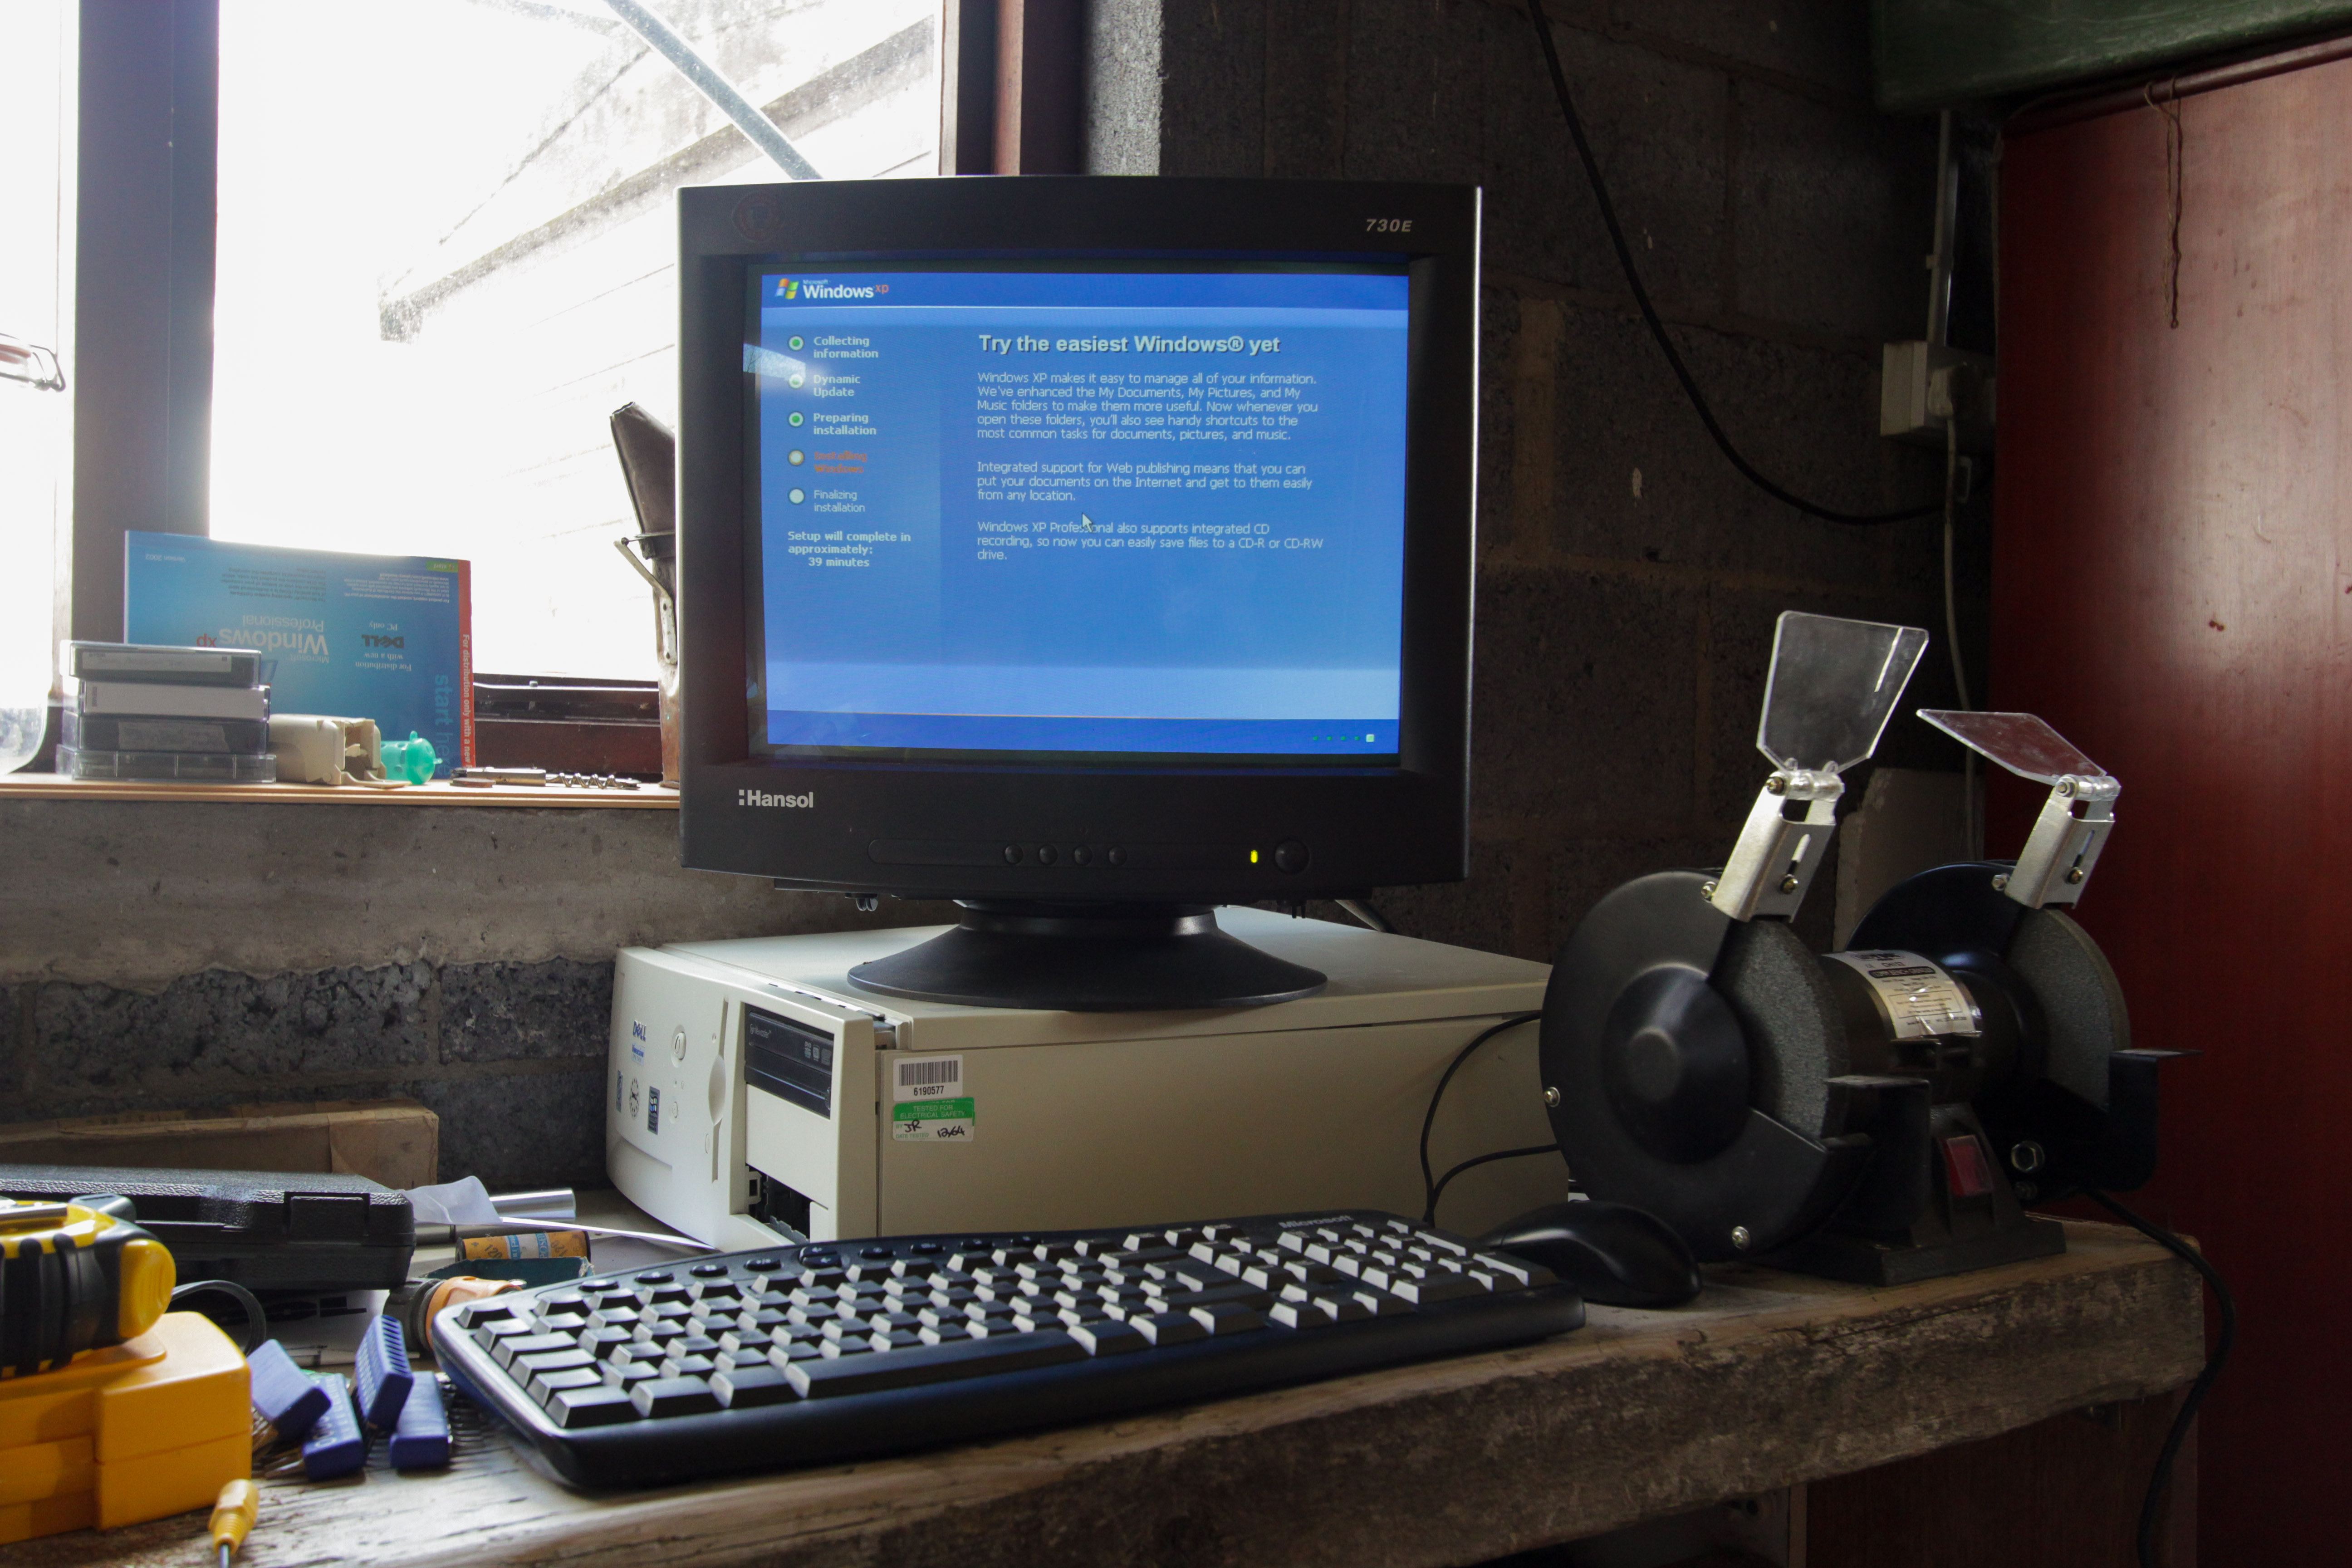
The computer above may look familiar – it’s an old Dell Optiplex case I used to house my media centre build, before we got the big TV. This PC has quite a history, and has been knocking around my house for many years. The processor at the heart of it is about twelve years old, as is the RAM, but the motherboard is a sprightly nine years old. Few systems have had as many past lives as this one, but in it’s most recent iteration, few will even be aware of its existence.

Yes, this was going to be my first attempt at a drawputer – essentially sticking a computer in a drawer under the workbench. I needed something to watch how-to videos, and also stream music and videos from the house, but I didn’t want to spend any money. In fact, that’s how most of my projects come about. While the PC is old, it is more than capable of the basic multimedia tasks I want it for.
This was not a complicated project at all – it involved taking the components out of the old case, and fixing them in place in the drawer. I had to remove the metal plates on the wireless networking PCI card, and had to do away with the graphics card as it was too tall for the drawer (onboard graphics will be sufficient for my requirements). All that was left was a power switch. I couldn’t find a red push button switch lying around, which is what I would have liked to use, so I tore apart some old computer cases and found a suitable power button.

The next step was deciding what to cap the on switch with. I didn’t have any suitable buttons from other cases that could easily be fitted into the drawer front, and at the same time I felt the project was due an element of flair. It came to me suddenly. What is small, brass, and button-ish shaped? Bullet casings! And I had saved a few from my last trip to the quarry. The hole drilled to fit the little power microswitch was almost exactly 9 mm – if only they made a round that size. Oh wait, yeah they do.

I took a 9 mm Luger shell, sawed it in half with a hacksaw, and rounded the edges with the bench grinder. Et voila! The coolest on button I’ve seen, except maybe the missile launch panels. Some Sugru, a moldable putty which hardens into silicone, was needed to fill around the switch and protect the wires. Finally, I put in a brass hook at the rear of the drawer to route the cables, and there you have it, a drawputer! It’s not completely finished yet, as I need to figure out whether it will require additional cooling, but so far so good.


Leave a comment