Full disclosure: I’ve got an Amazon affiliate link to drawer handles later in the post. Feel free to click and buy, or not. It helps cover the costs of domain registration and keeps the blog ad free.
That’s a shoe-horned title if ever there was one, but it captures the gist of the weekend. Baking and furniture revival, and though the weather has been changeable, this week has been fantastic so far. Wall to wall sunshine.
Baking
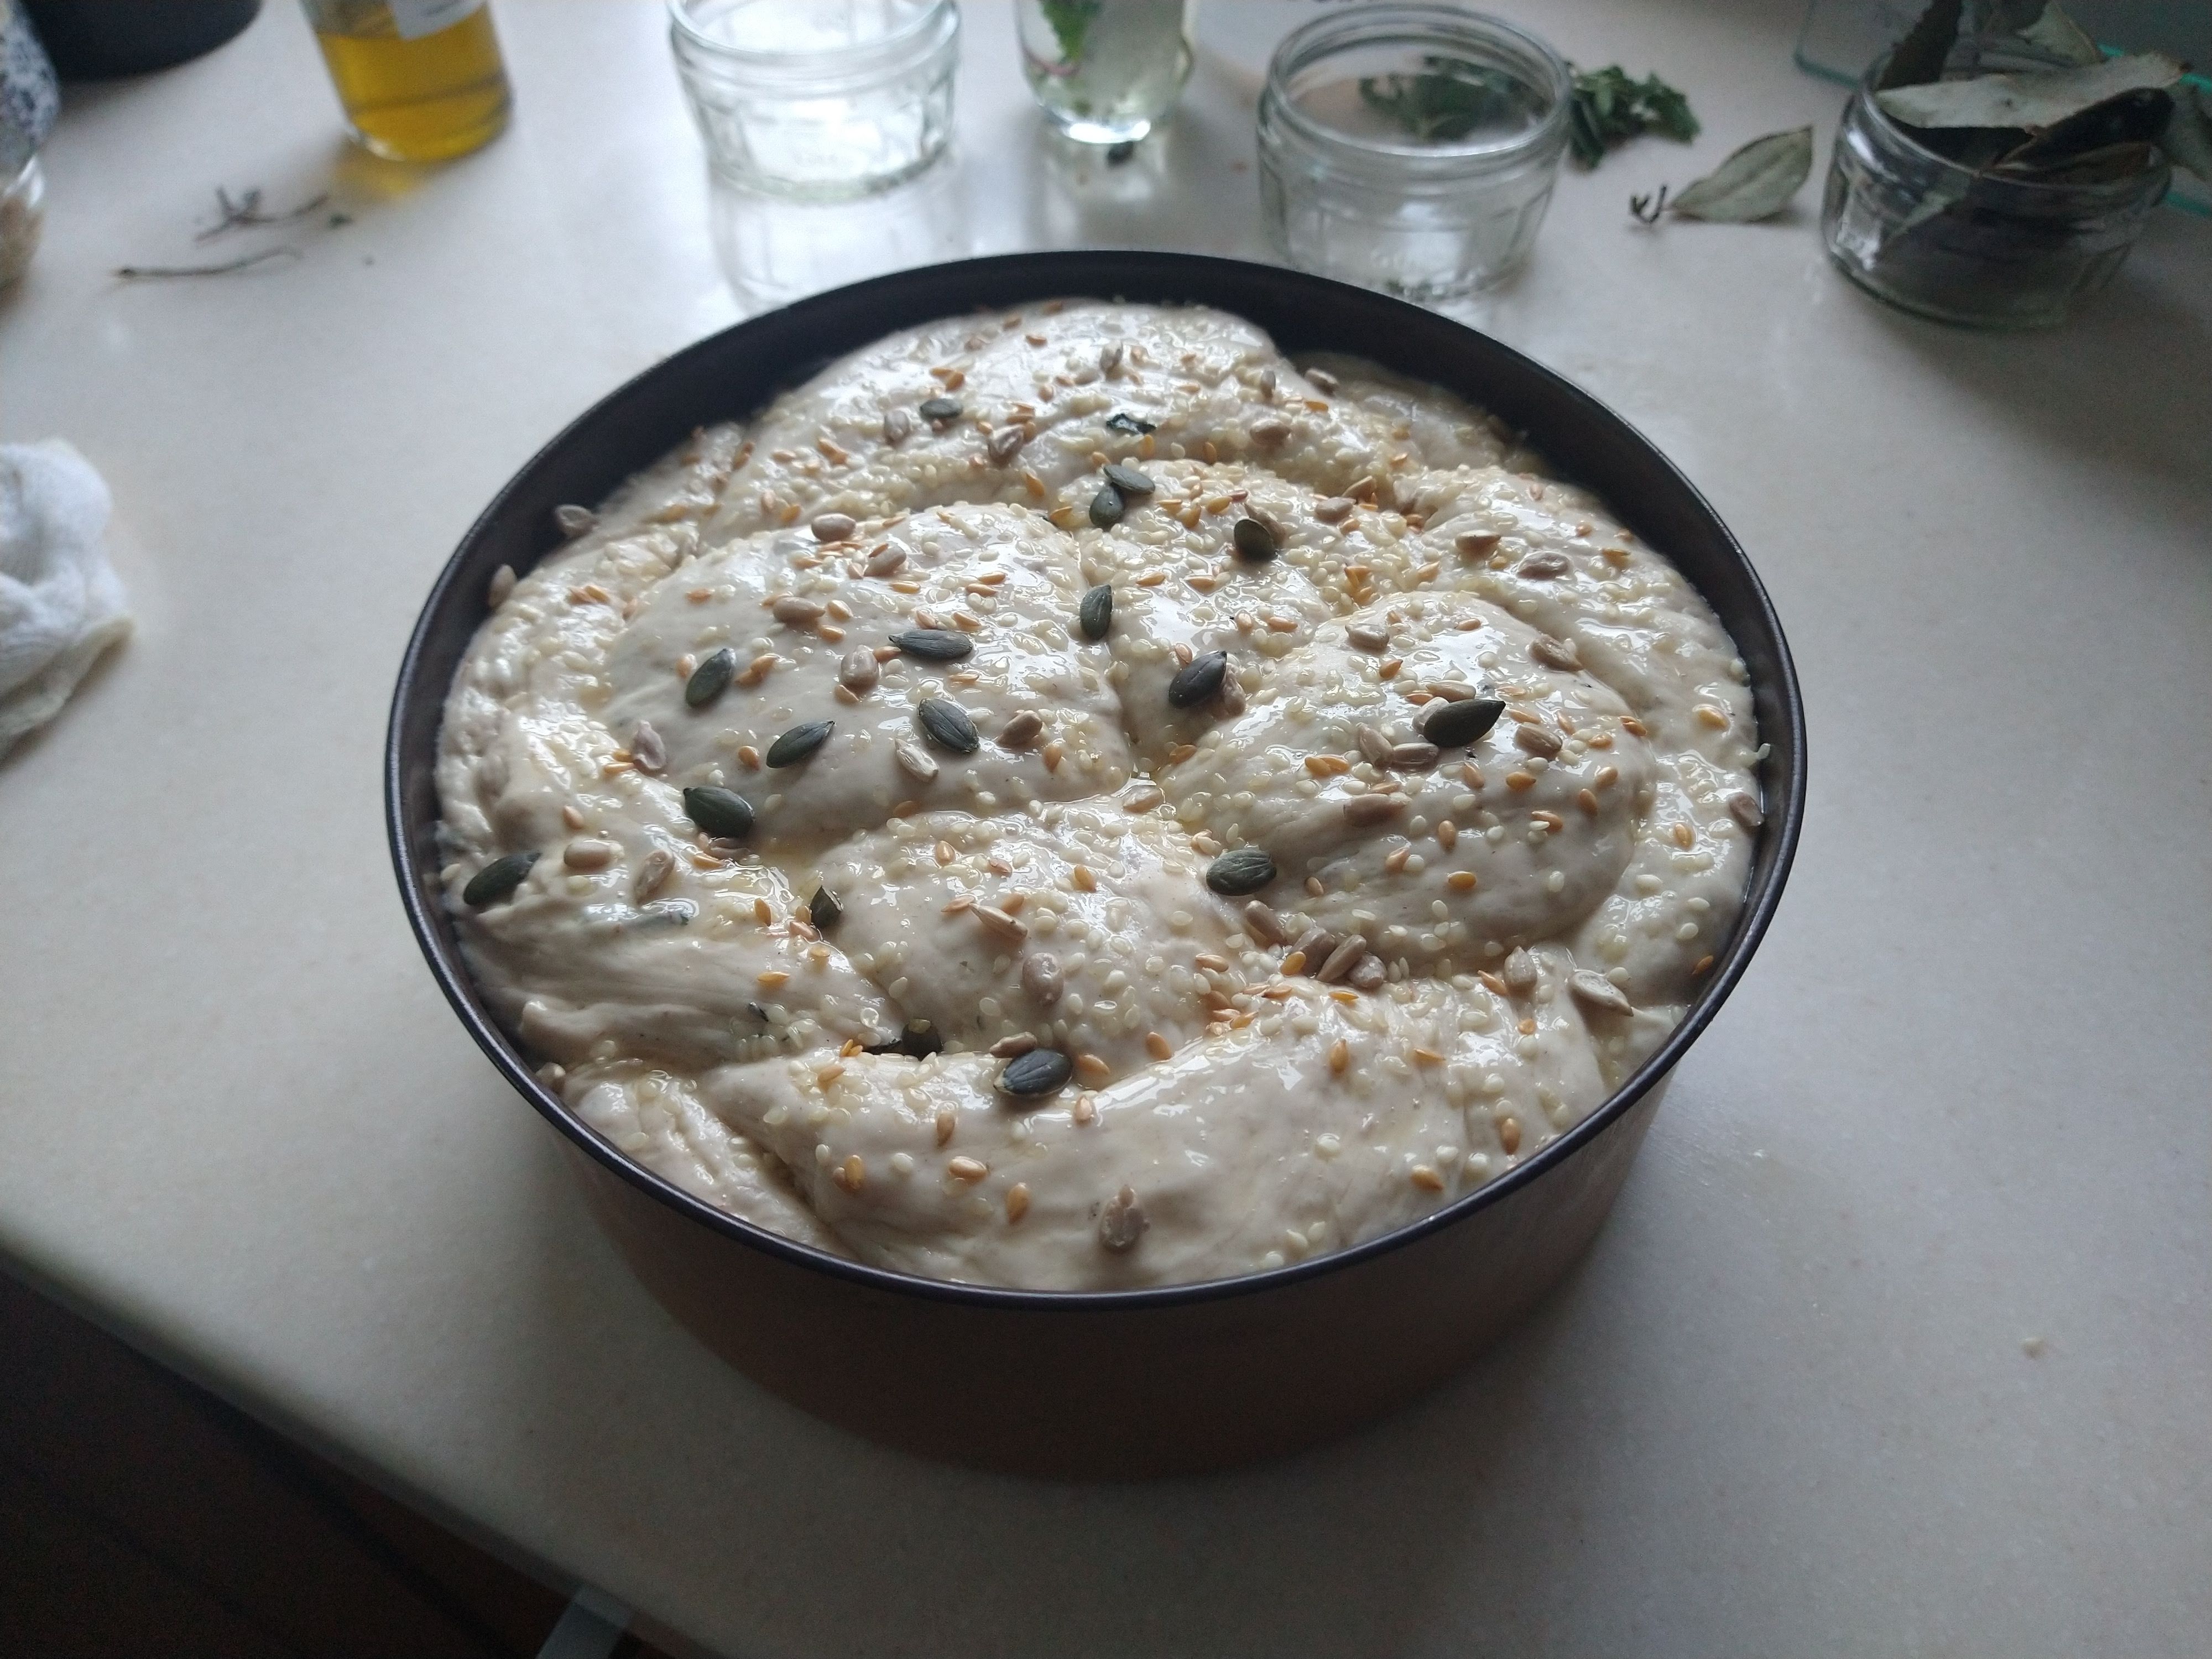
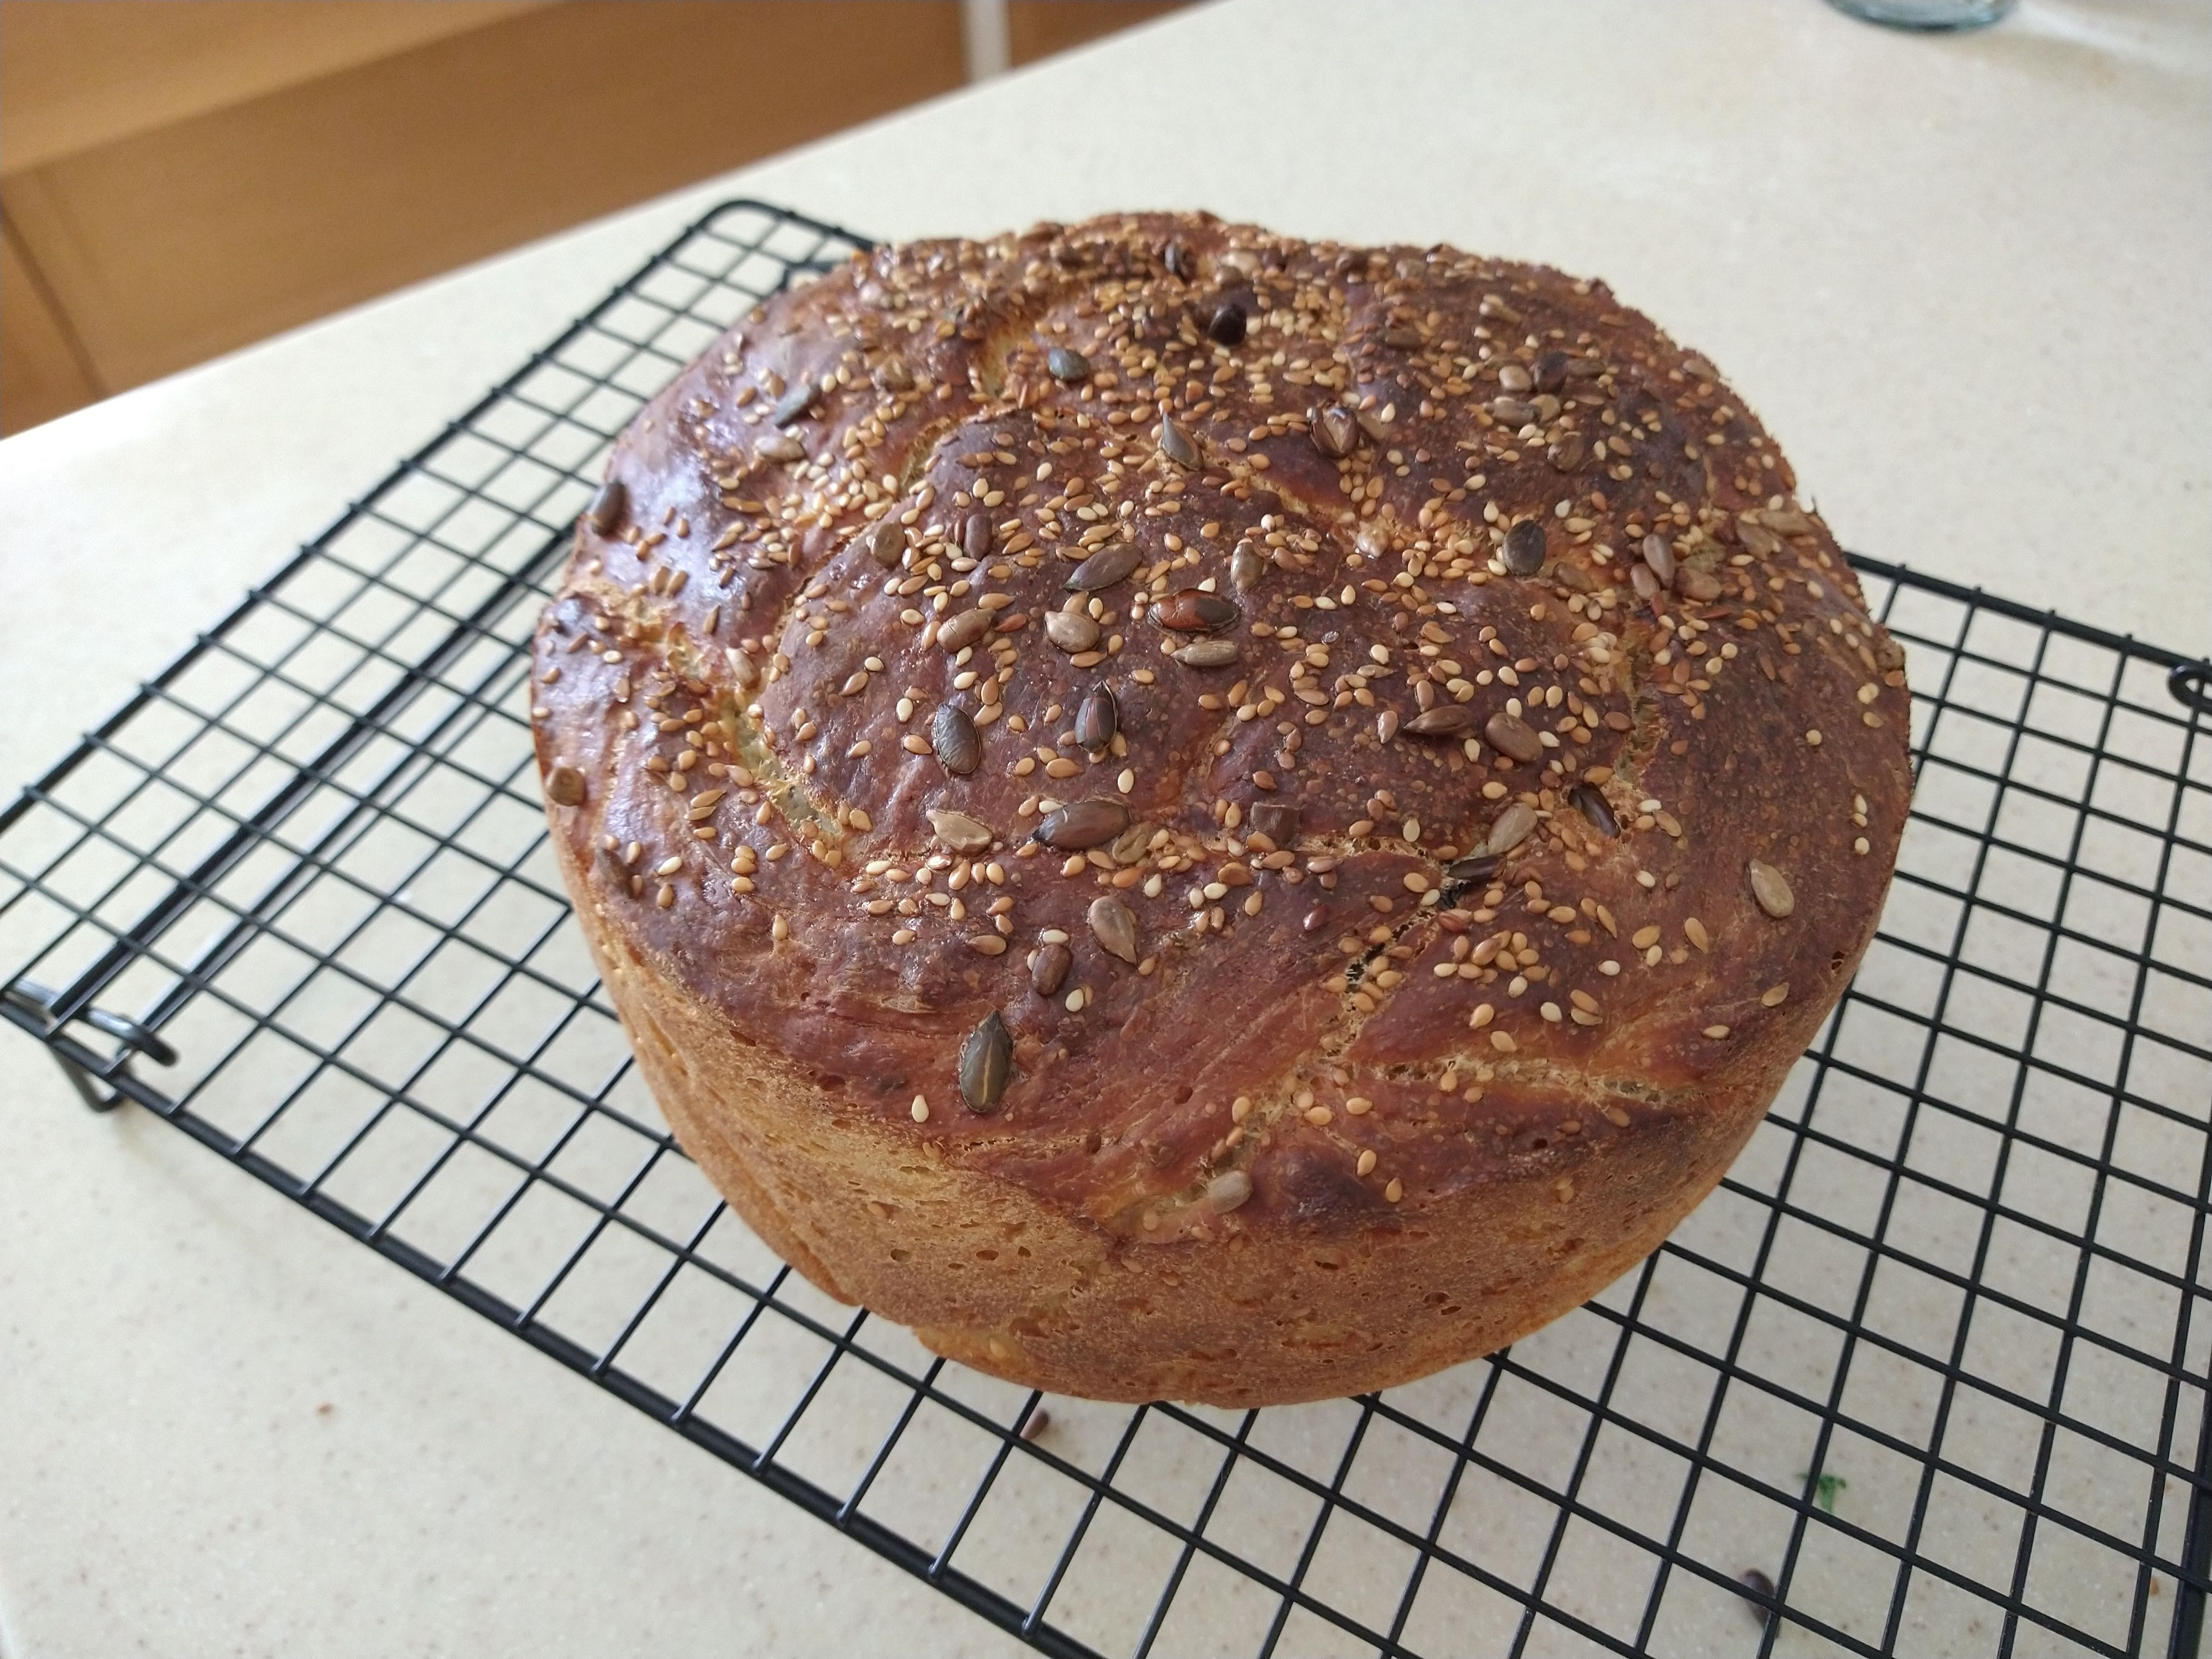
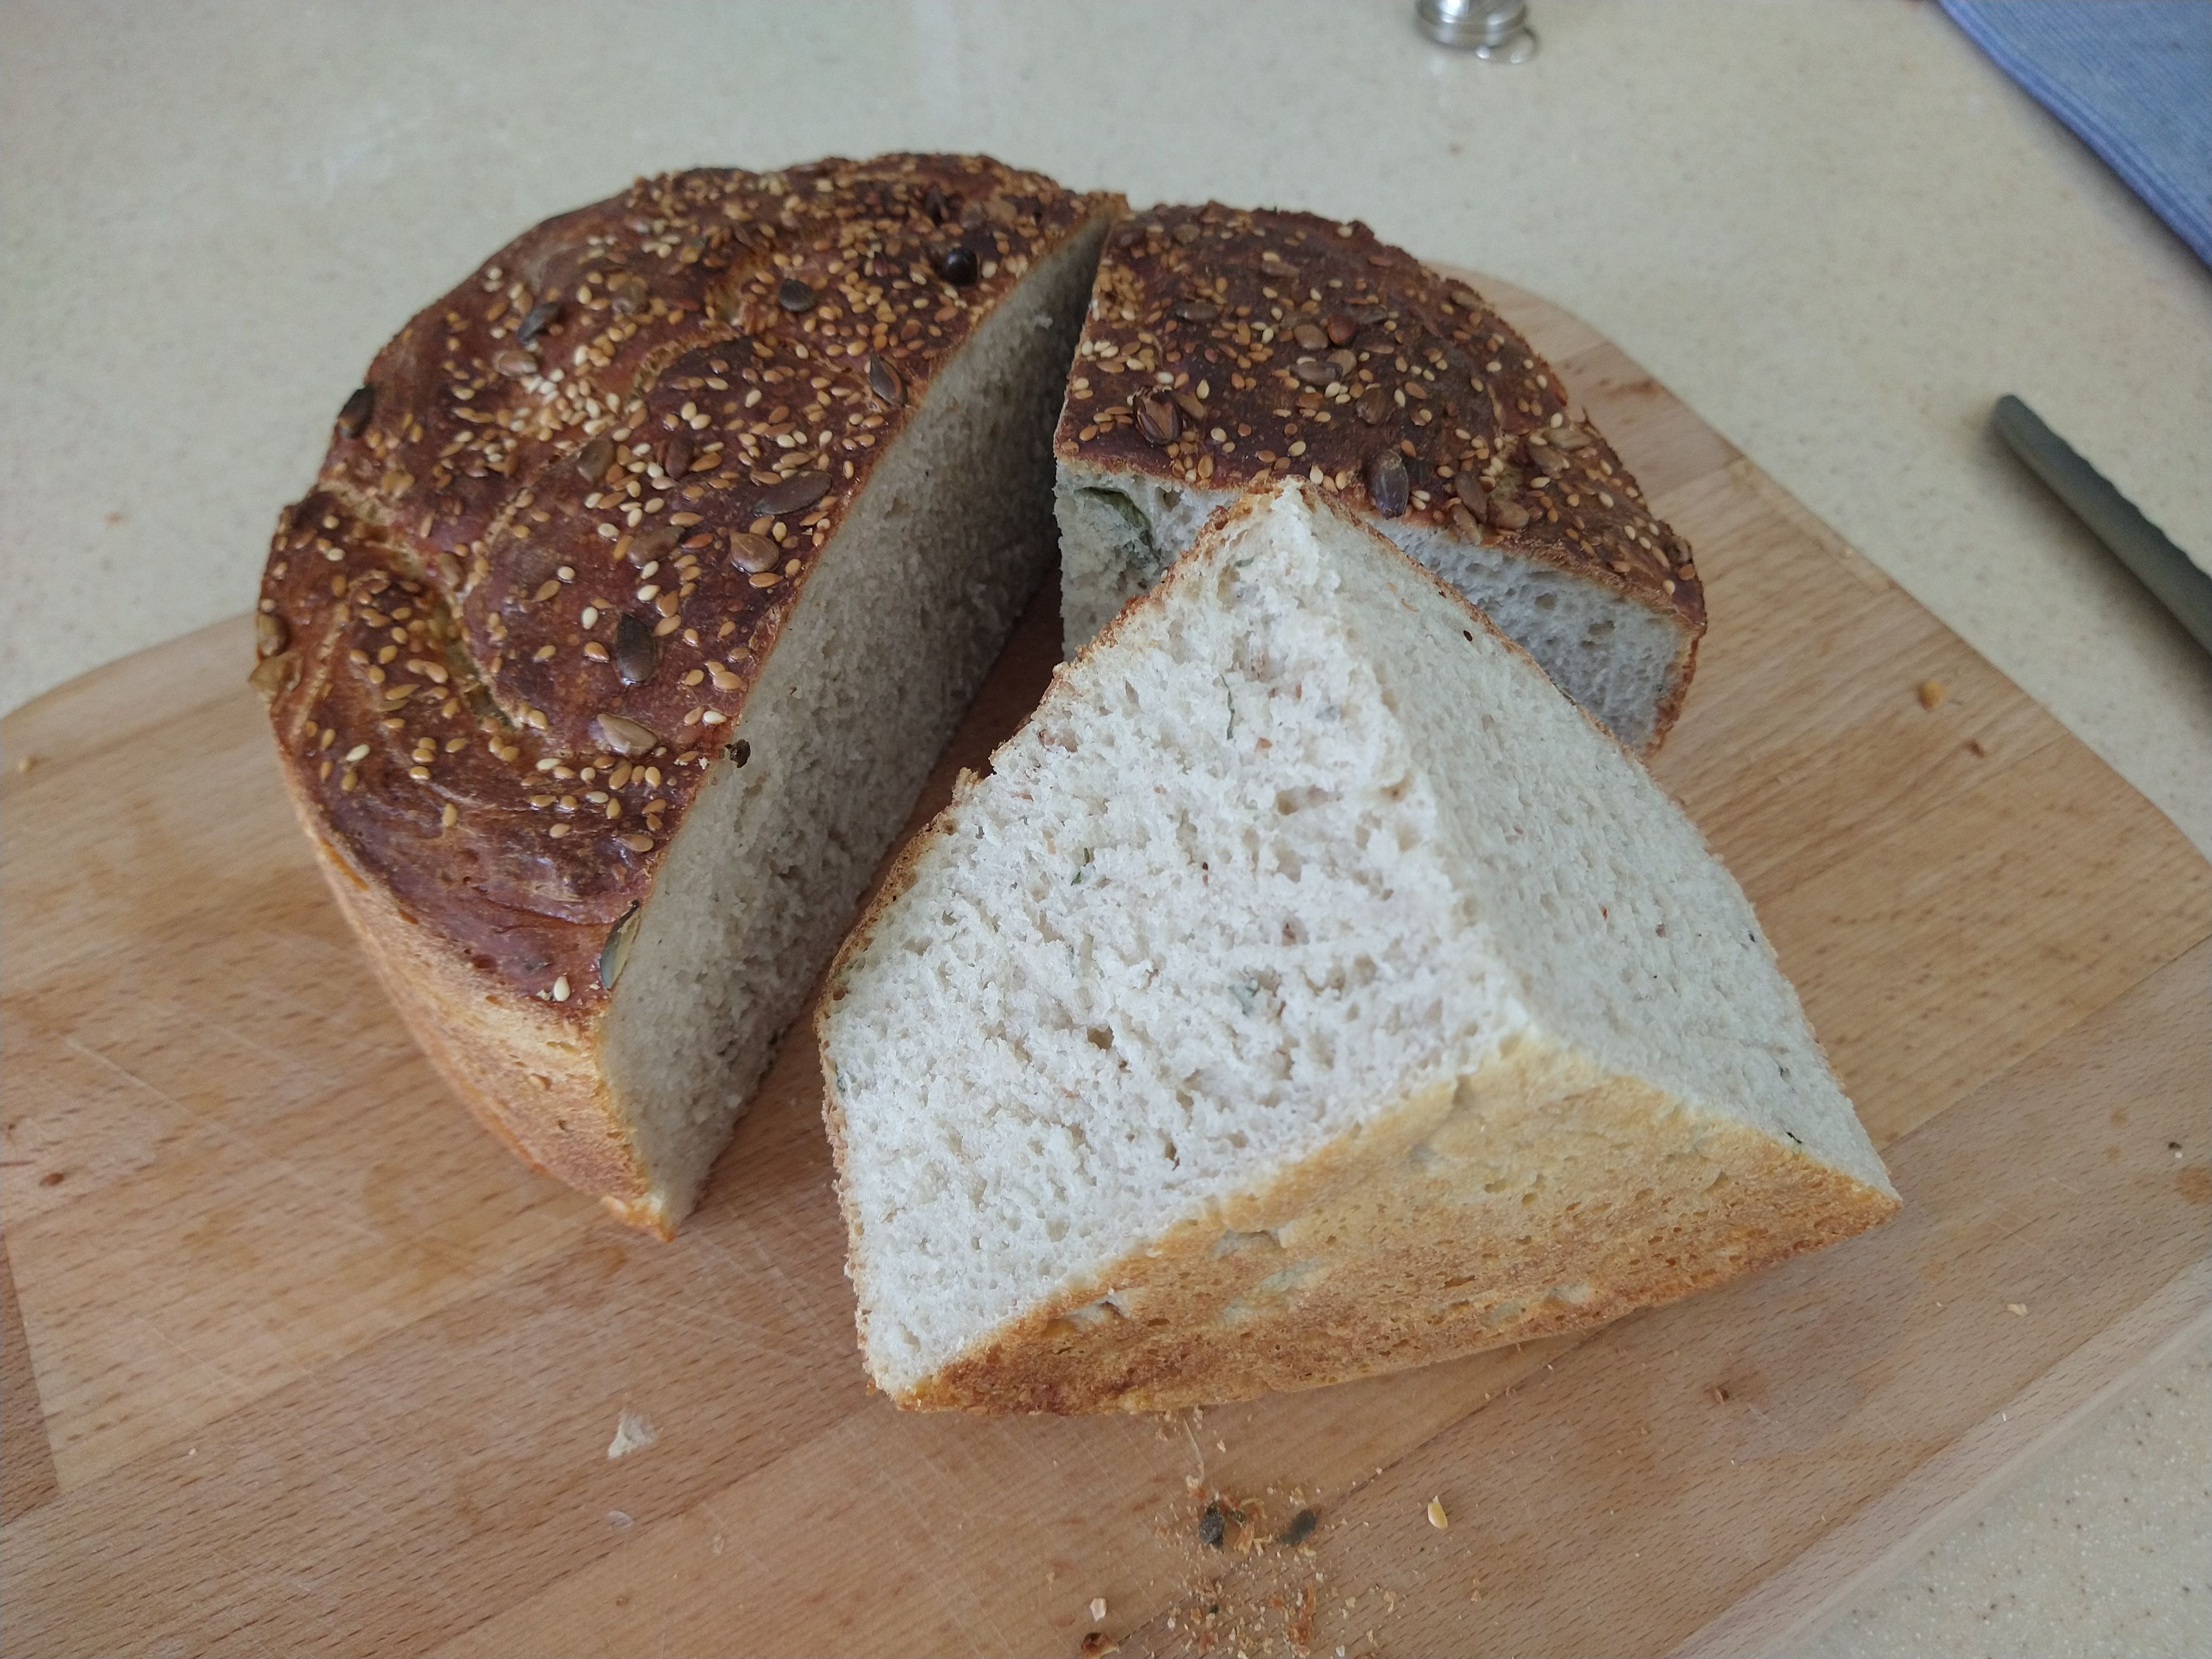
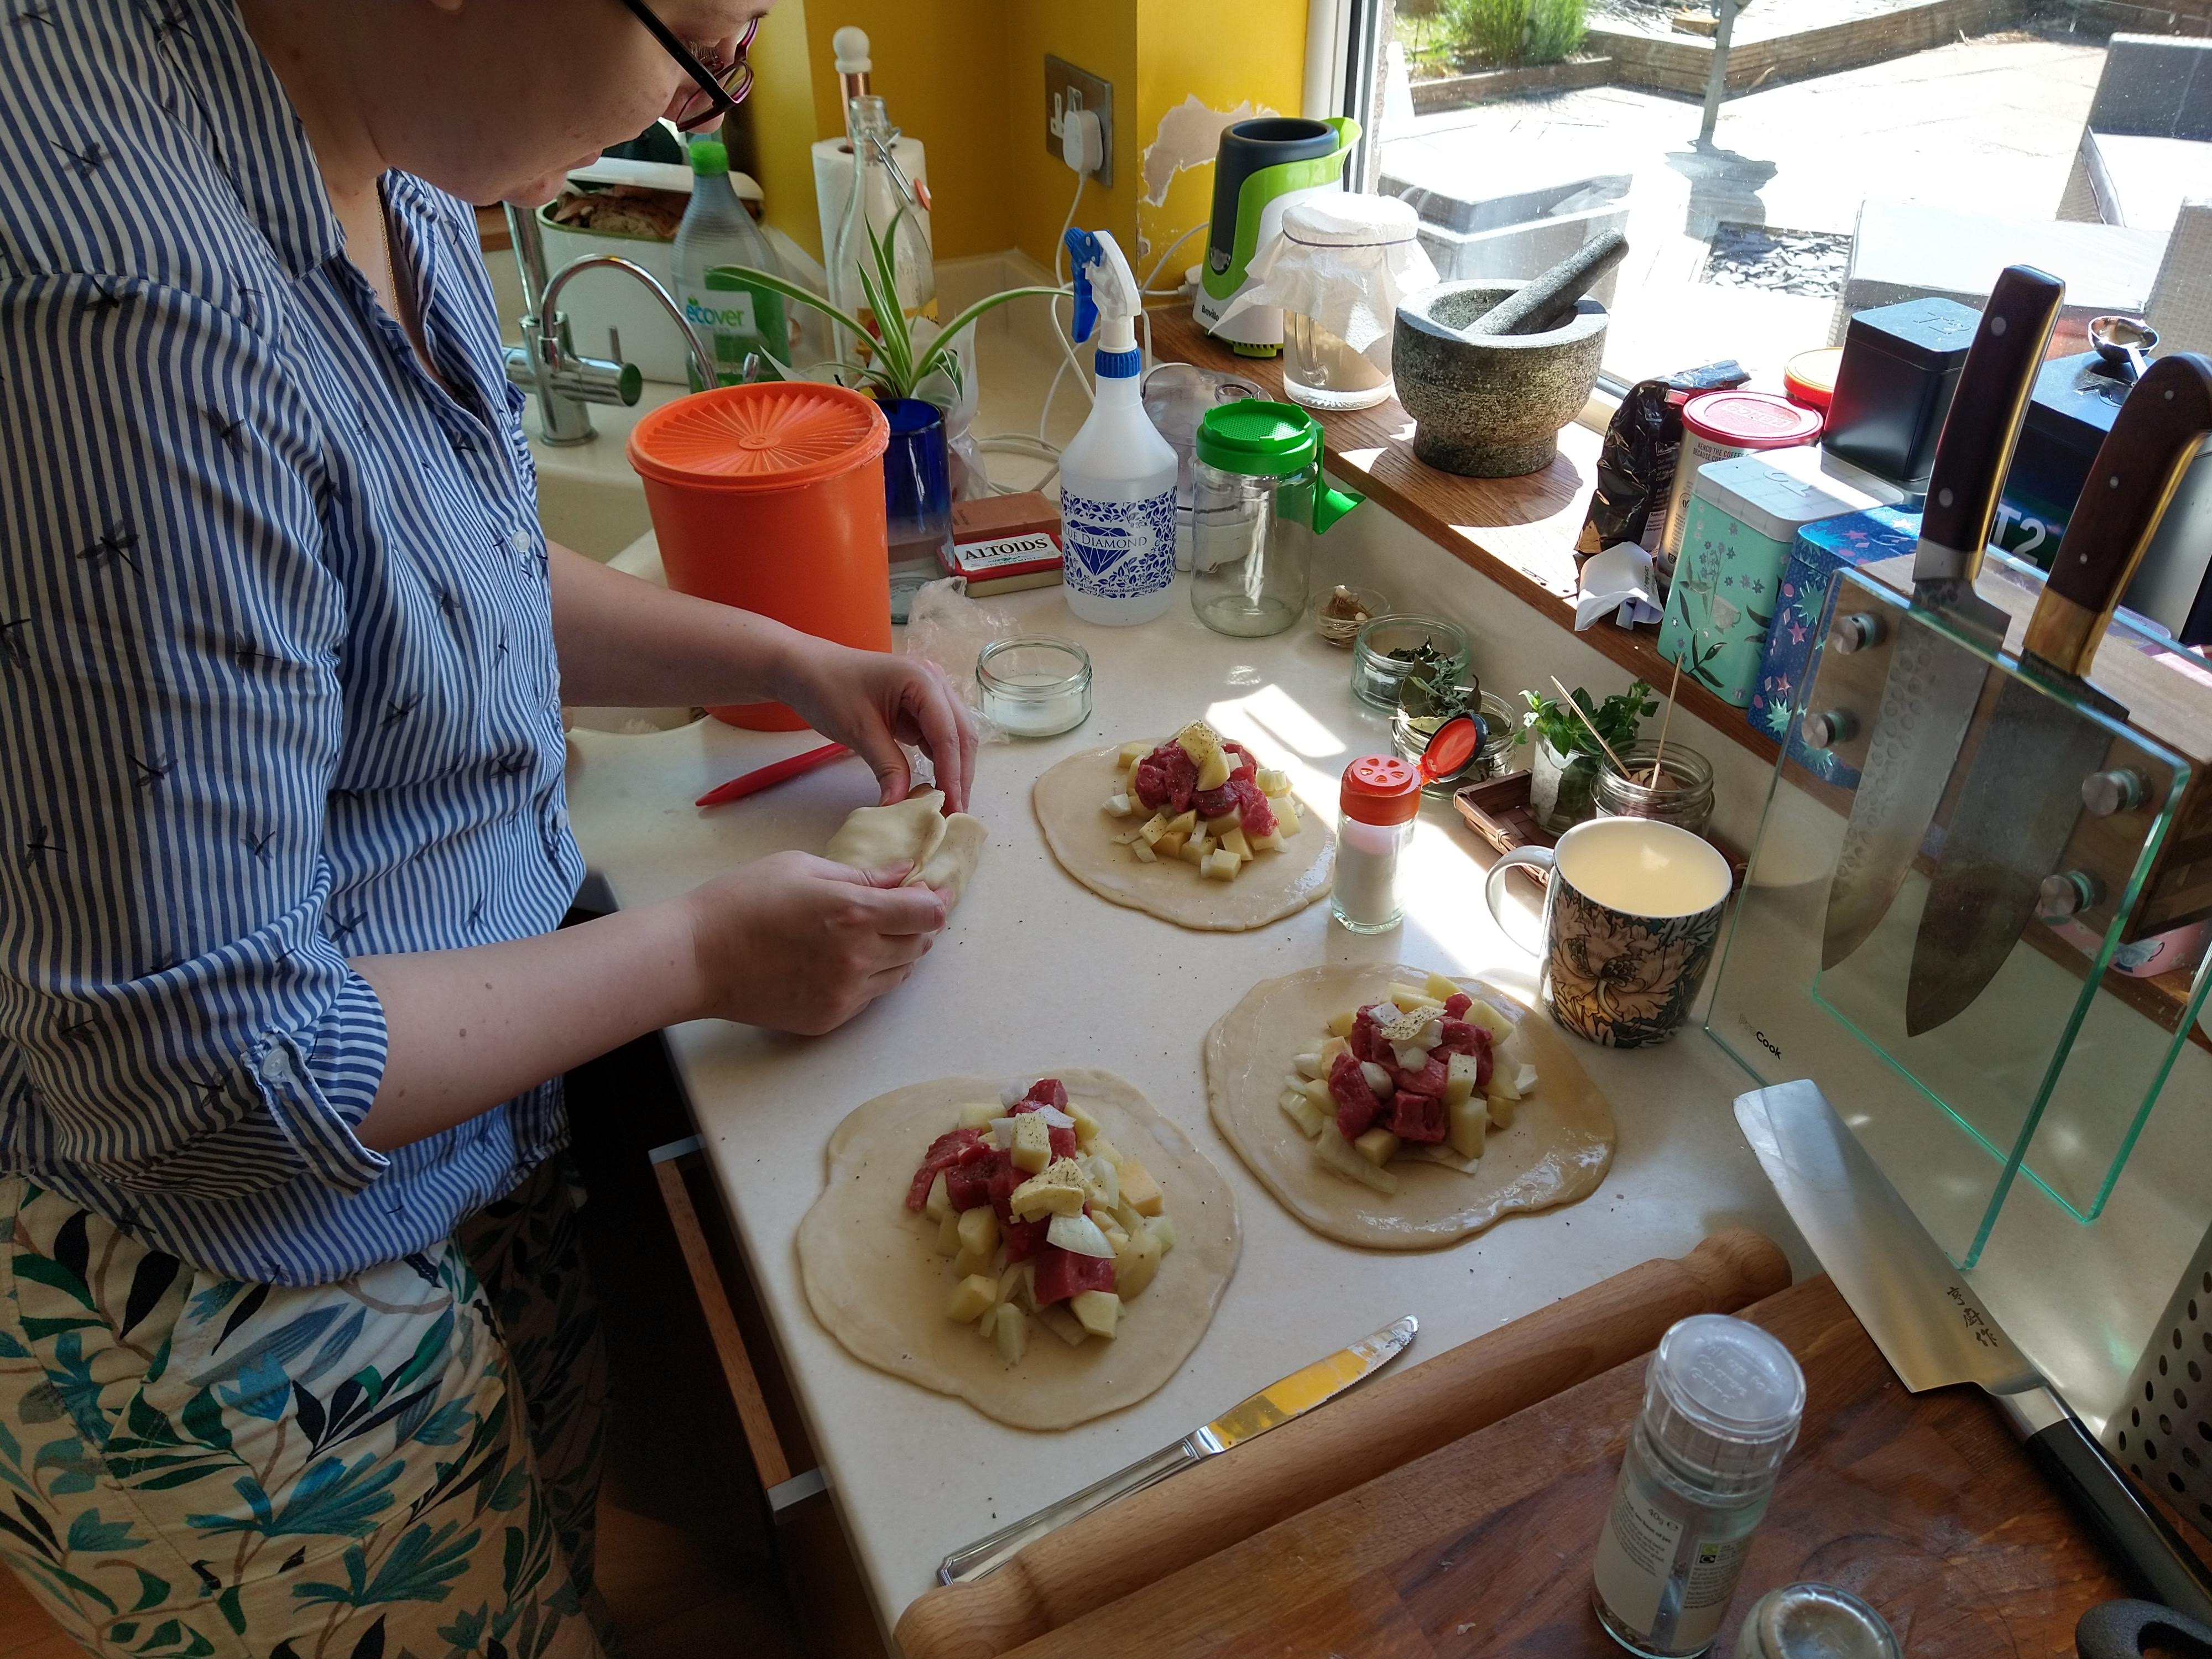
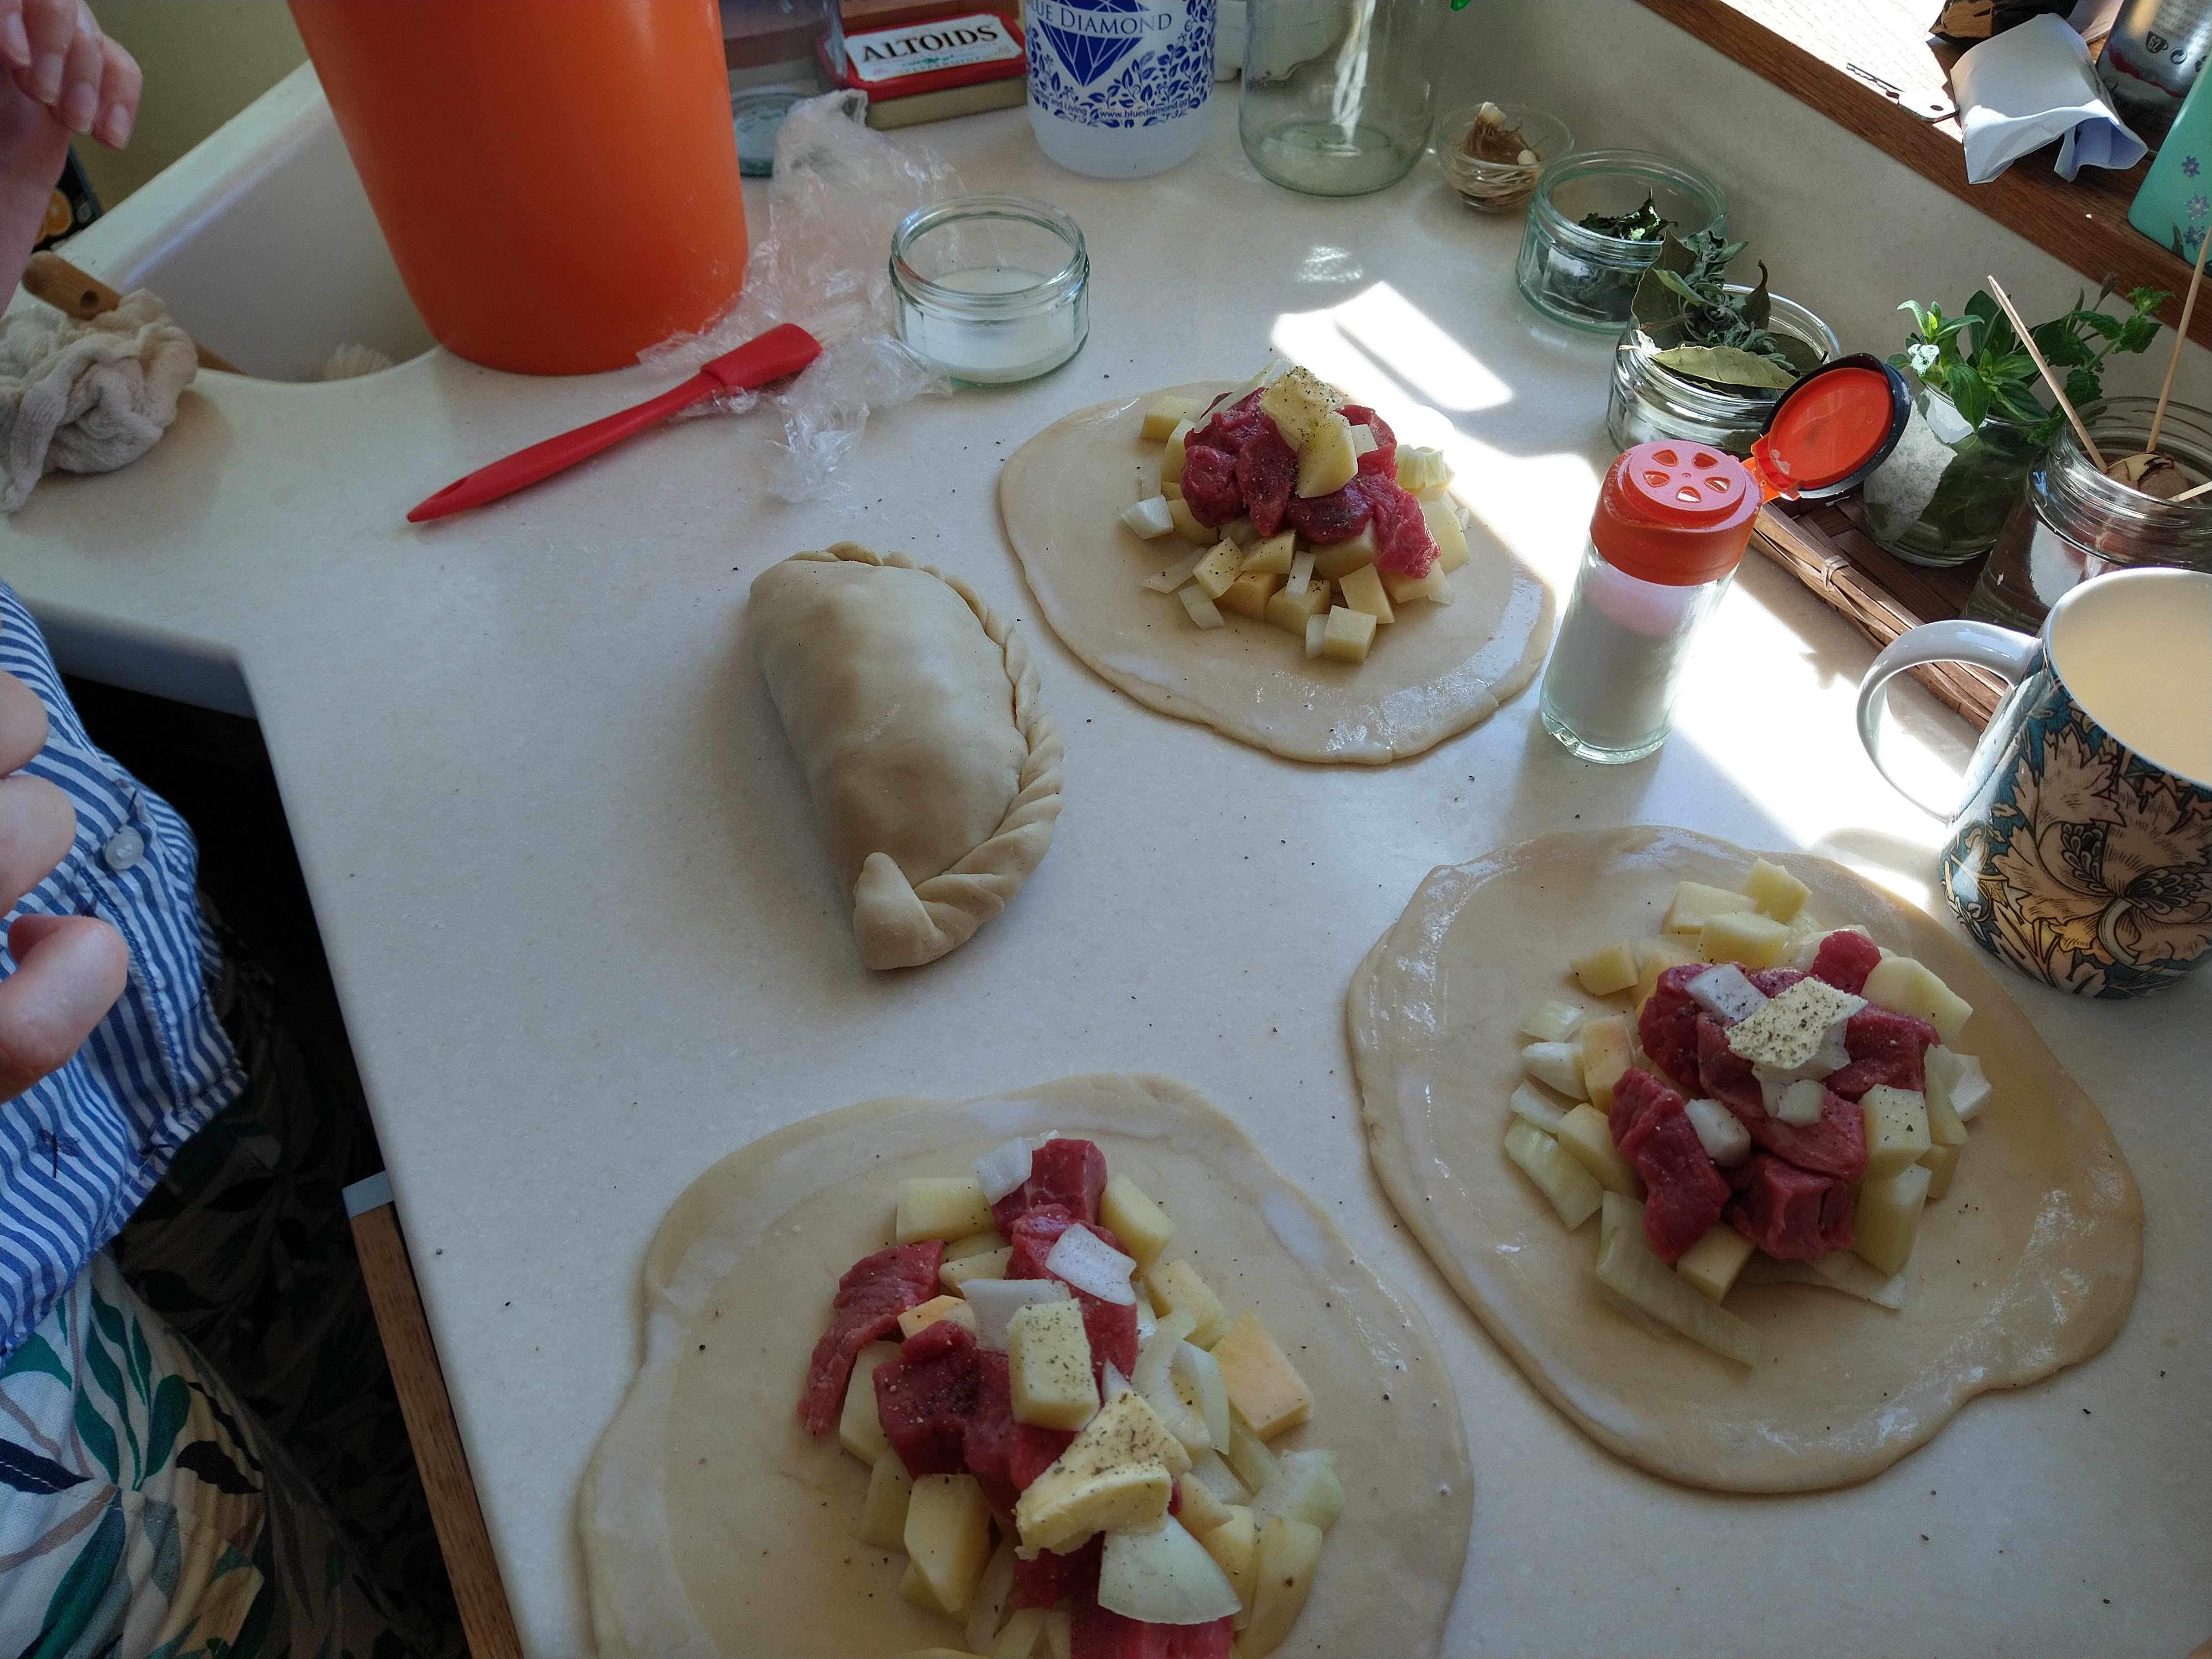
This bank holiday weekend has brought more baking than average. Sarah made traditional (Cornish) pasties, and I made sourdough bread and buttermilk scones. Thankfully flour is back on the shelves and my starter will not starve, even if it is looking a bit weird. The industrial bags caused us to do a double take in Tesco, but as long as there’s something resembling flour in there I’ll take it.

Mum is a prolific baker. Turn up to our house as a visitor (Lismaine Cottage) and within seconds of arrival you’ll be accosted with tea, pancakes, soda bread, wheaten bread and scones. Sometimes all at once. I have fond memories of crisp scones fresh from the oven, still hot, with a wadge of butter melting on top. Better yet, topped with homemade raspberry jam and whipped cream. Years later, Sarah introduced me to the delights of Cornish clotted cream. Particularly fine when sampled as part of a cream tea in one of the many National Trust property cafés.

It’s hard to beat a proper Irish scone, made with soda bread flour and buttermilk. Milk does a fine job, but in my opinion it’s not quite on the same level as buttermilk. Many of the Irish breads and other baked goods use the combination of buttermilk (acid) and bicarbonate of soda (alkali) as a raising agent, which allows for a rapid rise. As a result, buttermilk and soda bread flour are readily available in Northern Ireland but relatively rare in England. As far as I’m aware, soda bread flour doesn’t exist in the South West but if you’re on the mainland fear not. Self raising flour with some added bicarbonate of soda does the same job, and I was able to get some small cartons of buttermilk in Tesco. Don’t drink it though – a lesson learned by many a child in Northern Irish/Irish homesteads. Cultured buttermilk tastes awful, but the lesser-spotted traditional buttermilk is quite nice and yoghurt-like.
On that note, here’s an easy recipe for buttermilk scones adapted from my mum’s recipe. Milk also works but gives a slightly different texture. Don’t roll the dough too thin, otherwise you’ll end up with biscuits.

Scones
Ingredients:
450g soda bread flour (or 450g self-raising flour and 1/2 teaspoon of bicarbonate of soda)
284ml/half pint buttermilk
30g butter
30g caster sugar
1/4 tsp salt
Optional:
120g dried fruit (we like sultanas for scones)
60g walnuts
60g glace cherries
1 egg, beaten
Method:
- Preheat the oven to 220°C (200°C fan)
- Sift the flour (and bicarb, if using) into a large mixing bowl, and rub in the butter. Add the sugar and salt.
- Divide the mixture in two, and add the dried fruit/nuts to one half.
- Add the buttermilk (half to each bowl) and mix with the dry ingredients to make a dough. If it’s too dry add some more buttermilk (or milk if you’ve run out already)
- Flour your work surface and turn out the dough. Roll out each half to about a 4cm thickness, and cut out rounds using a scone cutter. (If you don’t have a scone cutter, there’s nothing I can do for you…)
- Scatter some flour on a large baking tray and transfer the scones onto it. If using an egg wash, then beat the egg with a fork and brush over the tops of the scones. (This helps to give a golden finish)
- Bake in the preheated oven for 10-12 minutes until golden, then place on a cooling rack.
- Serve warm with butter and jam, or jam and clotted cream for a decadent tea break.
Give it a go. They’re really not hard to make, and are ready in no time at all. It’s one of the baked goods that they rarely get right in shops, with the homemade version being vastly superior.
DIY and Furniture Revival
It wouldn’t be a weekend without some do-it-yourself action. This time it was minor electrical work, replacing a single gang socket with a USB charging outlet, to reduce the number of plug swaps and make things a bit more convenient. A simple job in theory, but in practice a complete ball-ache. The reality is the back boxes behind the socket have limited space for cables and different companies put the terminals (where the wires connect) in different places – often just different enough to make it nearly impossible to fit. This was the case on Saturday morning as I brutally wrestled this tiny plug into place. It worked in the end, but it was a close run thing.
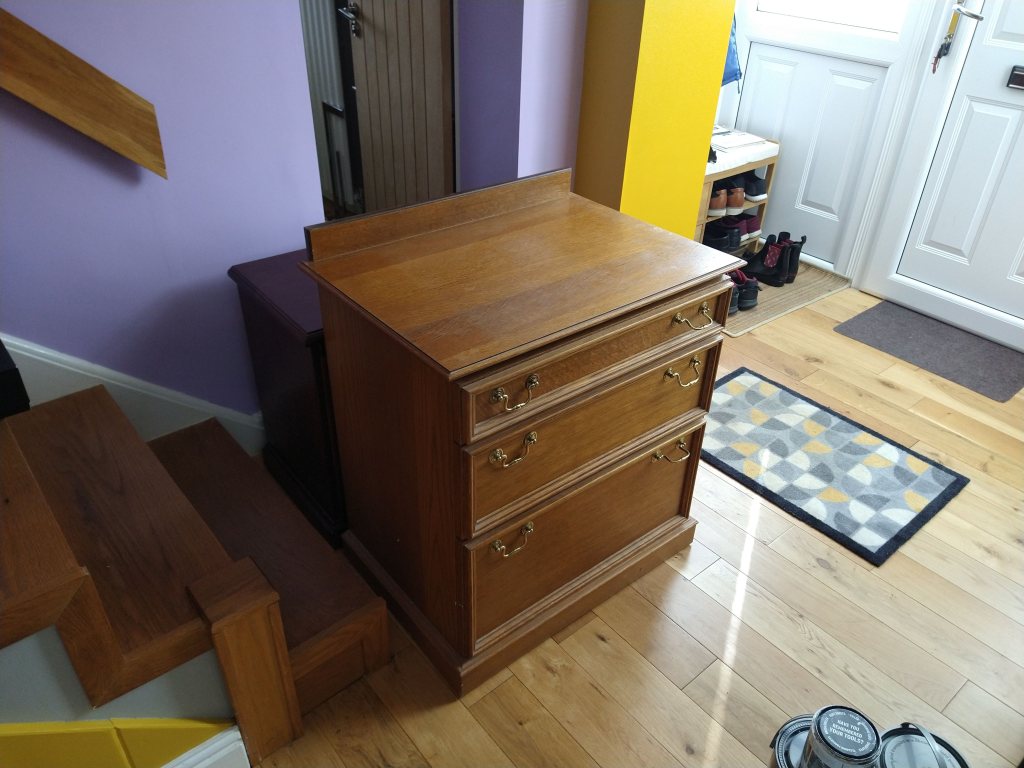
The bigger project for the weekend was a furniture restoration one. Perhaps restoration isn’t the best term. Upcycling is the preferred phrase these days, as I was taking an old (but not antique) naff piece of furniture and updating it. I had an appetite after revamping the bedside tables, and started searching Gumtree for a “new” chest of drawers. I found a company who sold furniture from house clearances and estate sales, and delivered within Plymouth.
My approach is to try and look past the outward appearances. Look at the joints in the drawers. Feel the quality, if possible. Look at the hardware. In this case, the drawers were solid and put together with dovetail joints. The handles were easily removed, as were the drawer faces. Perfect. Now to begin.
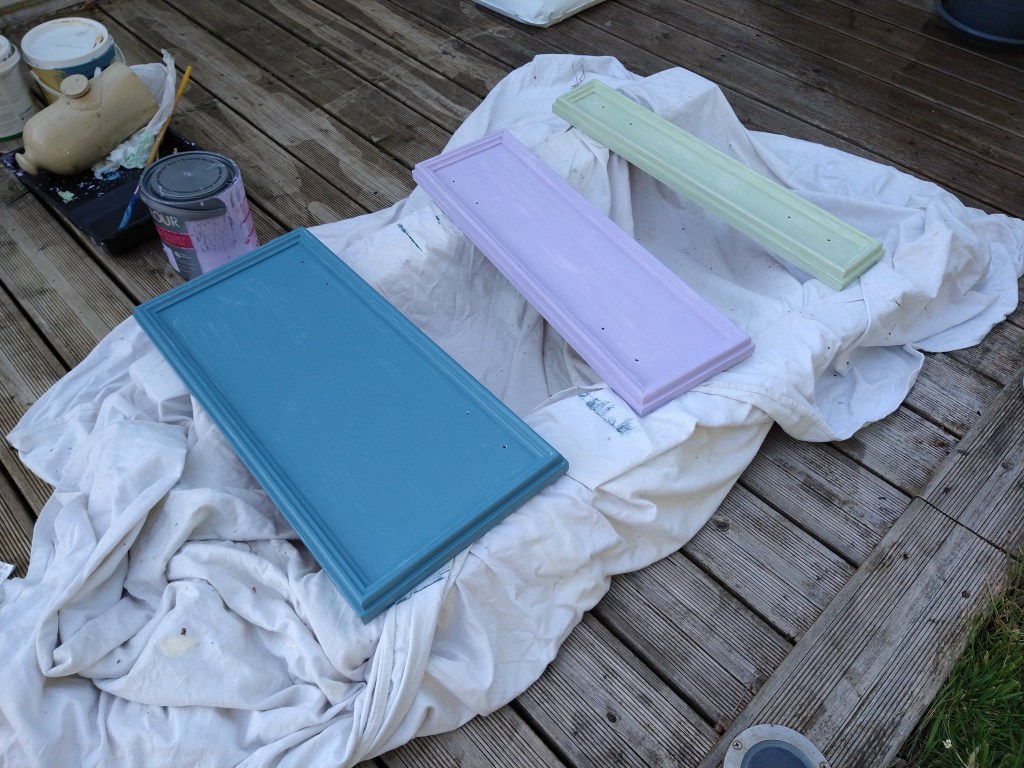
First step was to take it all apart and clean inside the drawers. I brushed everything out then washed it down with sugar soap, and rinsed with water. Then I took the faces off the drawers, and unscrewed the hardware. It’s much easier than painting around it and gives a more professional finish. Next the whole thing was given a light sanding before getting a coat of primer.
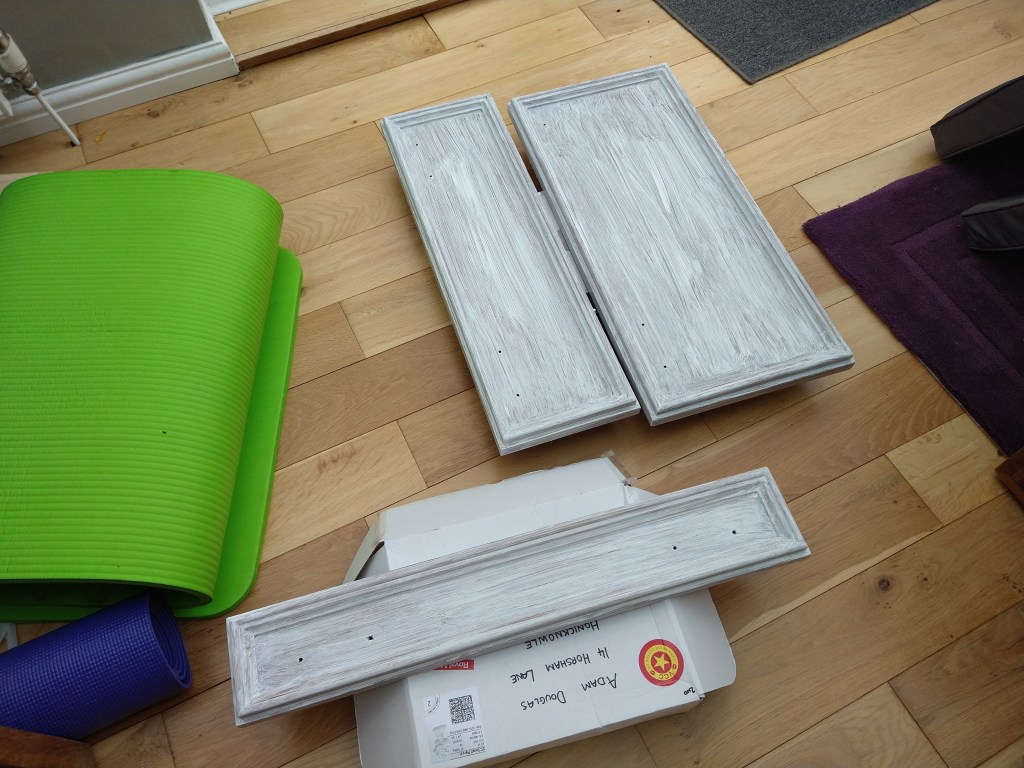
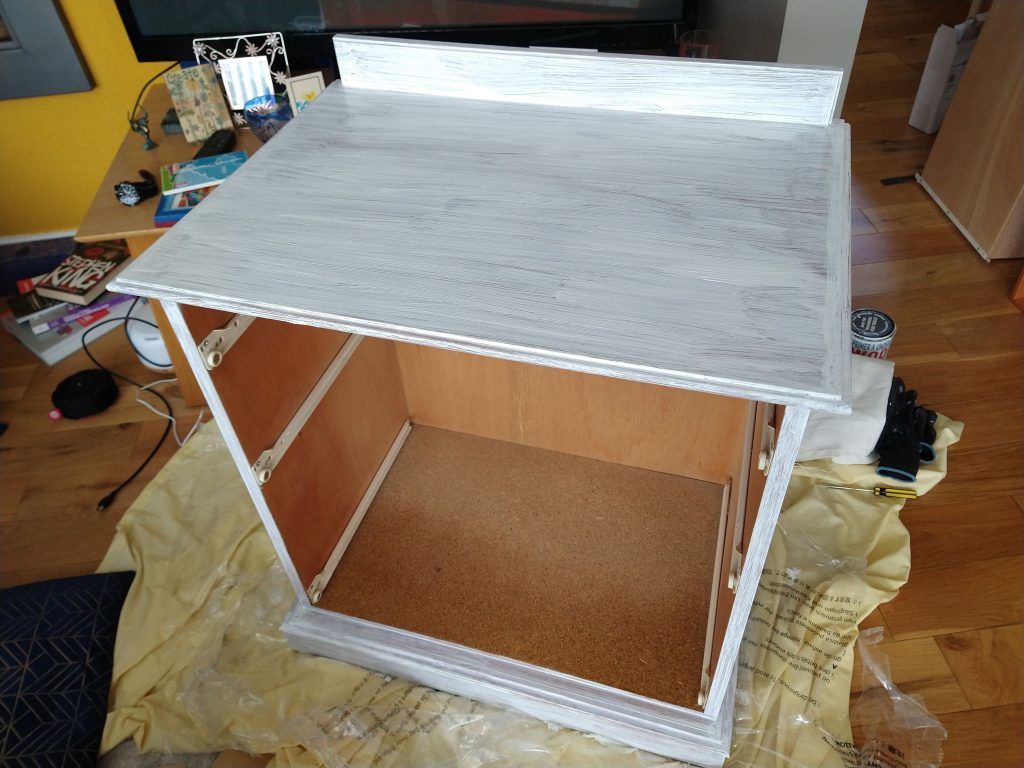
After discussing colour options, we settled on white for the outside, and pastel colours for the drawers: green, lilac, and blue/teal. The first can of white paint I tried was no good – I suspect it had been open too long and no matter how much I mixed, I couldn’t get it to work properly. I moved onto a more reliable tin of gloss (same flavour I used on the bedside cabinet drawers) which worked perfectly. For the drawers I used ordinary emulsion. We were lucky to have paint tins left over from the previous owners, so there was a lot of choice when it came to colours.
I made my way over to Amazon for the drawer handles. The drawer handles were 3″ hole centre leaving plenty of options. We were trying to strike a balance between modern and vintage, so opted for some antique silver curved drawer handles (as shown below in the affiliate link). Continuing on with the waste-reduction theme, I bought a packet of returned ones. I can only assume they didn’t suit the original recipient because they were in perfect condition.

Most of the handles fitted with no problem at all, but one set of holes were drilled incorrectly requiring some fiddling, but no major modifications were needed in the end. The end result looks rather slick, if I do say so myself.

I’ve now started looking at soft close drawer runners. I might be addicted…
It’s a way of not only saving money, learning new skills and keeping occupied when you’re stuck at home, but also saving something otherwise destined for the scrapheap. I’m a believer in buying secondhand furniture as long as it is decent quality, because it’s not going to fall apart. From an environmental perspective we throw away so much, it’s nice to rescue a piece from time to time and make your mark. Who knows how long we’ll have this, and who will end up with it after us.
Game Corner
I have been playing Lumo on the Playstation 4, and if I’m not driven mad with frustration by the end of it, I’ll write about it on another day. And I have finally started Shenmue 3, though after such a long wait, the end result is somewhat…anticlimatic. More on this in another post, once I’ve got into the game properly.
For now, it’s back to the garden.

Leave a comment